Last updated: April 08, 2026
You hear the music you like on the radio. You get the chords of this song to be able to play it. And there comes the drama!
Like many beginners, you may still have difficulty playing barre chords, especially the F chord? In this article, you will discover several ways to play the F chord, much EASIER! You will be able to play lots of songs that you could not play until now.
The F chord is so difficult to play when you begin. It’s quite frustrating because we find the F (and other barre chords) in many songs. Rest assured, you will get there eventually. But in the meantime, should you give up all the songs you would like to play that contains a Fa? Obviously, no. We have made up a step-by-step guide on how to play an F chord on guitar (whether on an electric or acoustic).
Below are the steps to discovering how to play the F chord like a professional guitarist. The first step involves learning to play the mini Fa.
First, you need to understand how “Mini” F works. Mini F is the simplified version of chord F major. It is not overly simple, however, but will give you a sound that is close to the Fa chord. It is recommended for beginners who do not yet have a lot of strength in their fingers.
Step 1
Put your index finger on the first and second strings, the first fret. In other words, you use your index finger to lock the E string and the B string on the first fret.
Step 2
This is probably the first time that you have used one finger to press multiple strings, which is why it can give you an odd impression.
Step 3
Try rotating your fingers slightly in the direction of the neck, so that you press the strings with the edge of your index finger rather than its tip.
Step 4
Place your middle finger on the third string, second fret. In other words, use your middle finger to hold the G string against the second fret.
Step 5
Place your ring finger on the fourth string, third fret. In other words, use your ring finger to press the D string on the third fret.
Step 6
If possible, touch the fifth string (the A string) with the tip of your ring finger. This will muffle it and prevent it from ringing while you are playing.
Step 7
Practice picking and scratching. Once your fingers are firmly in place, ring each of the four strings held until they emit a clear sound.
Step 8
If a note rings out of tune, move your finger back until it is right. The first and second chords are usually the problematic ones. Check that your second finger and the third finger are on their respective strings, without touching the others.
Step 9
Once each note sounds good, start strumming to make a Fa. Also, practice changing chords and then returning to the Fa. It will take time at first, but you will eventually get there!
Firstly, you need to understand how the old-school version of the Fa works. This way of playing the F major was used by musicians of the 60s and 70s and consists of adding a note to the mini F. This additional note gives a louder and more complete sound. It’s a little harder to do than a mini Fa, but easier than the strikethrough technique described below.
Step 1
Put your index finger on the first two strings, first fret. In other words, place your index finger on the E string and B string.
Step 2
Place your middle finger on the third string, second fret. In other words, place your middle finger on the G string, second fret.
Step 3
Put your little finger on the fourth string, the third fret. In other words, your little finger should go on the D string, the third fret.
Step 4
Finally, put your little finger on the fifth string, the third fret. So place your ring finger on the A string, third fret. This added note defines the old school Fa, as opposed to the mini Fa. As you can see, your ring finger is now placed on the A string while your little finger goes on the D string (you can swap the roles of these two fingers, but it will be easier for most people).
Step 5
If possible, lightly touch the sixth string (the E string) with the tip of your ring finger to muffle it and keep it from ringing as you chord.
Step 6
Now is the time to train yourself. Once all of your fingers are in place, practice making each note sound just independently of each other (this takes a little time).
Step 7
Scratch the chord. That is, when each note sounds good, play all the strings together while strumming.
Step 8
Remember to practice switching between chords, and find songs that use an F chord to practice music!
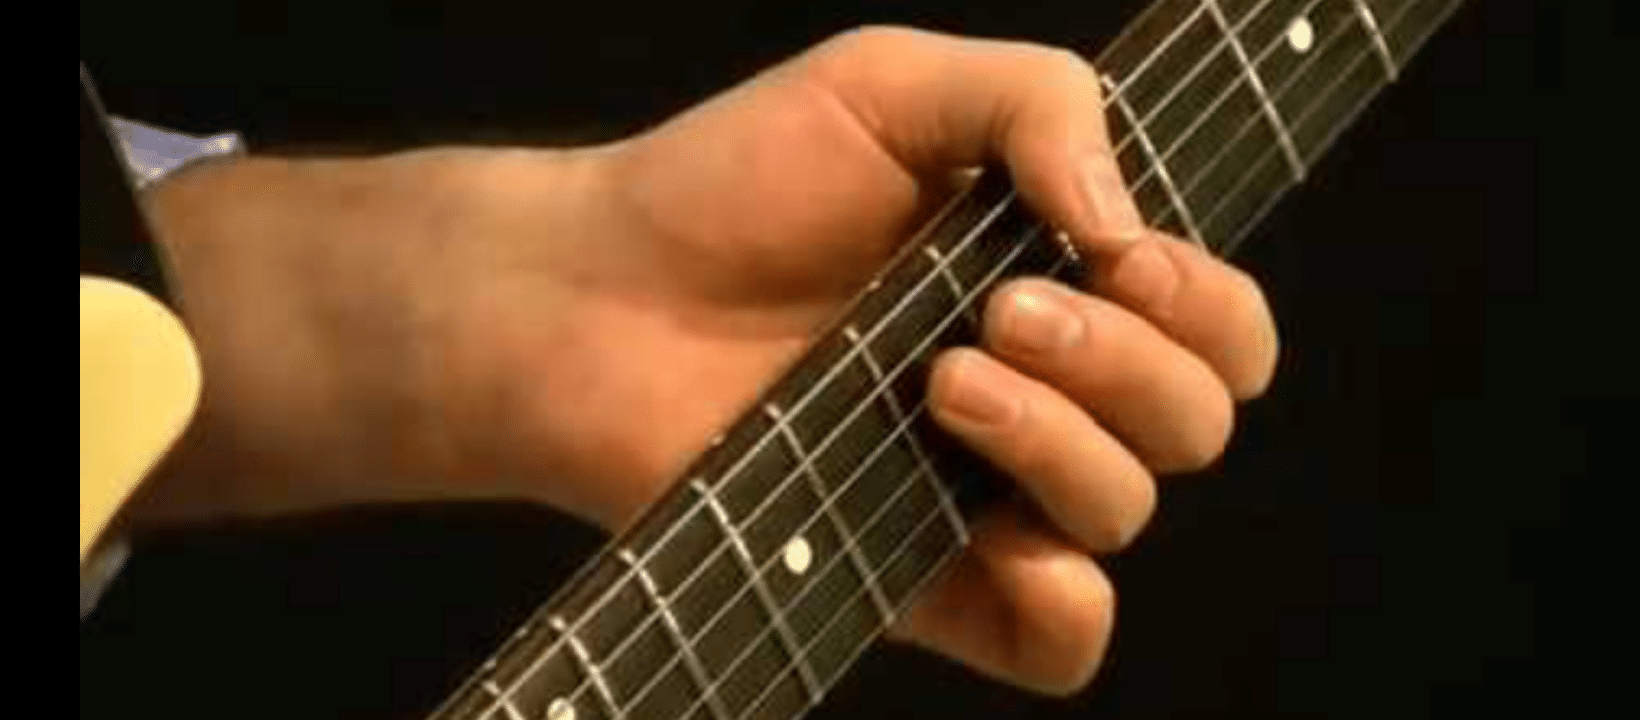
Next, we’re going to play the Fa chord in the Hendrix style. A little clarification, if you have a classical guitar, it will be too difficult because the neck is too wide. On the other hand with a folk guitar (metal string) or an electric, it is possible with a little practice.
To quickly visualize the position of the F chord à la Hendrix, here is a picture showing your hand in the Hendrix style.
 Or you may want to check out a video tutorial on the Hendrix style.
So, how do you play the Hendrix-style F chord?
Step 1
With your thumb, you’re going to do two things. First, you will have to press the 1st fret of the lowest string.
Step 2
In addition to pressing on the first string, you will hold down the string below (the 2nd string) by only touching it.
Step 3
For the rest, it’s like the simplified version. You use your middle finger, ring finger, and index finger to play strings 3, 4, and 5.
Step 4
Then use your index finger to muffle or play the E string in addition to pressing the 1st fret, 5th string.
First, you have to understand how the Barre chord works. The harshest version of the Fa is the strike-through version. It takes practice to strike the right note as well as a lot of strength in the fingers.
Despite this, the advantages of the Barre F are indisputable. It produces a more beautiful and even fuller sound while giving you more freedom of movement around the neck.
You can therefore easily switch from one chord to another without changing the position of your wrist too much. Although this way of doing things is complicated, some teachers recommend that you learn it first. The idea is that if you master this technique, the others will seem easier to you.
Step 1
The first step is about crossing out the first fret. Place the index finger on the six strings at the first fret and press firmly.
Slightly roll your index finger back towards the end of the neck so that the hard part of your index finger is pressing on the strings, not the soft part.
You will need to push hard enough so that all six strings are held securely against the fret. Try to pinch the handle with your thumb for extra strength.
Step 2
Place the rest of your fingers. While maintaining your index finger in this position, put your middle finger, ring finger, and little finger in order in F major position. More precisely :
Step 3
Train yourself. It’s a tough deal, so don’t be too picky on yourself if it doesn’t come right the first time. If three of the six strings sound good, that’s a good start! Keep practicing, it will build the strength of your fingers, which will make your job easier.
Play other barre chords. Your finger position used for F major is an example of what is called an E-shaped barre because the position of the fingers following the barre is that of a basic E chord.
The other barre chords that use this E-shaped positioning are G, A, and B. To play these chords, simply slide your hand up and down the neck. The position of your index finger will determine the chord you play.
For example, keep your fingers in the same position and slide your hand two frets down the neck. Your index finger should therefore be on the third fret. There you have the Sol barre chord. If your index finger is on the fifth fret, you get a barre chord and if your index finger is on the sixth fret, you get a B Barre chord.
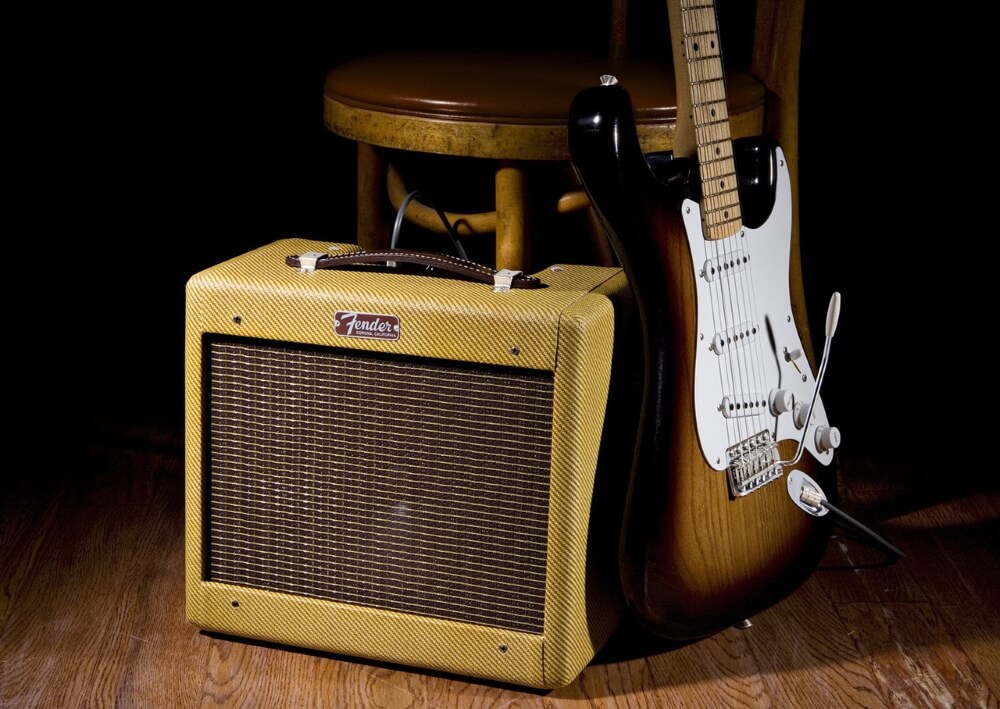
If you have the luxury of choosing between an acoustic and electric guitar, learn how to play the F on an electric guitar to get started.
The guitar strings are much closer to the frets on your electric guitar, so you will need less force in your fingers. Then, when you are comfortable with this chord, switch to an acoustic guitar.
A good piece of advice is to buy strings that are thinner for your guitar (you may choose size 9 for electric guitar or size 10 for acoustic) if the ones you have are too thick. You will need less force if the strings you are using are thin, which will save you a lot of pain.
The same is true if your guitar strings are very old. Changing your strings can increase your enjoyment of playing.
The action measures the distance between the strings and the frets. The weaker the action, the less pressure you need to apply to the strings. Inexpensive guitars sometimes have a very large action, which can be a problem for beginners.
Fortunately, guitar shops can decrease the action of your instrument when it comes to tuning a guitar. It costs a bit of money but will make it easier for you to play.
The most important thing is to keep practicing so that you don’t lose your hand. Do not avoid playing a song just because it contains a difficult F chord to achieve! Work it out for at least a few minutes each day and you’ll wonder how hard it ever seemed to you.
The F (or Fa) chord is one of the hardest to learn, but also one of the most important for music. There are several ways to play an F major.
This article has shown you the five most common ways to do this and also provide you with some useful tips for your learning.
What makes the F chord so difficult to play is to strike it out with your index finger. Instead of making a painful barrage with your index finger, you just need to play three notes. We hope you’ve gotten the basics and can now put everything to the test.