People often wonder if it’s possible and safe to connect 2 amplifiers together. It is possible and there are so many options available. The options depend on the system’s input/output settings. You may be having an old amplifier that you think could make your audio system sound better. You could connect it to the speakers, then use another amp to connect to the subwoofers to get the best sound quality. Some people also attach multiple amps for a louder sound.
Whatever your reason is for connecting multiple amplifiers together, you can easily do it in 3 different ways. From the 3 options, you can pick one that works for your audio system. This article will run you through each of the 3 options explaining in great detail how to connect 2 amplifiers together without a hassle. You will also get some useful tips that will help you avoid some problems as well as equip you with troubleshooting techniques.
There are safe ways of connecting 2 amplifiers to your home theater system or stereo, and there are also dangerous methods that may damage your audio system if you aren’t careful. The 3 safe ways include:
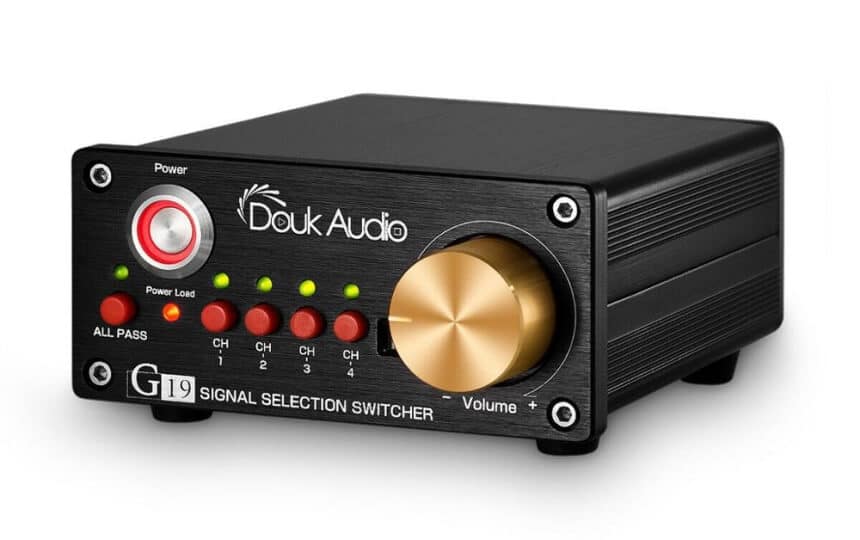 This is the method you use if you want to connect multiple amplifiers to one speaker or a pair of speakers using a single amp at a time. An amplifier switch is a simple box that allows you to switch from one amplifier to another.
With this method, you may not be able to play both amps simultaneously or increase power, or make the system louder but you will be able to use different amplifiers with your speakers at different times.
Why would you want to do this?
It also needs to be able to switch all the 4 connections (L+, L-, R+, and R-) separately. There shouldn’t be any common ground.
Additionally, the switch shouldn’t have anything inside apart from wires and binding posts. It shouldn’t contain protection circuits, resistance or impedance matching like other switches.
Finding a switch that meets all these conditions can be quite expensive. If you can’t really spend over 100 bucks on a switch box, you can make yourself one. The simplest way to do it is by using a 4PDT switch. You will only part with about 10 to 30bucks depending on where you will buy the switch and binding posts. You can use spring-type connectors to further cut down on the costs.
Here is all you would need to build a speaker switch:
Step 1
If you are using a crappy speaker as an enclosure, remove its driver, the front wall, and the bass tunnel from the back. You should end up with a box with a round opening in the opposite wall.
Step 2
Cut the missing wall from plywood then drill holes on it for binding posts. Use speaker wire to connect the binding posts to the switch. Ensure that every wire is tightly secured with a screw and it is well soldered to avoid any loose strands that can cause a short. After soldering, be sure isolate the wires with heat shrink. Test all the connections you have made for conductivity and possible short circuits.
Step 3
Install the switch in the opening left after removing the bass tunnel.
Step 4
Fit the rear wall with binding posts. After you are done with assembly, test the connections for short circuits once again. Wires usually get loose after assembly. Do the tests before connecting amps.
The 2 Amp 2 Pair Speaker Selector Switch switcher splitter box remains the most acclaimed amplifier switch. It is popular because of its ability to accept up to 14 gauge speaker wire via screw down terminals.
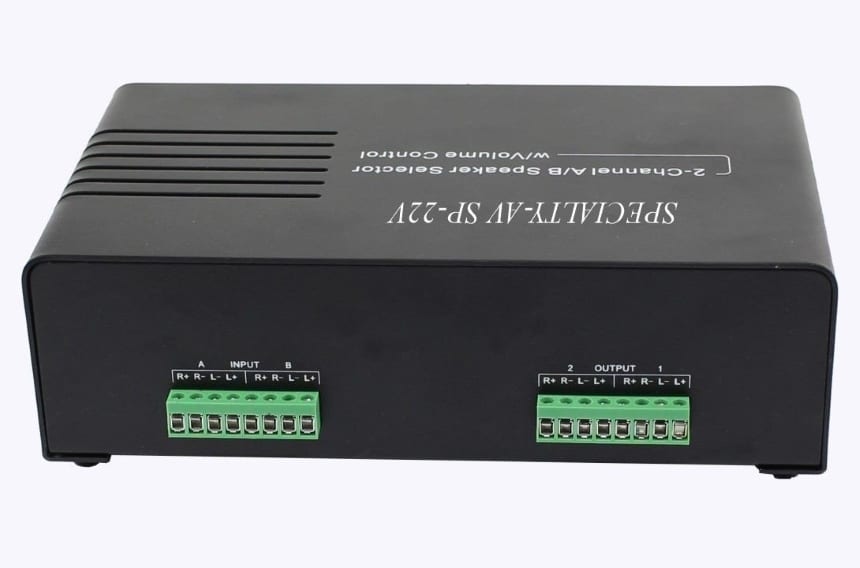
Connecting an amplifier switch is quite a breeze and it only takes 3 basic steps:
Step 1
On the back panel, there are connectors for 2 amplifiers denoted input and connectors for 2 pairs of speaker denoted output. Run the speaker wire from one amplifier’s back into Input A on the back of the switch box. Ensure you connect positive to positive and negative to negative. You should also connect right to right and left to left.
Step 2
In the exact same way, run the speaker wire from the other amplifiers back into input B on the back of the switch box.
Step 3
Run the speaker wires from the 1st output connectors on the back of your switch box to both of your speakers. Again, remember to connect right to right, left to left, positive to positive and negative to negative.
Once you are done with the connections, you can use the front panel controls to switch from one amplifier to another easily and safely. If you used the tip in step 3 to wire in a second pair of loudspeakers for the 2nd output connectors, you can as well switch between the speakers.
Essential points to consider when connecting 2 amplifiers to one speaker:
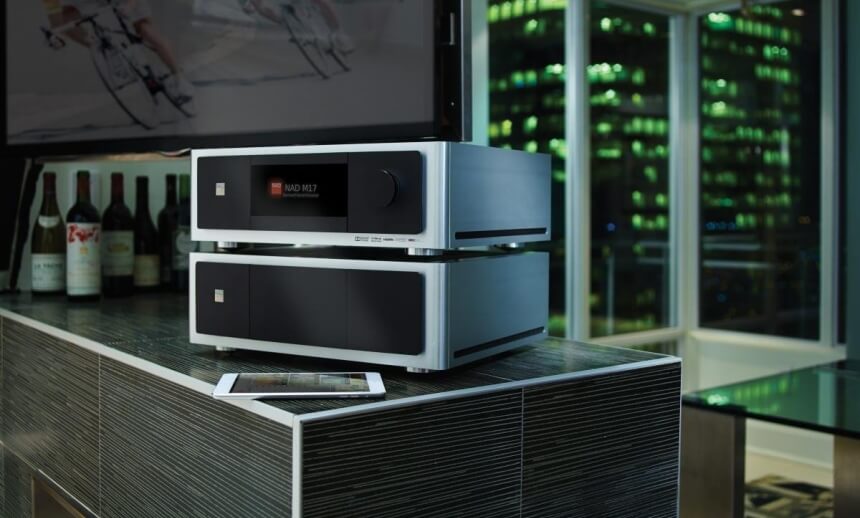 A surround sound processor is one of the most crucial parts of an audio-visual system or simply put, a home theater system. It is the one that splits an audio signal into various channels. The audio signal can be music or a movie soundtrack.
Most audio visual systems/home theaters feature an all-in-one receiver with the surround sound processor and amplifiers for the speakers and subwoofer built-in.
If yours doesn’t have the receiver, consider the popular YAMAHA AVENTAGE RX-A3080 9.2-Channel Network A/V Receiver. It is a high-end Audio-Video receiver that packs a lot of power, has exceptional sound quality, and all the flexibility and controls one would ever need.
The receiver has the output connectors for the speakers and subwoofer on the back panel and they are clearly marked. This makes the connection a pretty simple process of running speaker cables from the speaker output to the right speakers and the subwoofer outputs to the subwoofer.
There are high-end home theater systems that offer extra output connectors from the surround processors allowing you to bypass the internal amplifiers so that you can connect to other amplifiers. This is a solid option if you are looking for more power and great sound quality.
However, in such a case, wiring is a bit complicated. It is achievable though, if you take it step by step. Your home theater receiver will have a ‘pre-out’ outputs section clearly marked on its back panel. The ‘pre-out’ outputs are line level outputs that have much lower power compared to the speaker outputs. They are actually designed to be connected to the amplifiers that are in turn connected to multiple speakers.
Here are clear steps on how to connect multiple amplifier to the Audio-visual system;
Locate the ‘Pre-out’ connectors on the AV receiver’s back panel.
Run the RCA connector cables from the front speaker’s outputs to the input jacks on the front speakers’ amplifier. Ensure you connect the positive to the positive and the negative to the negative. The positive is normally red in color.
Repeat the same process for the surround speakers, the subwoofers and the center channel or dialogue speakers.
Run the speaker wires from every amplifier to its corresponding speakers. Remember the golden rule of connecting the left speaker to the amplifier’s left speaker and the right speaker to the amplifier’s right speaker.
Refer to the user manual of your receiver on how to adjust the individual channel levels so that you can obtain the best possible balance between the speakers.
If you can’t seem to wrap your head around this entire process or have questions, reach out to the dealer from whom you purchased your gear for more support. The manufacturer’s customer care can also be of great help.
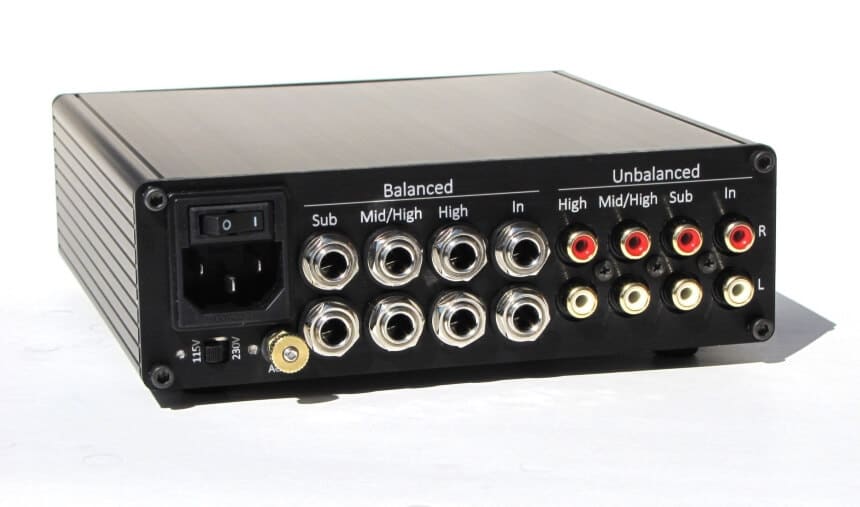 An active cross-over is a device made to separate audio signal’s high frequencies from low frequencies. It sends the high frequencies to one amplifier that powers the high-frequency speaker drivers like midrange and tweeter and the low frequencies to another amplifier that powers the woofer or subwoofers.
Speakers come with built-in crossovers, but an active cross-over usually comes in a separate box. It sits between the stereo preamplifier and the amplifier. To connect two amps with an active crossover, you are likely to have one amplifier for the midrange and tweeter speakers and the other for a woofer or subwoofer.
Connecting 2 amps with an active crossover does come with a couple of benefits including;
Some of the crucial considerations when using an active crossover include:
Get a crossover of superior quality to match your system, speakers and tastes.
Get equally high-quality amplifiers that are optimal for the speakers they are driving in terms of power output, impedance, frequency range and other variables.
The speakers should have different inputs for high and low frequencies. It shouldn’t just be a single pair of speaker wire connectors. At the very least, there should be a separate subwoofer in its own box with its own connectors.
Quick tip: at this level of listening and equipment, it would be wise to at least involve a professional audiophile dealer to help you select, and set up the amplifiers, speakers and crossover.
It is not guaranteed that following the steps in each of the processes above will work for you. Even the simplest of them can go wrong. Here are some useful tips that will help you avoid and troubleshoot some of the basic problems you are likely to encounter:
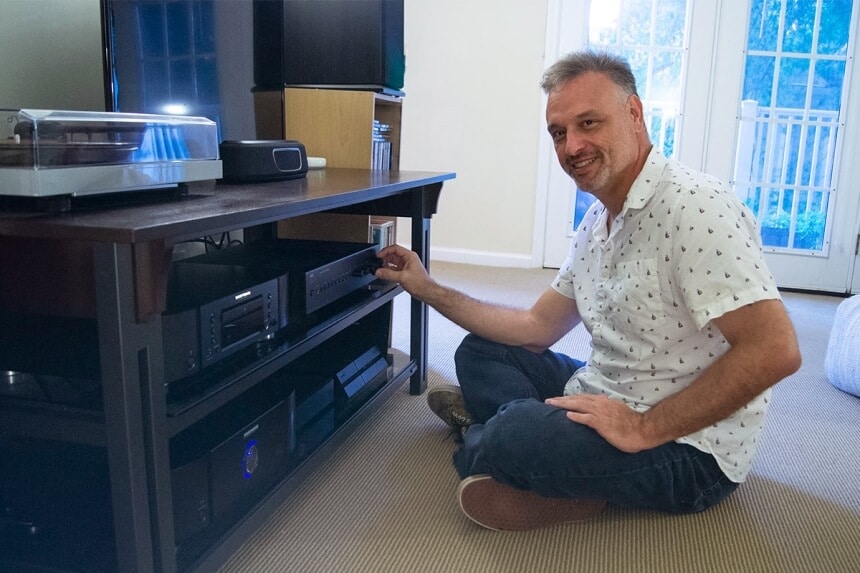 Ensure that all of the equipment is on and the volume controls are up. This includes the amplifier, the receiver, preamplifier and any source equipment you are using. The equipment should be plugged in and the power ON lights lit up.
When you are switching the equipment ON and OFF, do it in the right order. Turn on your receiver or preamplifier first before turning on your power amplifier. When powering down, do the vice versa. This prevents any possible damage to your system as well as helps you avoid unexpected noises and loud pops.
This is a rookie mistake that causes frustration to many. For instance, if you are playing a DVD ensure your receiver’s input selector is set to DVD. It becomes confusing especially with the high-end AV receivers that allow connection to multiple sources. A single AV receiver that is advanced may have inputs for up to 4 different DVD players.
Just to be sure, check the back panel of your DVD player (or whichever source) to see which connector is on. The receiver selector switch should read the same.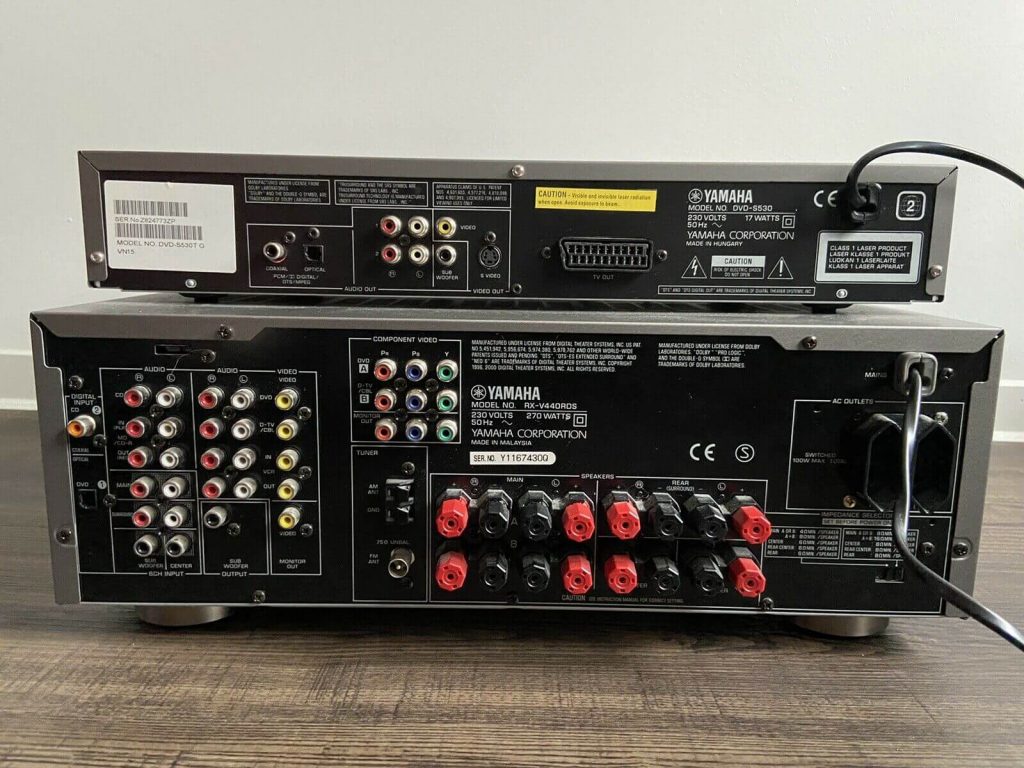
Sometimes you may experience audio signal or power cutoffs caused by a protection circuit failure. To fix this, you simply need to switch off the equipment for a moment and leave it to reset. The protection circuitry may also monitor excessive heat forcing you to turn off the equipment then give it time to reset.
Check to see if all the cables (between the amplifiers and the stereo, amplifiers and the speaker, and between the source equipment and the stereo/home theater system) are in the right place and are well connected.
Try to connect each piece of equipment to one another then try to switch their cables to be able to identify where the problem is. Don’t open up any of the equipment to try to see what’s up with it or fix it. You may damage it, void your warranty or cause a dangerous electric shock. Instead, consult the help of an authorized technician.
When it comes to connecting two amplifiers to one source, you are spoilt for choice. People have different reasons for wanting to connect multiple amplifiers to one source. For most people, it is usually to achieve louder and better sound quality. You have 3 methods to choose from, and all of them are safe and straightforward. The options vary from system to system because systems have different input/output options.
Once you learn how to connect 2 amplifiers together, achieving the best sound quality anytime you want to listen to music or watch a movie becomes a breeze. You can do the connections with any kind of amp, from a guitar amp and bass practice amp to an amp for metal or ukulele.