Last updated: May 18, 2026
While listening to various mixes, you’ll find that in some, the bass guitar comes off clear as day, while in others, it is buried deep behind other instruments and inputs. The difference is likely not in the way the instrument was played but in how it was recorded.
As a bassist, it’s imperative to learn how to record a bass guitar; otherwise, you’ll always be the most dispensable member of the band. After all, if you’re as audible and as interesting to listen to as every other band member, you become irreplaceable. Also, apart from professional music producers, no one else is really invested in making you sound exceptional in the mix. As such, you have to put in the extra work and learn the how-to from the write-up below.
There are essential pieces of equipment to any session of bass guitar recording that will ensure you get the best results. You can forego some of them, but chances are you’ll limit your recording potential in one way or another. That said, you don’t need to rush and get all the equipment at once, especially if you don’t have all the funds. Start small and add to your studio as you get more money.
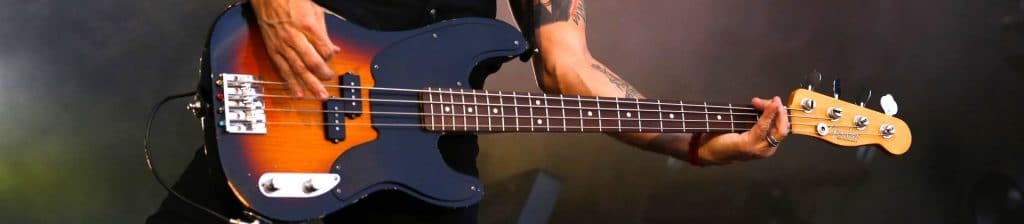
The bass guitar is undoubtedly the most critical component of such a recording session. After all, you can’t learn how to record bass guitar without the instrument. A point to note is that there are different types of bass guitars you could get for your recording sessions. These include Hollowbody, stand-up, electric, acoustic, acoustic-electric, fretless, short-scale, and long-scale bass guitars.
All the bass guitars mentioned typically have four or five playing strings to work with regardless of type. It is, however, common knowledge that the one with more strings is harder to play. This is due to the expanded range of sound.
Other distinctions are whether the guitar is a J-bass, P-bass, or modern style bass option. Depending on the music and play style, any of these could be ideal for varying recording sessions. As such, having a few different types of basses might pay off if you can, although just one is enough for beginners.
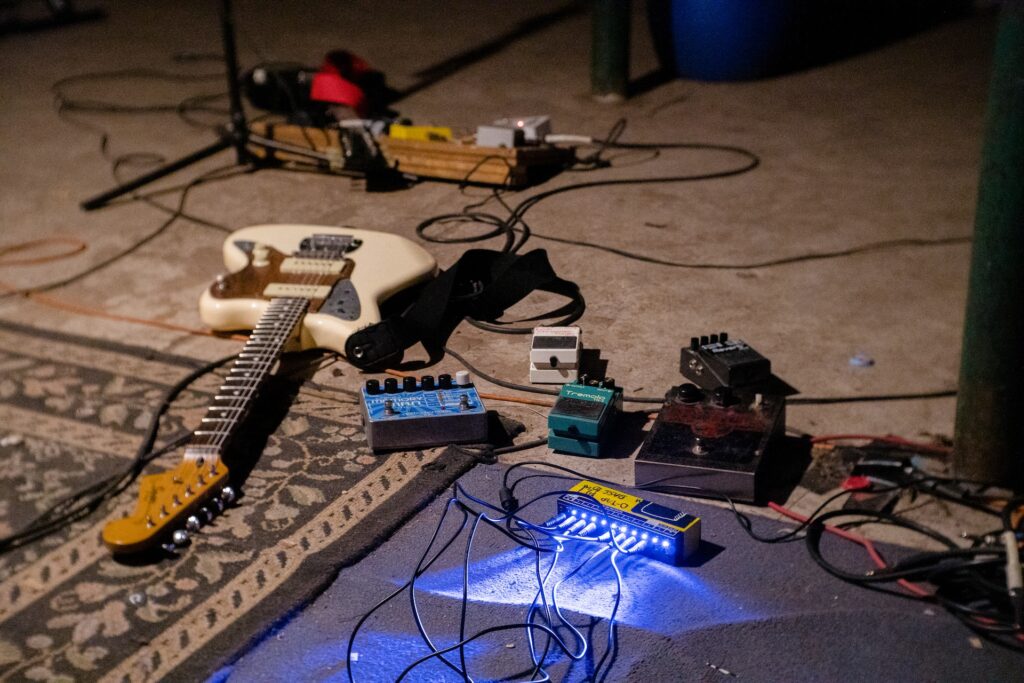
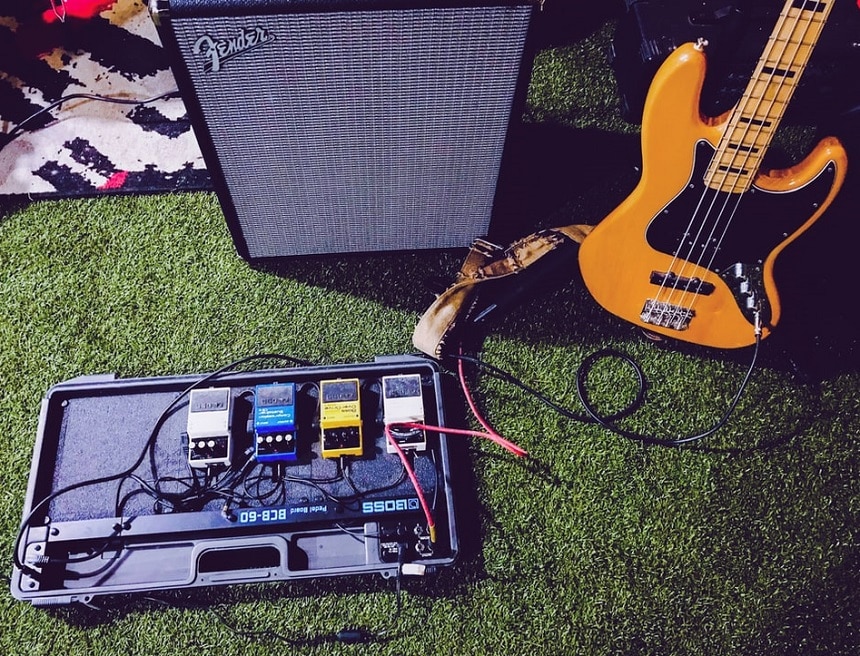
Other pieces of gear you might need are pedals. When added to your signal chain, they can help modify the sound produced by the bass guitar in your hands. To help you stand out in the mix, the types of pedals incorporated can add various effects to your guitar sound.
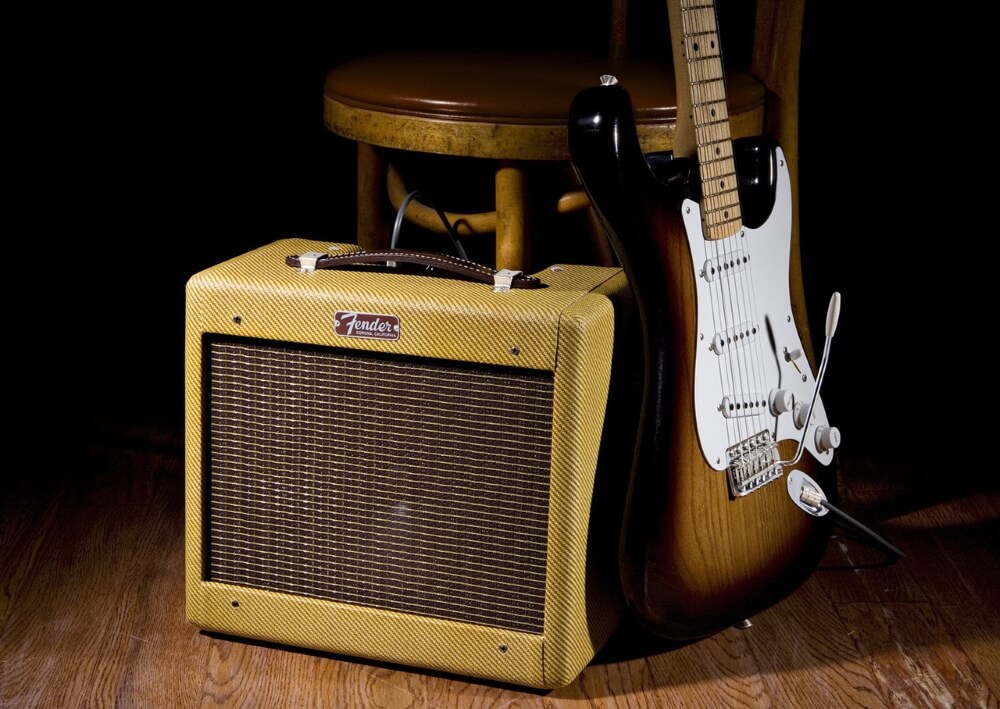
Next, the amp and cab are other essential pieces of equipment that can bring out your bass style in the mix. Some will come as separate devices, while others are purchased as head and amp components in an all-in-one device. The latter is known as a combo amp.
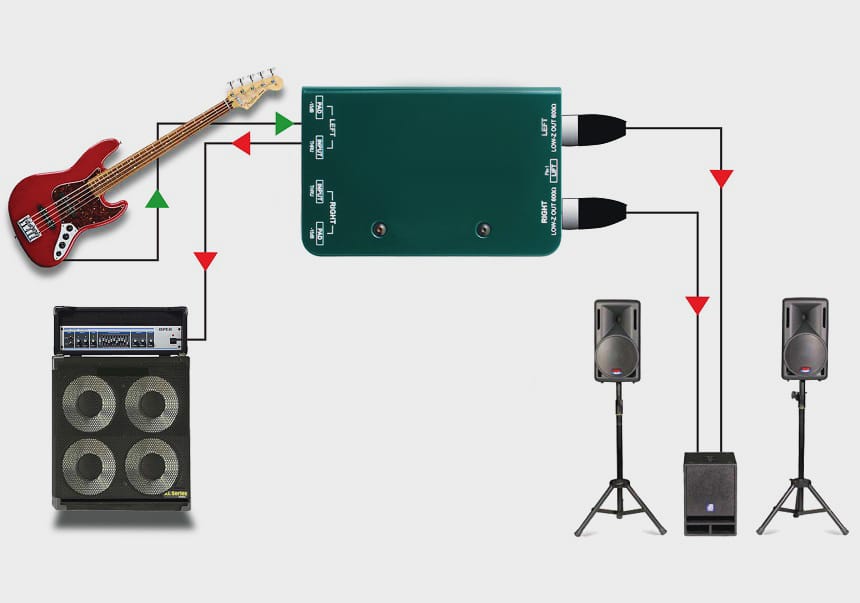
Depending on the type of amp and cab you choose, your guitar may end up sounding deep, mid-range, balanced, gnarly, or more. The choice is yours. Next, you should get a direct injection (DI) unit. This is one way you ensure the sound is clean since the guitar’s output is unaltered.
Lastly, you have microphones. Depending on the desired result, you might need more than one mic set up around your amp and cab to catch the full range of sound.
With the gear already in your studio, then you need to know how to position, set it up and use it for the best results. This is what we get into in this section.
Start by checking the quality of the strings on your bass guitar. Notably, if you use the guitar often, it will go out of tune every few months, and it will be up to you to correct that. As a guitar owner, you should use the various guitar tuning methods to your advantage.
Your guitar also goes out of tune whenever you replace old strings with new ones. When this happens, breaking-in the new strings is the best course of action. As such, ensure you have a few days between when you install new strings and when you record a session so you can have enough time for the breaking-in process.
Notably, new strings tend to have fret buzz and lots of finger noise. Also, you will be required to test out the instrument right before the session. If you don’t and you end up playing a few off-pitch notes, they will definitely make their way into the mix and ruin the session.
The sound coming out of the amp can be defined as fickle. This is because it is easily influenced by outside factors such as noises in the surrounding. For this reason, it’s always better to record with a direct box, even if you’re going to incorporate a miked-up amp as well. By doing so, the sound you pick up is cleaner, and you have more options during mixing as a result.
When recording with a direct box, you needn’t worry about mic placement. Instead, just ensure you’re using the correct instrument-level input and that all the machines are well connected.
Alternatively, when recording with an amp and cab, you retain more control over the sound as compared to the direct injection option. You will need microphones in addition to the amp + cab, and in some ways, it can be very similar to how people record an electric guitar.
For cabinet options, the Ampeg SVT-810E comes highly recommended by users and experts alike for those who want a high-performance option. It even comes packed with 2×400 watt stereo + 800-watt mono speakers.
Sound engineers prefer to make the best of both worlds, and as such, they record both direct input and amplified options as they can mix both of them up later. The direct injection boxes support this as they come with two outputs; one will go to the recording interface while the other will go to the amp.
Miking up your bass guitar may be a little more challenging than plugging cables into the direct box. Also, if you mess up even a little on the placement, it ruins the recording. As such, mic placement should involve some trial and error and a bit of knowledge of the rules that achieve the best results.
Start by getting a dynamic microphone and placing it on-axis in relation to the position of the cab and its larger drivers. According to most reviews, the Audix I5 is one of the most popular dynamic mic options as it’s able to easily handle the high sound pressure levels emitted by your cab. The mic can be used with a wide variety of musical instruments, and its VCM diaphragm is excellent for the sound reproduction you’re looking for.
Additionally, about one inch of space should be between the grille on the cabinet and the mic. Remember that mic positioning is vital for the type of sound that you want to be carried into the recording.
You record a brighter, crisper tone by putting the mic closer to the middle of the driver. Alternatively, you can position it closer towards the edge, and the resulting sound will be softer and darker. Like we said before, it pays to play around with the positioning to get what works best.
Once you’ve recorded the low-end, you’ve effectively made the track a joy to listen to on subwoofers. However, an even larger group of people will listen to your music via smaller speakers. They include the ones on laptops, phones, and headphones.
This is why having a secondary microphone in your recording setup may be necessary. Ideally, it should be a brighter dynamic mic, and its positioning should be an inch or two from the grille. However, this time you place it in front of the smaller drivers. Consequently, you’ll capture the mid-range and string noise from the bass guitar.
If the detail from the second dynamic mic is insufficient, you might want to replace it with a condenser mic. The AKG Pro Audio C414 mic remains a popular condenser mic for professionals who want to ensure they can get all the audio details they can in their mixes. Features such as the bass-cut filters make it especially effective in situations where you want more detail.
A third mic is also necessary for some recording situations. The placement is not as close to the grille as with the first two microphones. Instead, this mic should be a few feet from the cab. After all, it’s being used to record the sound bouncing from the floor and walls. Large-diaphragm condenser microphones are perfect for this job.
For the two microphones near the cab, do remember to adhere to the 3:1 rule. This is where the distance between the two mics should be thrice the distance to the grille. This helps you avoid phasing.
At some point in your mixing process, you’re going to want to combine the DI and miked-up bass tracks. However, if you’re haphazard about the process, you open the door for comb filtering. As a result, you may hear a hollow or nasal sound in the track that weakens the tone.
What you should do is ensure the relative phase of the two tracks is the same. However, by default, they will be different due to the slight delay in signal between the DI and the microphones. If you line up the tracks in a DAW, then zoom in, you will see just how much of a time difference there is.
Advancing the amp track or delaying the DI track using editing and plug-ins should get them back to the same level. This is necessary if you want fuller tones and better sounding low-end.
It also pays to have some backups, which is why the dry track is so important. Do remember that adding effects can also lead to your track sounding over-processed and displeasing to the ear. If you have no dry track to fall back on, you will have to record again, which is harder to do.
However, if you still have the track you picked up using the DI, you can use that instead. After all, if the signal is clean enough and you know your way around mixing, adding more favorable effects with your studio tools will be easy as pie.
Plug-ins can be used to equalize, compress, add grit and girth, warming effects, and more. Consequently, for that track to sound as good as those recorded by your favorite sound engineer, plug-ins may be the final touch needed. Worth noting is that plug-ins don’t have to be expensive. Some can even be gotten for free.
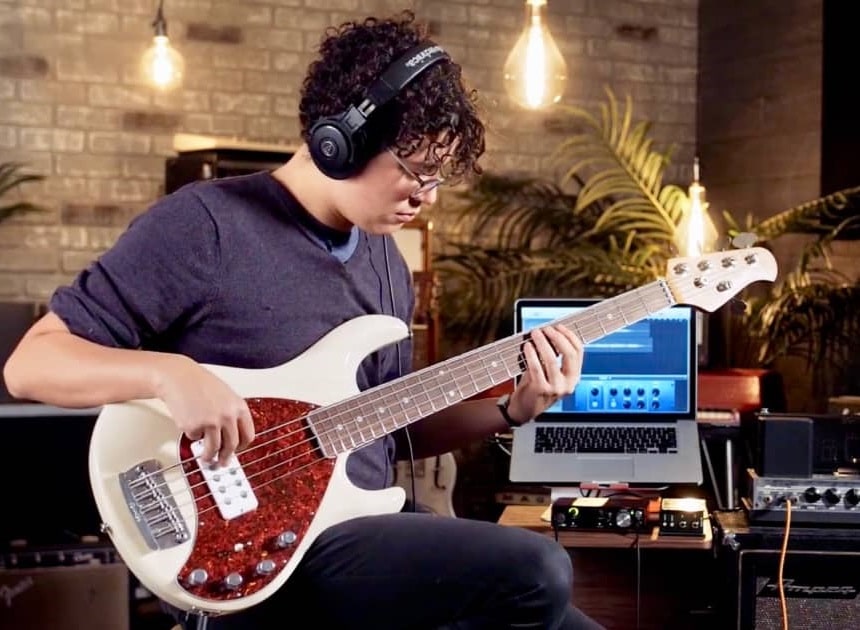
Since most of you will be using your computers during recording sessions, it makes sense that you learn how to record and mix bass guitar on PC. Ideally, you should have an audio interface on hand as it will ensure less noise, jitter, and latency in your audio signal.
Use the high-impudence instrument input and connect the audio interface to the bass guitar. A DI/preamp will also work if plugged into the microphone input. Also, before recording, ensure that you can hear yourself through the recording chain. This necessitates that you set the buffer size on the audio interface quite low.
However, setting it too low does introduce glitching, so be careful of that. This will allow the sound to come back to you as the bassist with minimal delay, which is essential for the monitoring process. Next, you set up the input gain to be around 6dB, allowing enough headroom in the signal level without introducing clipping.
Follow up by enabling the monitor option in the particular track you’re recording to. It will also do you good to hear the amped-up tone of your bass, so you might want to add a bass amp simulation plug-in. Make test recordings to ensure everything is okay.
After that, change the virtual amp settings to your preferences. You can play around with the gain, built-in compression, and other settings. Also, remember that once you’ve set this up, you can’t change the positioning of the speaker cabinets and the mic. As such, make sure they’re well placed before you play around with these settings.
You then need to shape the sound as you see fit in terms of the cut/boost, weight, muddiness, clarity, and attack. The ideal settings are 80-100Hz, 300-500Hz, 800-100Hz, and 2-3Hz in that order. Add the compressor while making sure the ratio is at least 4:1.
Other things to check for, include fast attack and release times. You can also test out different compression types to see which one works for you. Optical compression retains low-end fatness, FET compression gives you fast responses and grit, VCA is for punch and aggression, and lastly, tube gives you slower attack and release.
This concludes the recording and mixing process for most DAWs. However, how you record bass guitar in FL studio is slightly different. You start by connecting the audio interface or microphone input to the computer just as you would have done with the other DAWs.
After that, you open the FL studio Trusted Source FL Studio - Wikipedia FL Studio (previously known as FruityLoops before 2003) is a digital audio workstation (DAW) developed by the Belgian company Image-Line. FL Studio features a graphical user interface with a pattern-based music sequencer. The program is available in four different editions for Microsoft Windows and macOS. en.wikipedia.org and configure it to work with your devices. This includes selecting the right input device from the list of devices listed in the DAW and choosing an audio driver that matches your input device. If the driver you’re looking for is not listed, you can use ASIO4ALL or the FL studio audio driver.
Notably, you might have to download and install the ASIO4ALL if it is unavailable on the DAW. Next, configure the buffer length and sample rate for low latency and to achieve a high-quality recording. Set up the recording track by pressing f5 and selecting from the tracks that pop up.
Follow up by pressing f9 and selecting the right input device. Once you’ve done this, confirm that the audio levels are right. If the level monitor light maxes out when you play, the levels need to be reduced. However, you won’t be making this adjustment on FL studio but rather on the audio interface.
Depending on the model of the interface, it could also have an indicator to tell you when the levels are too high. After that, press the record button. In the pop-up box that appears, the ‘Audio, into the playlist as an audio clip’ is an excellent option to pick.
The FL Studio DAW gives you a countdown so you can set yourself up to record. You can use the space bar to stop recording. After you’re done, your track should be available on the playlist view.
It’s possible to do more with your recording sessions once you have thoroughly familiarized yourself with the equipment and the DAWs mentioned above. The way to do that is to experiment, try out different features, watch YouTube videos on the same and correct yourself whenever you notice a problem. That said, the basics on how to record a bass guitar are all available in the write-up above, and we hope it’ll help you get started.