 Last updated: February 17, 2026
When home stereo or amplifier stops functioning properly, you want it back in good shape in no time, but first things first. You must understand the components of the amplifier and how it works before you can figure out what could go wrong with it and how to fix its problems. The complexity of an amplifier repair usually depends on its parts that have a malfunction and their location in the unit.
Before you learn how to repair amplifiers, you must brace yourself to delve into the wealth of information about its operations. Many things can go wrong with your amplifier, but there are common problems that are likely to affect virtually all brands and models. Read on for more details on how to identify an amplifier problem, and what and how you need to fix it. You’ll also get to know how to disassemble, inspect, and clean an amplifier.
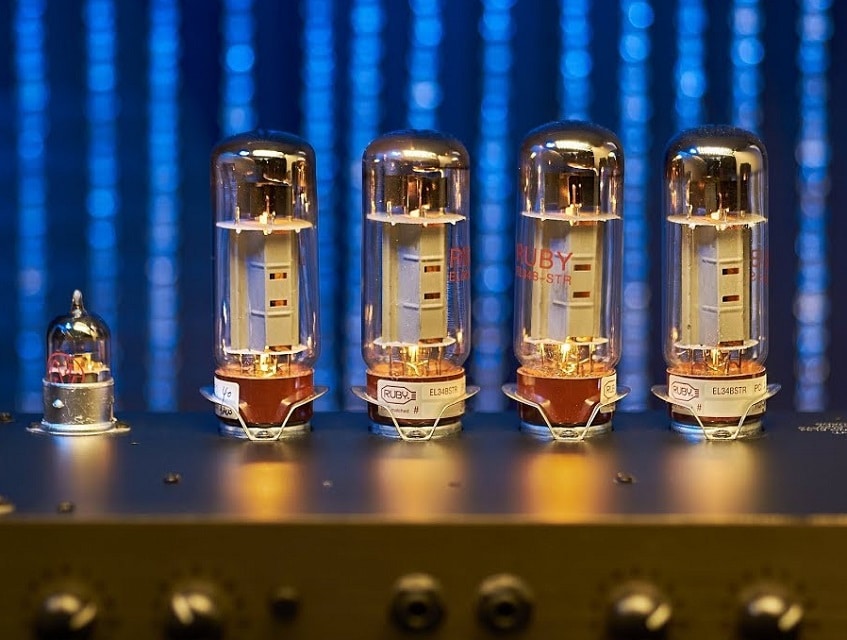
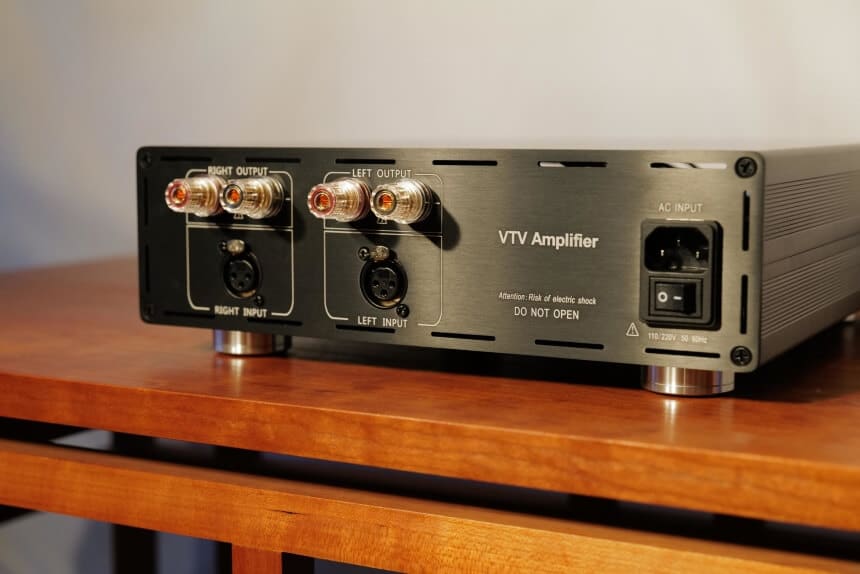 An amplifier is an electronic device that magnifies and controls output audio signal sources from audio home entertainment devices like external CD player and tape player, or a built-in AM-FM receiver. The output signal is usually fed to audio speakers.
The main components of an amplifier include: speaker, power amp and preamp. The preamp is the part that converts the audio signal into an electrical current. Your amp then receives the electrical currents from the preamp, adds voltage, then send the signal to the speakers.
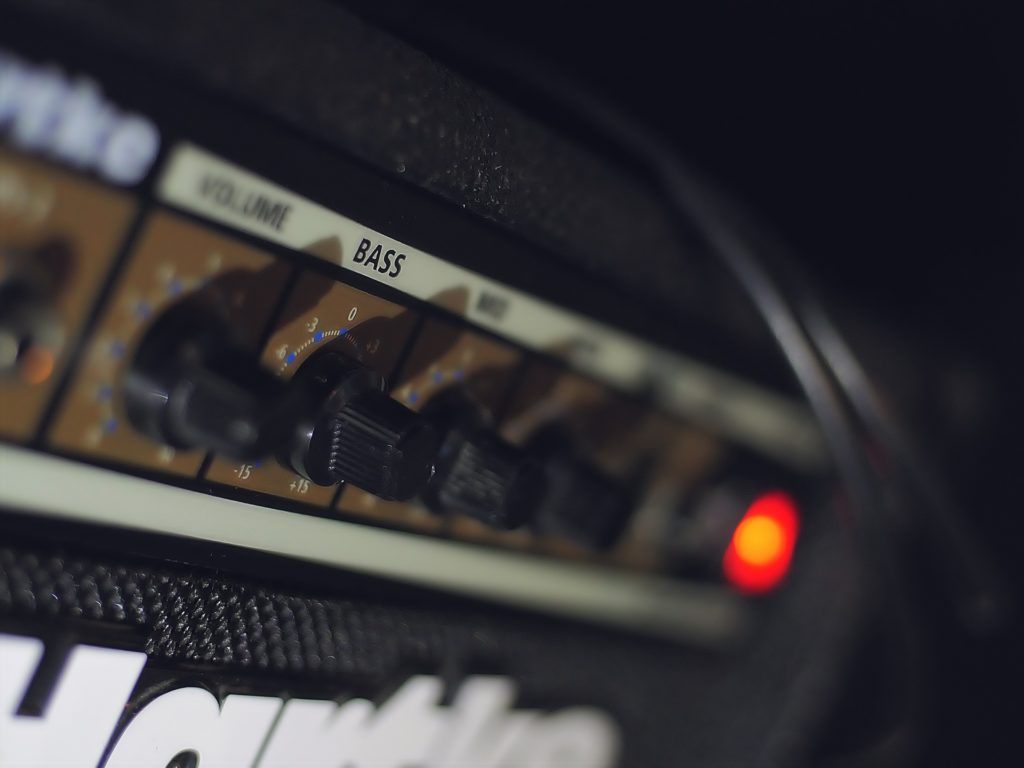
So much could go wrong with an amplifier. The most common problem is operator error. An example of an operator error is when your speakers light up and there isn’t any sound being produced. In this case, the speaker wires may be disconnected or the speaker button may not be selected. It is also highly likely that the cord may be damaged or he internal fuse blown.
Most times you will find that the problem is not in the amplifier, but in one of the connections between it and its speakers or an audio signal source. Before disassembling the unit to look further, use a multimeter or a continuity tester to check the continuity of audio cords.
Identifying a problem in an amplifier is not as hard as finding the source of the problem. Identifying the problem is as simple as realizing your amplifier is powering on, or it is not producing any sound. Finding the cause of the bad sound or lack of sound is the real deal. Sometimes you may even think your amplifier has an issue when it’s the audio unit that feed into it like a speaker or DVD player that actually has a problem.
Fixing an amplifier is pretty similar to fixing many other appliances because they are assembled with similar components. Some of the basic components include cords, which may fail to deliver electricity, fuses, which may need replacement, and switches and controllers that may cause problems.
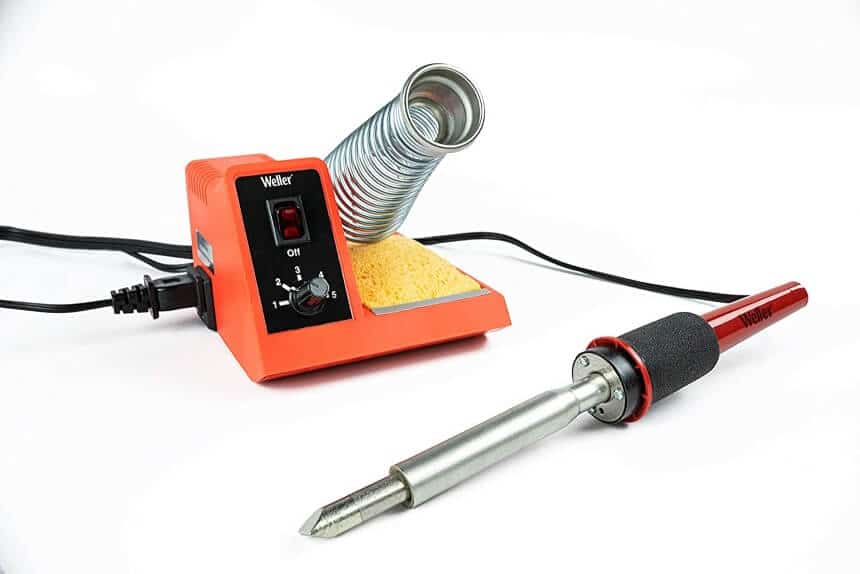 Some of the essential tools you need to gather for fixing an amplifier include:
Here is a simple step by step guide on how to repair an amplifier:
Step 1
Turn down the volume to zero then switch off the amplifier then let it cool down.
Step 2
Turn the amplifier on. If the LED that indicates ‘ON’ lights up, then it means there’s no issue with the power supply. Try to operate it normally by turning up the volume. If you get some sound but it is too low or of poor quality, then it means the amplifier is working but not to its optimum level. This could be caused by a loose connection. If no sound is produced, then it is highly likely that a part of it is broken.
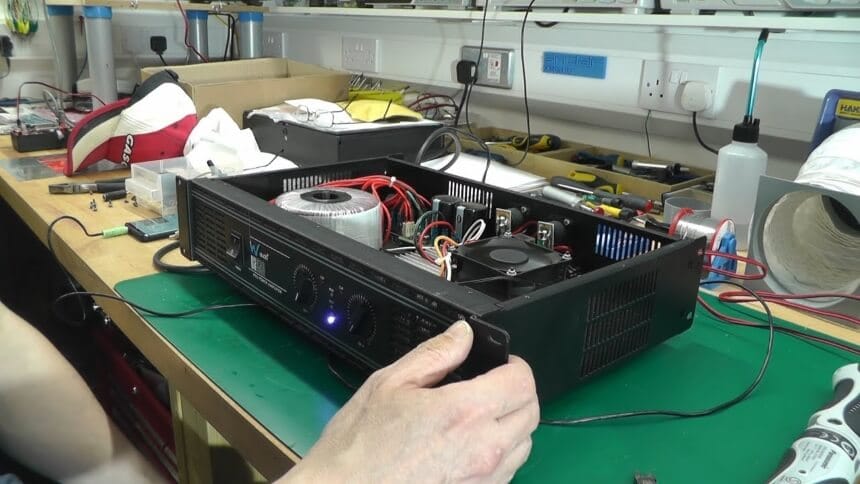
Step 3
Use a screwdriver to screw the back panel of the amplifier. Remove the chassis to expose the circuit board. Check for obvious signs of damage like a blown fuse or transistor. You will know a fuse or transistor is blown when you see a brown discoloration. If that’s the case replace either of the parts with an identical part.
Step 4
Look to see if there are any loosely connected wire joints. You can do this by tracing the circuit wiring from input and gently pulling on the wire. If the wiring is slack, then it means there is a loose connection. You can re-establish the connection by melting the loose wire joints and soldering them.
Step 5
 Check out the printed circuit board and be on the look for loose-fitting capacitors and resistors. The circuit is usually shorted when one of the parts comes away from the circuit. Also, when a resistor stops regulating current the whole circuit fails.
Step 6
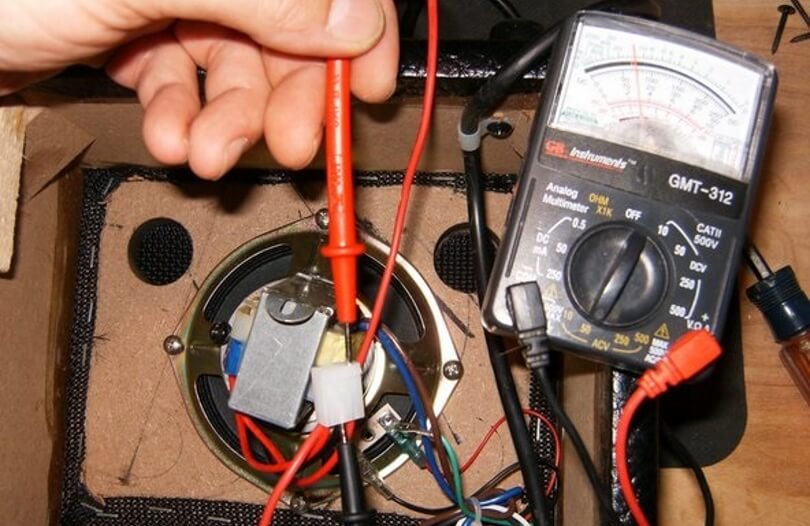 Grab a voltmeter probe and place it directly after the first resistor in the signal chain to test if it’s functioning properly. Set the meter to ‘resistance’ then switch on the amplifier. The voltmeter should give you a reading within 5 percent of the value. If you get anything outside this variance, then the resistor is malfunction. If it reads zero, then the resistor is completely shorted.
Step 7
If you find that the resistor is shorted, turn off the amplifier and replace it. Remove the resistor by disconnecting the solder joint on the base of the circuit board the solder in an identical replacement…
Step 8
The last step is to test the output transformer. Use a screwdriver to unscrew the transformer’s housing so that you can expose the primary winding. Attach meter leads to the winding inside the transformer then turn the amplifier on. You should get a reading that is almost similar to the power handling detailed in your user manual. If the meter reads zero, then it means the transformer coil is shorted. An overly high reading means the transformer is leaking. In both cases, you need to replace the transformer.
There is no guarantee that your guitar amp or bass practice amp will never have any issues. Therefore, it is important to have a clue on amplifier troubleshooting and repair tips. We have provided all the hints and tips you may need to fix your amplifier whenever it stops functioning properly.
Before you learn how to repair an amplifier, whether it’s a stage or fender amplifier, you must understand its build and operation. Disassembling the unit is pretty simple provided you have the right tools. If you are really not up to fixing your amp yourself, you can always seek assistance from your manufacturer’s customer care or a professional. Also, if you try all the repair options and the amp doesn’t work, you can get help from a professional.


Please DO NOT take resistance readings with the amplifier turned on. You should measure voltage potential with power on, but, absolutely do not attempt to measure resistance on a live circuit. This article is overly simplistic and provides no value to anyone with a basic understanding of electricity and is outright dangerous for those trying to learn. Electrical safety is no joke and amplifiers have the potential to store dangerous amounts of current (even after they’re unplugged). You may want to take this post down before it becomes a liability. Best case you’ll get inaccurate readings and blow the fuse in your DMM.
I am trying to repair a phillips ah 578 amplifier and need help sourcing and testing transistors on driver board. I have a copy of repair manual and schematics but I am not sure of current replacements for a transistor with numbers:359-1, m726. paired with 359-1 m726. Are there folks out there that I can contact with questions?