Last updated: April 08, 2026
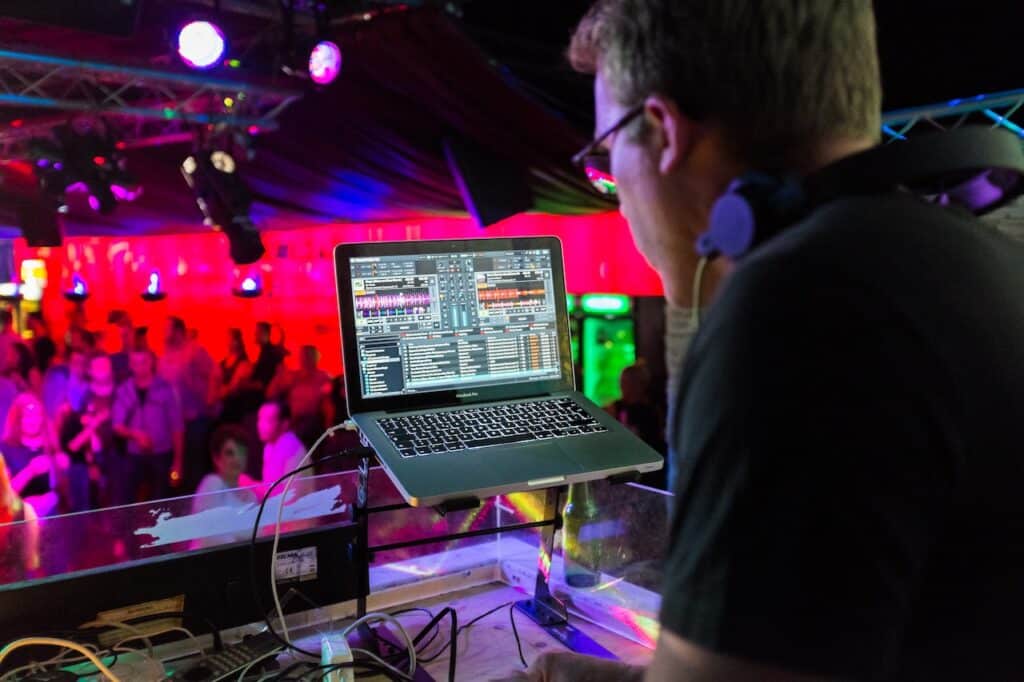
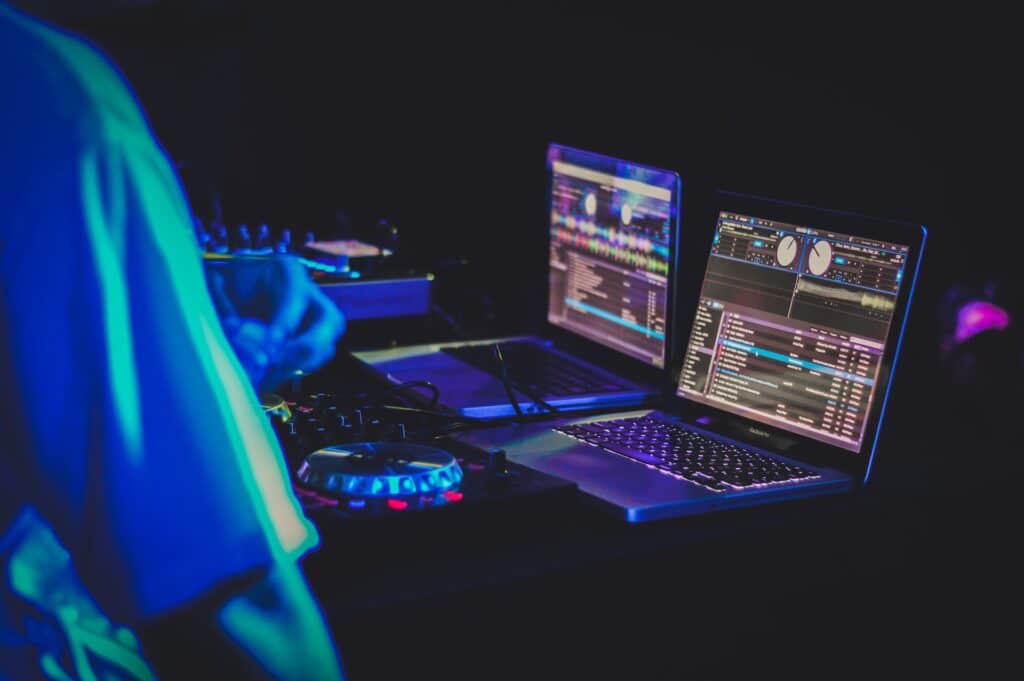
DJs make their work look so graceful, and it’s all thanks to their equipment, namely the controllers. However, if you’ve ever seen one of these controllers, then you know it’s a fairly intimidating device. It comes with multiple buttons, knobs, and controllers, which is enough to put people off from using the machine.
However, for the determined few, the only thing stopping them is they don’t know how to use a DJ controller on their PCs. Otherwise, they would get one as soon as possible and put it to good use. If you’re one of these determined few, this write-up should give you insight into what the machine is capable of and how to use it to your advantage.
To understand a DJ controller and what it does, you must first understand DJ software. Examples of DJ software include Ableton Live, Serato DJ pro, Atomix VirtualDJ Pro, and more. Notably, this kind of software allows you to combine different tracks to make remixed alternatives using your keyboard and mouse pad as your controls. Since that isn’t the main function of the keyboard and mouse, it makes controlling the software more difficult, which is where the DJ controller comes in.
DJ controllers have dedicated controls that can sometimes be mapped out according to your preferences to make the DJ software easier to use. They technically do not mix audio. This is the job of your computer and the DJ software. However, they do give directions to the computer on how to go about it.
Also, a common feature in modern DJ controllers is that they come with built-in soundcards. This is further supplemented by outputs making it easy to preview audio and remixed tracks before routing it to the main output for the audience.
The Traditional “deejaying” setup involved having a mixing console sandwiched between two decks. However, with the modern DJ controller, you typically get the same things built into one machine. Additionally, traditional machines took up the duty of processing the sounds mixed. In the modern era, the software takes up that responsibility, therefore, allowing the controllers to be smaller than ever.
As improvements for the old Deejaying setups, DJ controllers have some benefits, as highlighted below.
If you were to try and use an older/more traditional setup, you’d have to buy at least two decks and a mixer. Also, given how we access music files in the modern age, you would still need a computer as a repository for the tunes and sounds that you mix on the daily. This is in addition to several USB sticks that you use to load the songs onto your decks.
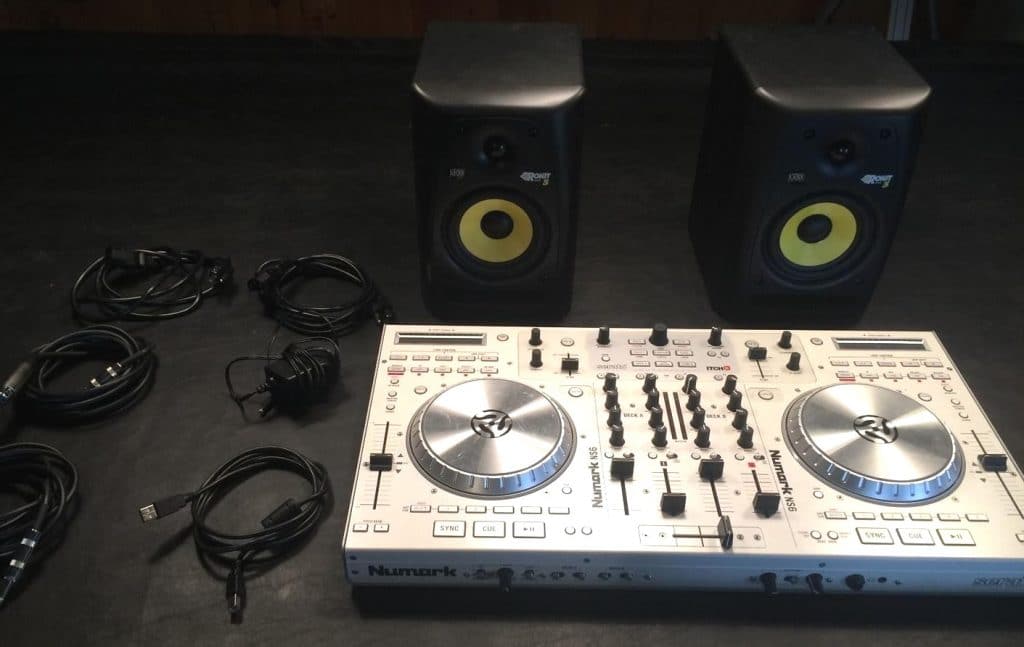
Contrast that with only having to buy a controller and a laptop, and you find that the DJ controller setup is much cheaper. Today it’s even possible to get a DJ controller for under $300. The Numark Party Mix II is, according to reviews, an excellent example of how affordable DJ controllers can be. Not only is the hardware inexpensive, but buyers also get Serato DJ lite software included with the purchase.
Another notable factor when learning how to use a DJ controller with Traktor or FL studio is that the sound production and processing are done by the computer. Modern PCs have enough computational power to get the job done and still manage to be compact. A side effect is that the controller doesn’t need many inbuilt electrical components to do its job. Consequently, new DJ controllers are also getting smaller and smaller, making the whole setup more portable.
This is another side effect of the integration with DJ software. Notably, the software seems easier to develop compared to hardware with no raw materials being used. As such, new and improved versions of DJ apps are pushed out regularly, and of course, they’ll have new capabilities, features, and functions as well. The users, in return, update their old apps allowing them to use the new features with the old hardware that they have.
If you were to use older tech, e.g., CDJ, this adaptability is stifled because they require firmware updates that are infrequent at best.
Another benefit is the ease of use which is evident in several ways once you start using a DJ controller. One example is easy access to your music library. Every track you use will likely be stored on your PC’s hard disk. Consequently, searching for specific tracks becomes a cakewalk. Remember you have the search feature in your computer where you can put in keywords and get results.
The “sort” feature is another extension of this, not to mention the big screen you have as well as the mouse. Additionally, you need to preview tracks to mix or remix them properly. This has also been made easier compared to traditional setups. There is no need to even load the tracks onto one of your decks which was necessary when using a CDJ or DDJ system. Instead, you use your mouse to play bits and pieces of the songs before loading them onto your decks.
Next, recording your Deejaying sessions is not as difficult as it used to be. The computer is enough, and the deejaying apps have a built-in recording feature. You just hit the “record” button before starting your set.
The last piece of evidence showing that DJ controllers are easy to use is the plug-and-play functionality. This is partly due to the integration with the deejaying software available. A USB cable connecting your PC and controller is basically all you need for the two machines to work together.
The term “specialized keyboard” is an apt description for a DJ controller. All it does is give a set of instructions to the DJ software running on the computer. For instance, hitting the play/pause button on the DJ controller hardware works the same as hovering over the same button in the software and clicking on it with your mouse. However, the former is much easier, faster, and more intuitive.
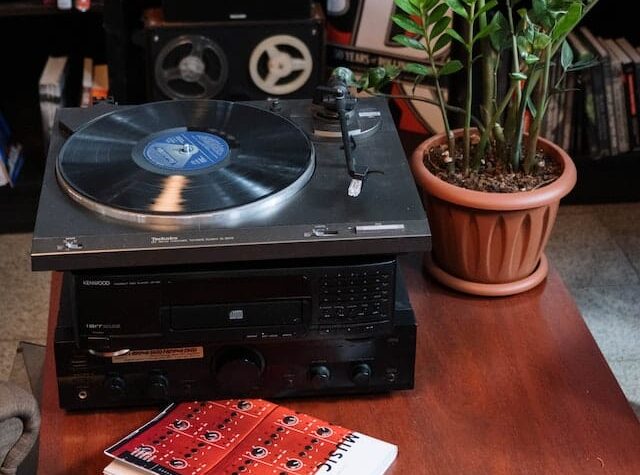
Older turntables were self-reliant where they had electrical circuitry to adjust the audio. They featured pedals and controls that would create effects. Additionally, they also helped adjust frequency response and the playback of the song. Modern controllers, on the other hand, use binary signals to communicate with your PC.
That said, most new controllers come with predetermined controls that have been tried, tested, and proven to be fairly intuitive. Also, the larger your DJ controller, the more controls and buttons you’re likely to have.
Additionally, many modern DJ controllers come with built-in soundcards. This allows the audio to be fed back into the controller from the computer via the USB cable. Consequently, the user gets more control over audio levels going out to the various outputs, including your PA system.
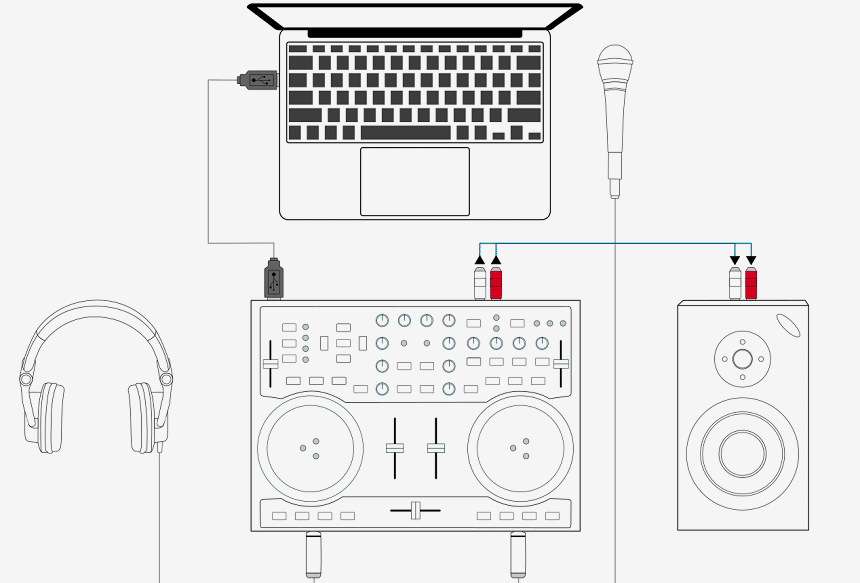
Setting up a DJ controller is a fairly easy task. First, you have to plug your PC and the controller into working sockets. After all, the devices need to be powered up before you can use them. Additionally, you connect the PC and the controller via the provided USB cord.
Next, you open the DJ software on your computer. Most of these are designed to automatically detect the connection with the controller. Some may require additional manual input and selection of the device you’re using once the program is open.
You can then map some of your controls if it’s your first time. Where you don’t have this option, you can read the manual on what certain buttons are for and how to use them. We’ve also covered some of that in the section below.
You’ll likely have to connect the controller’s outputs to your PA system or speakers. Sometimes you may even have to route that connection via an external mixer, depending on the setup at your deejaying booth.
Other DJs connect their headphones to one of the outputs of the controller for previews. Your DJ controller is now set up and ready for use.
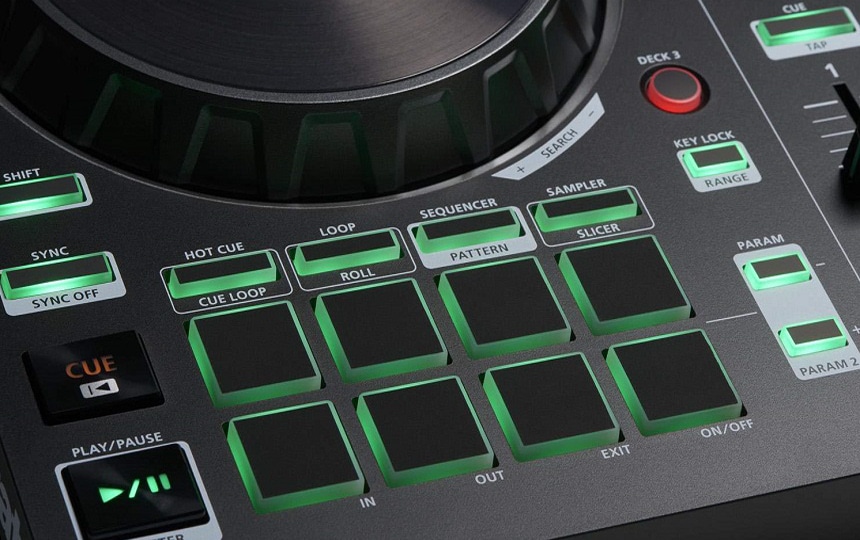
Whether you’re learning how to use a DJ controller with Serato, Traktor, or FL studio, the button layout and their functions on the device will likely be the same. Here are the controls that you should expect:
Just as the name suggests, this button will either play or pause the track that you’ve selected.
The cue button is often used to mark a start point in a song or track. Most DJs use this button on a track they’re not playing to control where the song starts when they make a transition. After that, if you press the cue button a second time, it will start the song at the cue mark.
Additionally, the song will only keep going as long as your finger remains on the button, although you can also press the play button for continuous play. Lastly, you’re discouraged from pressing the cue button while playing a track because it will pause the song.
The hot cue button is similar to the cue button in that it marks certain sections of the song, so you can easily jump to them at any time. Notably, you can mark multiple hot cue points on a song, and the machine and software will remember them for you.
One of the basics of deejaying is that you transition better from one track to another when they have a similar BPM or song tempo. By pressing the sync button, you sync the BPM of the song in the secondary channel to match the one currently playing, therefore making the transition more seamless.
This is yet another button whose function is self-explanatory. You use it to create a loop area where a section of the song will keep repeating until you turn it off. It’s best used to make quick loops.
The manual loop button is almost the same as the auto loop, but it needs extra input from you. Typically, you use the available pads to determine where the loop starts and ends. You can also tweak it if the result is not up to your standards.
This button is used to play short sound effects loaded onto your Deejaying software. Some examples include your DJ name or your contact information.
Notably, some buttons on the machine have two functions. However, if you press them, you only activate the first function leaving out the secondary one. This is where the shift button comes in. You press both the shift button and the button with two functionalities, and the secondary function will be activated.
For instance, the cue button may also have a rewind function. If you only press this button, it will cue a song just as described above. However, if you press the shift + cue button, then the secondary function, in this case, rewind, will be activated.
Another control that some DJs like on their controllers is the motorized platter. It’s similar to the old-school vinyl turntables in the way it spins while a track is playing and even gives you similar functionality. As such, options with these platters make the best DJ controllers for scratching. You can pause, slow down the song, and more using this part of the hardware.
Higher-end DJ controllers are also likely to come with a screen that may have multiple functions depending on whether or not it has touch functionality. According to reviewers, the Pioneer DJ DJ System has one of the best screens in the market. It’s large and offers lots of visual feedback while you’re mixing. Also, the machine features lots of professional-grade DJ features.
Lastly, here are some tips to guide you as you start mixing.
Hacking how to use a DJ controller is not a day-long endeavor. It takes a while not only to familiarize yourself with the controls but also to use them effectively. You need to build up your mixing skills over time, and that can only happen through practice. For reference, you can check out your favorite DJs and note down how they make transitions, the FX frequency, and other aspects of their mixes that you like. After that, you try to mimic them while also trying to build your identity as a DJ.