Advantages of studio monitors under $300
A studio monitor should give you a true uncolored and transparent representation of the music you are recording. While it’s hard to accomplish that at the $300 price point, it is not entirely impossible. Studio monitors under $300 will not give you all the benefits of more expensive units as manufacturers tend to scrimp a bit on quality with their lower-end models to make a profit.
Here are some reasons why you shouldn’t be afraid to buy a studio monitor those costs less than $300:
- Superb power output- Most of the monitors within the $300 price range have excellent power output. The power output ranges between 25W and 300W depending on the model and brand.
- Sound clarity- The majority of the models produce a clear sound throughout their full range. They also offer very minimal sound coloration, giving you a true representation of your music.
- Sturdy construction- Monitors under the $300 mark have a robust build. You’d expect them to be flimsy compared to their expensive counterparts, but they really are built to withstand the test of time.
- Great tweeter design and construction- Some models do have the best tweeter build that delivers tight focused highs.
Important features
Here are some of the features that you should expect from any studio monitor under the 300-dollar mark.
Power configuration
Power configuration is a crucial consideration. It affects the overall sound of the speaker when it comes to the amount of headroom, dynamic range, and volume.
Be sure to go for a studio monitor with a higher wattage as it will allow you to hear clear audio details and be able to make accurate adjustments to the compressors, gates, and limiters.
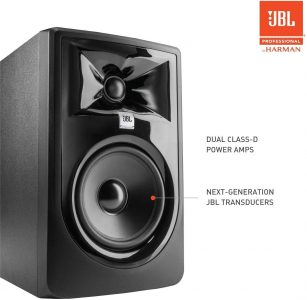
The
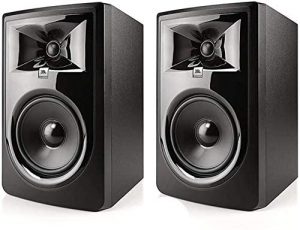
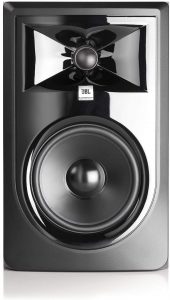
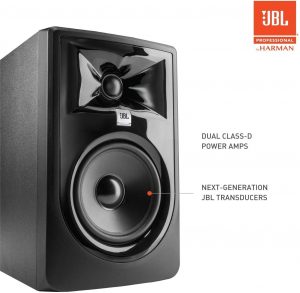
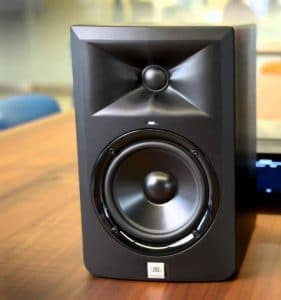
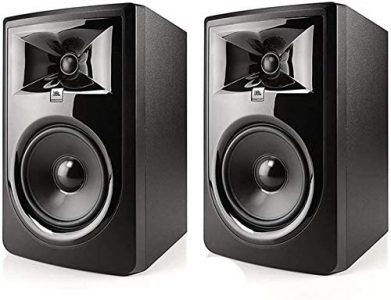
JBL Professional 305P MkII Next-Generation Studio Monitor is a prime example of a studio monitor with a high-power configuration at an attractive price point.
There are three types of power configuration; single amp. Bi-amp and tri-amp. Be sure to go for monitors that have the bi-amp or tri-amp configuration. They have a better definition and more accurate frequency response compared to their single amp counterparts. This is because they power each speaker individually, allowing each driver to reproduce its dedicated frequency range with high precision.
Frequency response
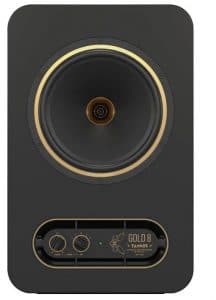
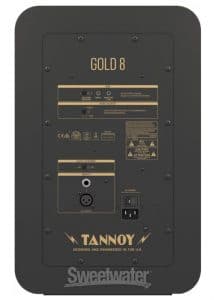
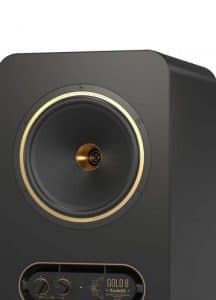
The wider the frequency range of the studio monitors, the better. A monitor with a wide frequency response range will save you the trouble of having to get a subwoofer to boost its bass. The Tannoy GOLD 8 Powered Studio Monitor is a good example of a monitor with a decent frequency range of 54Hz to 20 kHz.
You can as well choose a studio monitor with a small frequency range then invest in a subwoofer to back up its bass. Monitors with a small range tend to be cheaper.
Maximum peak SPL
This is the highest sound pressure level your studio monitor can handle before the onset of distortion. If you have a small studio space or stage, go for a studio monitor with a maximum peak SPL of 70dB. For a large studio space or stage, the maximum peak SPL should be at least 85dB.
You need to learn how to calibrate your studio monitor to the optimum SPL according to the size of your studio space so you can get the best sound quality out of them when producing music.
Input and Output types
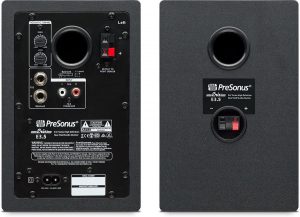
You have to ensure that the inputs offered by the monitor will work with your equipment or musical instruments. Some monitors offer both unbalanced and balanced inputs, while others only offer either.
Some of the most common inputs for studio monitors under 300 dollars include TRS, ¼”, RCA, XLR, and S/PDIF jacks.
The ¼’’ jack is the most basic audio connection. It is an unbalanced connection, also known as a phone plug, that uses a phone patching cord connector. The RCA and TRS both use the phone plug-style connection. However, the TRS uses three conductors instead of just 2.
Cabinet
There are a couple of small studio monitors and a few large ones that come with a ported cabinet. This type of cabinet helps extend the monitor’s frequency response lower, thus producing more bass. As beneficial as it may sound, there’s a downside to it. Ported cabinets don’t have a high sonic accuracy like that of closed cabinets. Closed cabinets provide more accurate monitoring and are the best you can get if you have to place your monitors too close to a wall or in a corner.
EQ
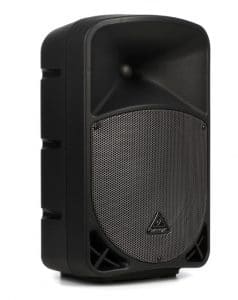
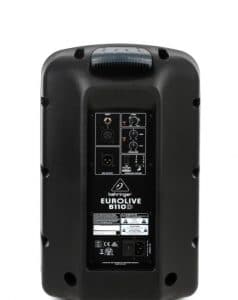
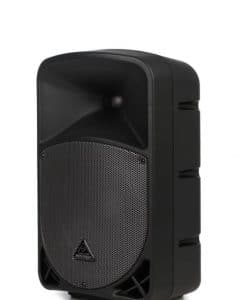
Choose a studio monitor that features EQ. It will help you tune it according to the environment in your studio space. Some like the Behringer Eurolive B110D Powered Speaker even come with digital processing that optimizes their performance for your acoustic space.
Size
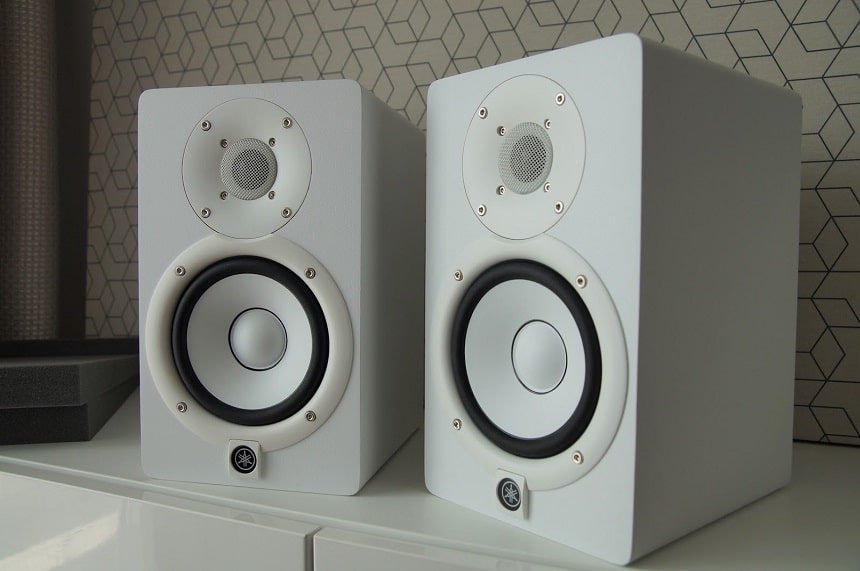
The size of a studio monitor affects three crucial aspects of its performance; the dynamic range and distortion, bass response, and listening distance. A large studio monitor will give you a dynamic range and less distortion, deeper bass response, and a further listening distance compared to a small monitor. They are more suitable for large rooms because you can place them far away from the listening position and still get a decent continuous sound wave.
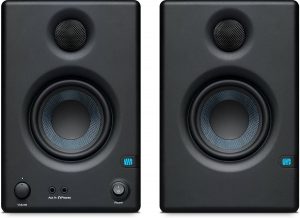
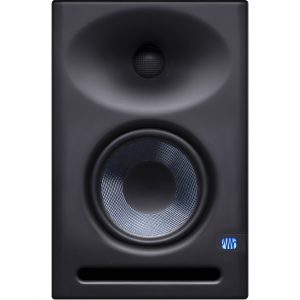
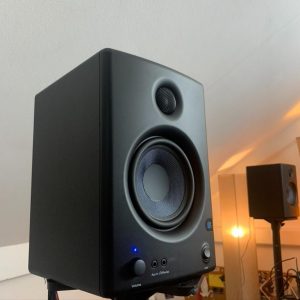
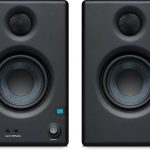
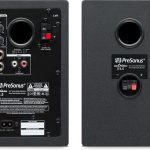
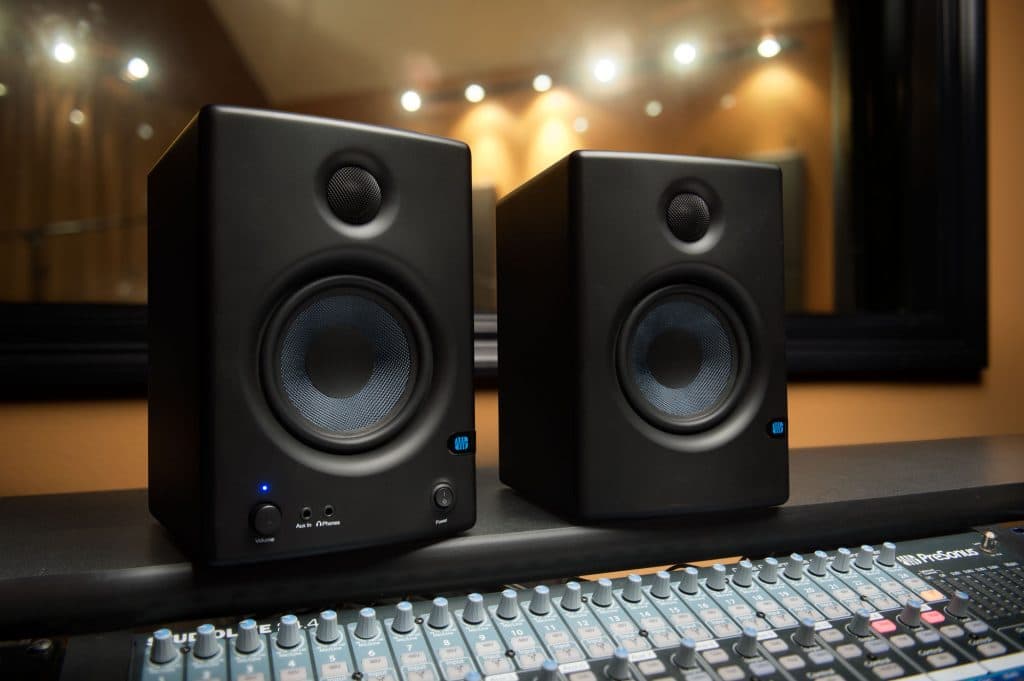
If you have a small studio space, go for a small studio monitor for the best sound results. The Presonus 2-Way Near Field Studio Monitor is a perfect example of small speakers for a small studio space.
Weight
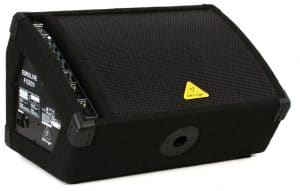
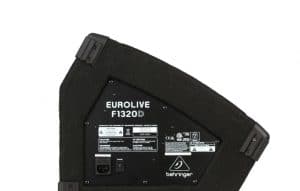
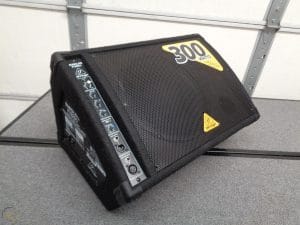
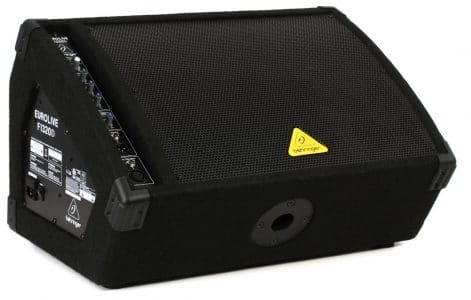
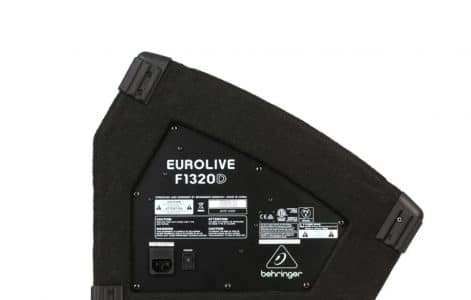
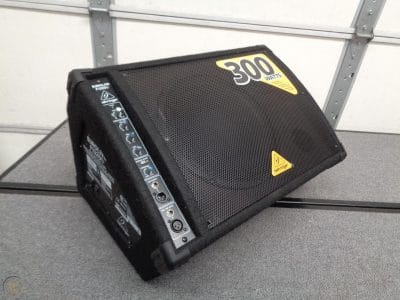
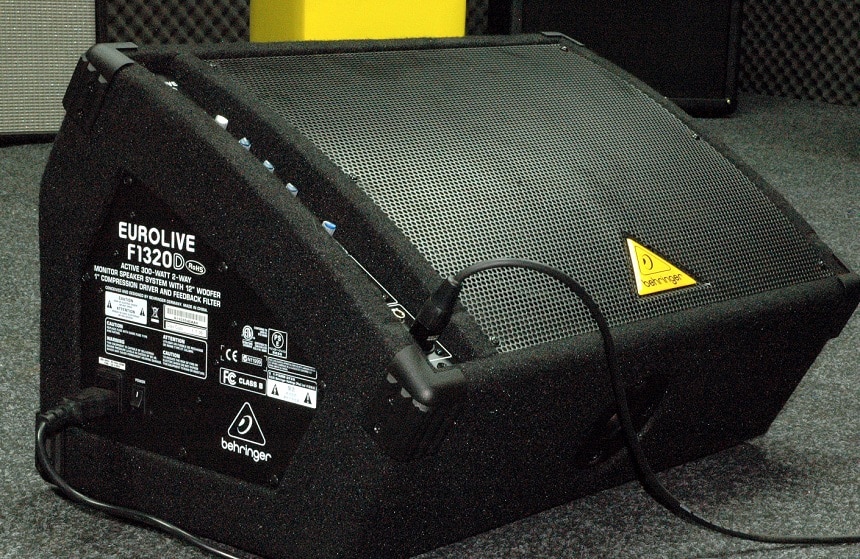
This is only important if you are going to be moving around with your speakers. If you are a musician on the go, then you best invest in the most portable studio monitors. The weight varies across different brands and models. Some, like the Presonus 2-Way Near Field Studio Monitor, weigh a mere 2 pounds, while others, like the Behringer Eurolive F1320D Active Floor Monitor, weigh a whopping 35.4 pounds.


