Some instruments are easier than others to take up and get started with. For instance, a piano or keyboard allows you to just hit the keys and generate a tone, but some string instruments are more complex. You need to learn how to hold a cello, how to hold a cello bow, and more about hand positions before you can actually generate any sort of sound from your instrument. In this guide, we’re exploring the ins and outs of holding the cello. You need to be sitting down while you are playing, and the instrument is one of the biggest out there that you are expected to be able to hold while you play. The technique is very important.
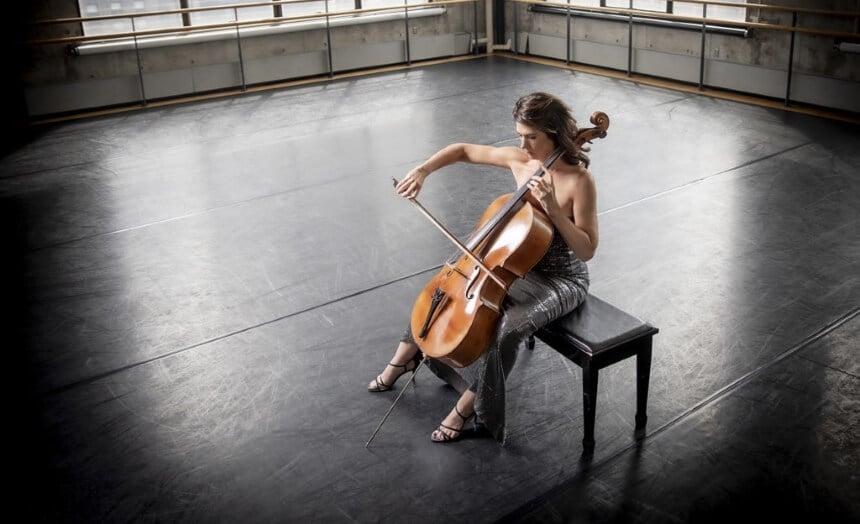
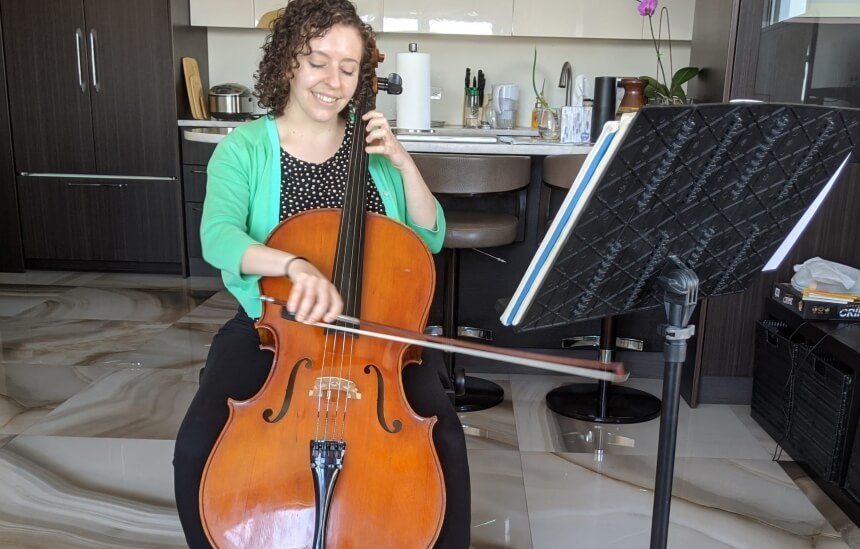
 So much of holding a cello is about posture. You need to sit in the right position, with your legs spread and your height perfect for accommodating the cello. You can choose whether you like to sit a bit further forward in your chair, or whether you are more comfortable with the extra stability of sitting back a little. Feel what is better for you with your balance, and where you feel comfortable and secure.
You must be fully upright with no slouching while you play. The endpin should lengthen to bring the cello to the center of your chest, even if this means a long endpin. A lot of this comes down to comfort. While there are correct methods to holding a cello, it is more to do with how you feel good with the cello nestled in your grip, ready to play.
The hold for a cello should be practiced the same whether you are playing a beginner cello, an electric cello, or a million-dollar Stradivarius cello.
It’s relatively easy to get right and the tips below will help you to hold your cello in the suitable position. Get it wrong, though, and you can impact the way you play, or even risk getting an injured shoulder because you’re stretching to reach certain strings. It’s crucial to do some research and closely watch how the pros do it.
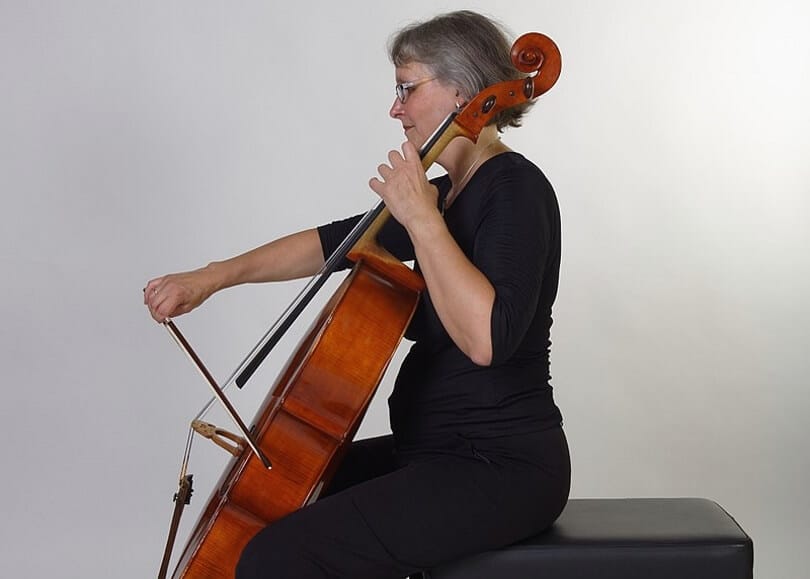
 A fast and easy way to get your cello hold correctly is to get the C peg behind the ear. The cello should sit in your hands and you can then use the upper ‘hips’ of the instrument to go between the knees. The cello should make contact with your sternum to sit in place.
You’ll notice that when you put the cello in this position, you might find that there is a space to the ground, this means that you can find the right endpin length to get the cello to rest nicely and stay stable. Remember that the cello should tilt slightly to the right.
The C-peg will get in the way and hinder your posture if you are not able to find a way for it to comfortably sit behind your ear.
Putting your endpin down is different from using a stand. The endpin means that the cello leans to the left and you are likely to do the same to try and compensate. This makes it harder to play all of the strings, especially in higher positions.
Put the cello’s endpin slightly to the left. This is to straighten up the cello, and then hold it a little to the right as you are looking at it. This means that you open up access to all of the strings. You won’t find yourself reaching to try and access some notes.
 As well as tilting the cello for the feel of the instrument and being able to reach all of the strings just as easily, some tilt their cello for projection. As you move on from your beginner cello to a more advanced cello you will probably find that you start to know your instrument very well. If you tilt to the right while playing the A string, you may be able to bow more easily but you might also be able to project the sound further. Tilting left can have a similar impact if you are playing the C or D strings. It creates a more favorable angle for your hand to rest upon.
A lot of cello teachers will teach you to use your right leg when you are using your beginner cello by a manufacturer like Mendini to rest it on your right leg. This is absolutely fine if you wish to, but it is not essential at all. Some people find that it is far more comfortable to hold the instrument without using this leg to rest on, and that this could even help you to project.
If you watch a lot of different cellists play, you will notice that they all have slightly different techniques, and while some will rest the cello on their right leg, others do not. Whether there is a “right” or “wrong way” is up for debate, but it is mainly about what is comfortable to you. Being able to hold the bow correctly is even more important, as this directly impacts the generation of sound and how consistently you are playing.
It’s true that not many musical instruments require the same level of accessories, from a great cello chair to a suitable case, and even spare strings.
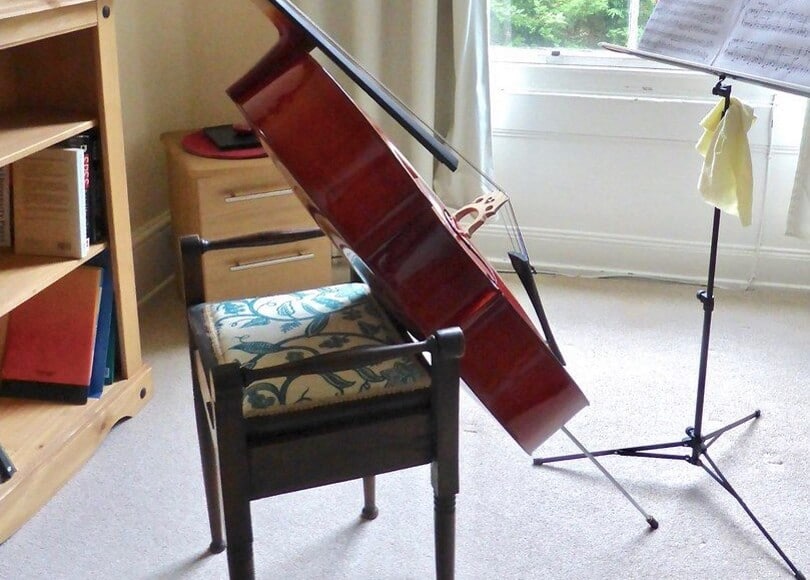
If you are going to learn to hold a cello correctly then you need to first be sitting in a suitable position. This means having a suitable chair. Your legs are going to be spread while playing, and you need to be comfortable even for long periods, whether sitting forward or back in the chair.
A good chair will have plenty of padding so that you don’t get uncomfortable while you are playing. The Wee’s Beyond Cushioned Padded Folding Stool is a great choice, it is foldable and allows you to take it out and about with you for gigs and performances. It has the padding you’ll want, and sits at 18 inches, which is about right for playing the cello. Depending on your height, you can change the tailpiece so that the cello sits in the correct position on the floor. This is the only reason why it isn’t essential to have an adjustable chair, and a stool will do the job very well.
It’s great to have such a quality chair that you can take with you anywhere or pop away for storage whenever you need to.
It’s worth taking the extra time to learn the basics of playing this instrument, and how you will hold both the cello and the bow itself. If you don’t get your grounding right, you may have to totally rebuild your technique in years to come, even when you get to the point where you are a more advanced player with a strong understanding of the cello. Learning how to hold a cello is where your lessons should begin. It might not be the most exciting aspect of learning the instrument, but it gives you a platform to learn more fun techniques, and ensure you’re approaching your cello lessons in a professional way.
Useful article but you’ve spelled cello with an “h” in the page title: “chello”. Here’s the HTML:
How to Hold a Chello: In-Detail Beginner's Guide