Last updated: April 29, 2026
When you set out to learn some instruments, you just have to start hitting keys or plucking a string to get a noise. This is great, but with more advanced classical instruments, you need to learn more about fingerings and how to hold the instrument, as well as the bow you play it with. Learning how to hold a cello bow is utterly essential before you get started. It’s one of the very foundations of the knowledge you are going to need.
A lot of people are teaching themselves how to play instruments, following tutorials online, but if you don’t learn how to properly hold a cello bow, you’ll have to revisit this later in the learning process, and you will probably have developed some bad habits along the way, too. When you buy your first cello, this is one of the things you absolutely have to think about. It isn’t as simple as starting to learn a tune, you need to get the foundations of holding your instrument and the bow right.
 Let’s dive straight into the bow grip. This covers how to hold a cello bow for fingerings and allowing your hand to feel natural, and approach the cello in the correct way.
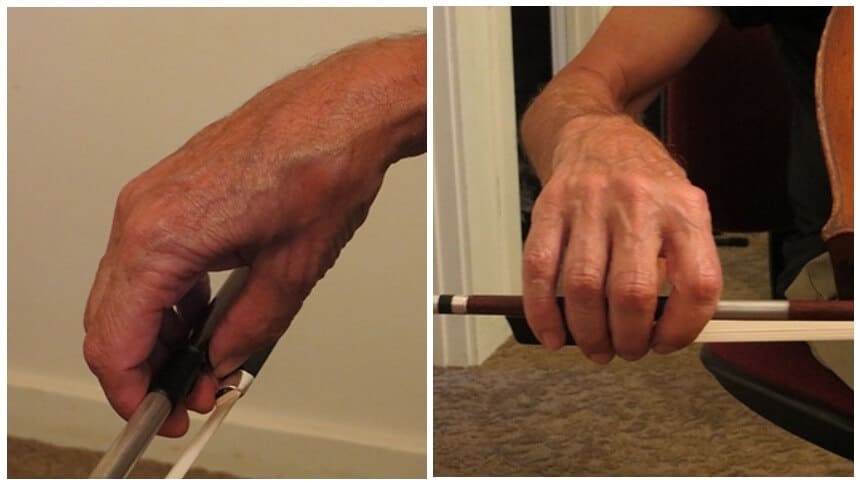
Firstly, take your left hand and place the Frog of the bow in the second knuckle. You need to make sure your fingers are relaxed and hanging past the edges. This is the position to start in. Eventually, it will become second nature, but when you first hold a cello bow you will need to give it some thought.
From this position, curl your fingers in to grip the bow, pulling it nearer to the palm. Your thumb makes contact where the Frog and the stick of the bow meet, at the grip of the bow.
Your hand should hang naturally. This is one of the most difficult things to master. You need to have small spaces between the fingers, not too close, as this will make your bowing less stable. On top of this, you need to make sure that you are not “limp” in the process. Everyone has their own natural feel to this, and getting the space right is tough, but very important for beginners.
When you first bow, it feels like you should stretch your pinky and index finger right out to give you a wide grip on the bow, but this is not recommended. This doesn’t give you that flexibility that you will need to make smooth changes and enjoy all of the different methods of cello playing, and the techniques that you will want to master.
So, what about the 2nd and 3rd fingers? Well, these are simple. The second finger can rest along the hair of the bow, but the first shouldn’t touch this that much. The third finger should also rest next to the metal strip where the bow and frog meet.
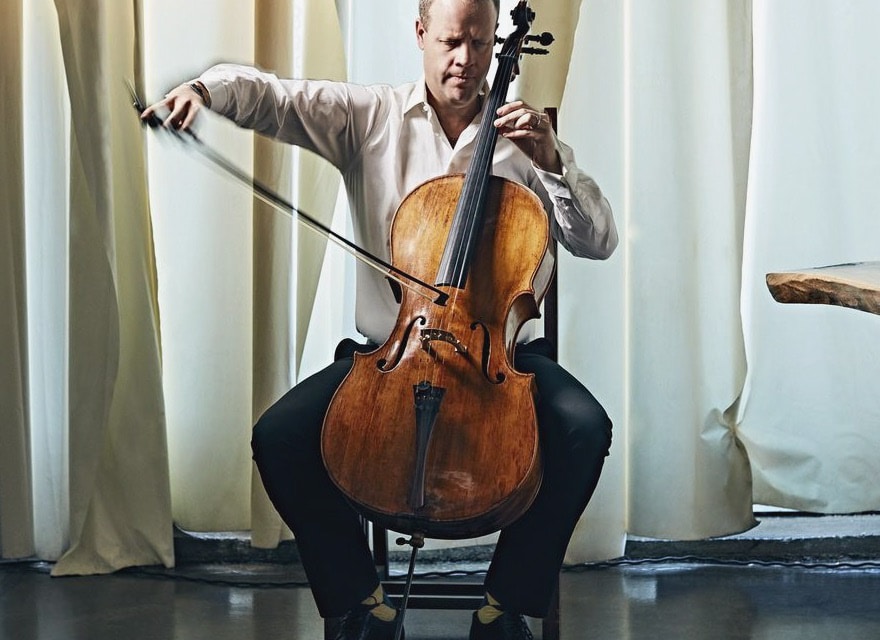
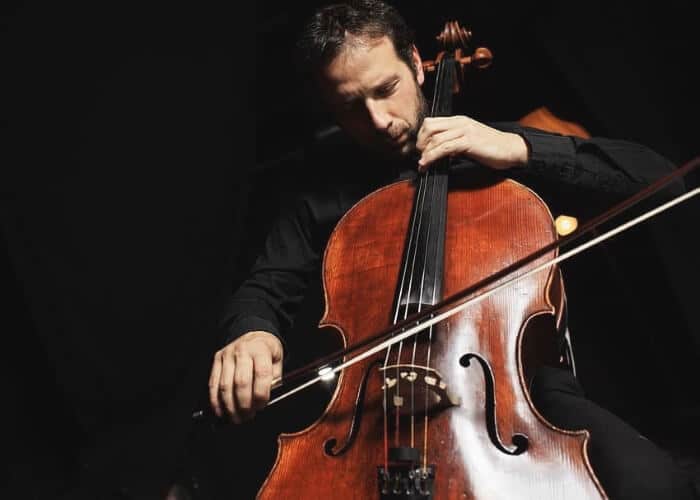
It’s really useful to look at some images to get a strong idea of what should be happening, and how your cello should look, and the hand holding the bow. Always start with the palm facing upwards and make sure the stick is in the second knuckle “crease”. This is vitally important and forms the basics of the bowing technique, the rest is up for interpretation, at least a little bit. A lot of cello players end up finding that when they move to an advanced bow such as this model from CodaBow, their grip might evolve to get the most out of their instrument.
As you flip your hand to face the instrument, make sure your bowing arm has a steady slope from shoulder to elbow and then to the bow itself. Don’t raise your elbow as this will result in a limp-looking wrist.
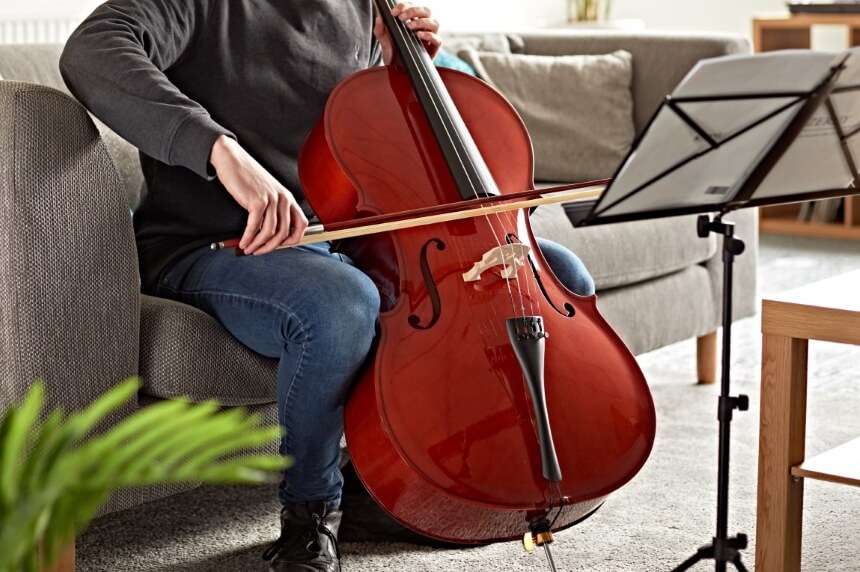
You might be used to other instruments, but you should try as much as you can to forget about the grip of the bow for playing violin, for instance. The way your hand is facing means that it is quite different. Make sure you consider the differences between cello and violin if you are transitioning between the two instruments. Cello is a large instrument which is held in a totally different way due to the fact it needs to come into contact with the ground. It’s too big to be held upwards like the violin, and it sits on a stand, which means your hand will be facing downwards when you start.
 Learning the bow change is also vital whether you’re playing with your first, beginner bow, or you are moving to an advanced model.
Bow change is a change of direction, to allow you to enjoy a lot of the techniques you will need when you are playing the cello. It’s a simple direction change along the strings of your cello. Any technique videos trying to teach you to rotate the arm or moving your wrist too much are probably going to just confuse you and are not needed.
Try to keep your hand flexible and relaxed as you can just change direction far more simply this way. Hands should be relatively loose, but not so flimsy that the bow is at risk of falling out.
Try not to lighten the feel of the bow on string as you’re building up to a change, a lot of people do this and it creates quite an unprofessional and uneven sound.
When you do change, you’ll hear a tiny little clicking sound. This might seem like something you don’t want, but it is amazing how commonly you hear these on recordings. It’s inevitable, if you are doing things correctly, that there will be some slight interruption in the sound causing this click tone.
There are some simple and useful tips that can help you to get the technique right and ensure that you are holding a cello bow correctly.
Holding your bow is one of the very foundations of playing. It can be frustrating, as you want to generate a tone and play some amazing tunes straight away, but this isn’t an option until you have learned more about the instrument and how it works. Like learning how to play chords on a guitar, where you will have to learn different hand positions and build the strength you need, with cello, a lot of the challenge lies in learning how to hold a cello bow. Once you’ve learned this, you can start to work on different techniques and to play consistently, arming yourself with the ability to play your favorite cello compositions.