Last updated: May 26, 2026
Are you an aspiring musician or producer eager to set up your very own home recording studio? You’re in the right place! This all-inclusive guide will lead you through the eleven vital steps required to create a top-notch vocal recording environment within your home. With our detailed explanations and expert recommendations, you’ll be well-equipped to produce exceptional vocal recordings in no time.
The first step to creating an excellent home recording studio is selecting the right space within your house. Consider the following factors when making your decision:
Choose a room with enough space to comfortably fit all your recording equipment and allow for movement. A rectangular room with at least 10×12 feet dimensions is ideal, as it will provide ample space for your gear and help prevent sound reflections.
Your recording studio should be as quiet as possible. Avoid rooms near noisy areas of your house or adjacent to loud outdoor environments. Basements, attics, or spare bedrooms can be ideal choices for a home studio, as they are typically more isolated from noise sources.
The room’s acoustic properties will significantly impact the quality of your recordings. Consider adding acoustic treatments, such as bass traps, acoustic panels, and diffusers, to improve the sound quality in your studio. These treatments can help reduce standing waves, flutter echoes, and other acoustic issues that can degrade your recordings.
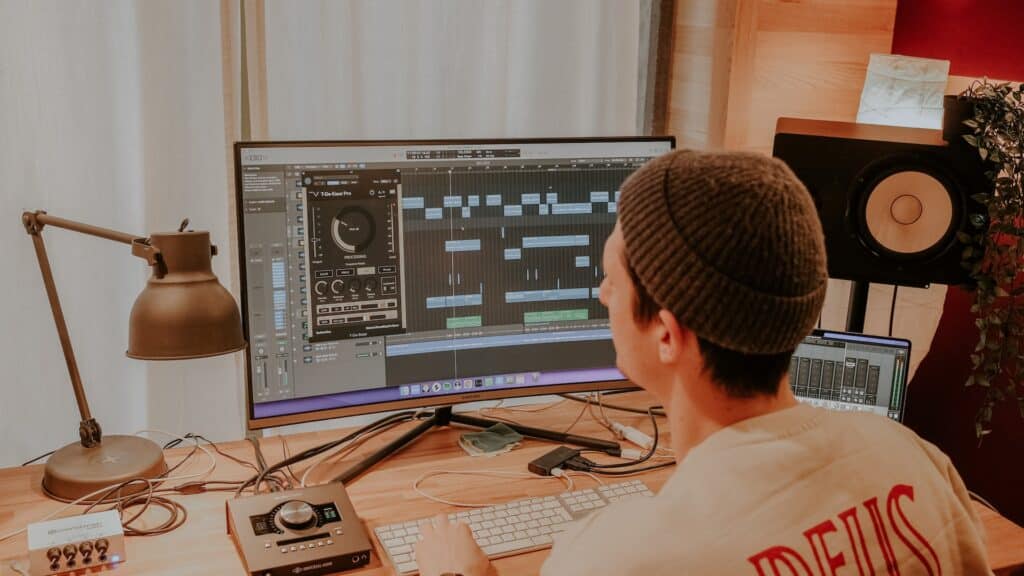
A professional-sounding home recording studio requires the right equipment. Here is a list of essential gear you’ll need to get started:
A high-quality microphone is a must for capturing clear, detailed vocals. Condenser microphones are popular choices for recording vocals due to their sensitivity and wide frequency response. Some popular options include the Audio-Technica AT2020, Neumann TLM 102, and Rode NT1-A.
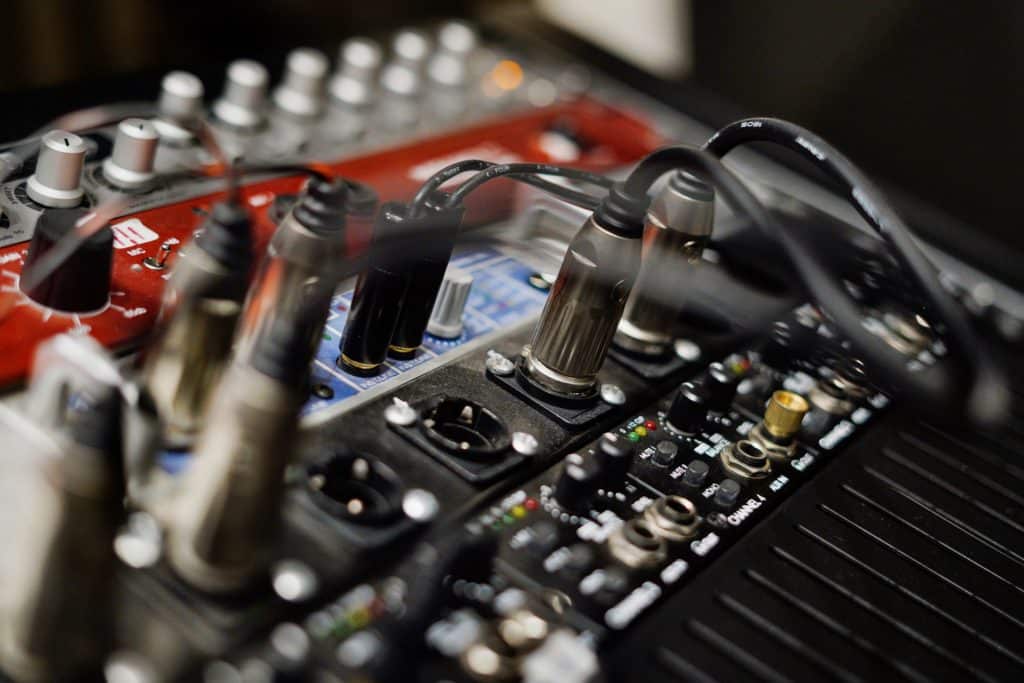
An audio interface is a device that connects your microphone and other audio equipment to your computer. It converts the analog signals from your microphone into digital data that your computer can process. Some recommended audio interfaces include the Focusrite Scarlett 2i2, Universal Audio Apollo Twin, and PreSonus AudioBox USB 96.
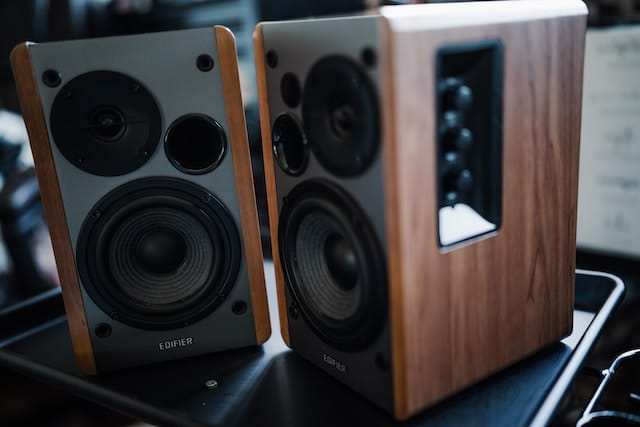
Headphones and studio monitors are crucial for monitoring your recordings and mixing your tracks. Invest in a pair of closed-back headphones for tracking and open-back headphones or studio monitors for mixing. Some popular options include the Beyerdynamic DT 770 Pro, Sennheiser HD 650, and Yamaha HS8 studio monitors.
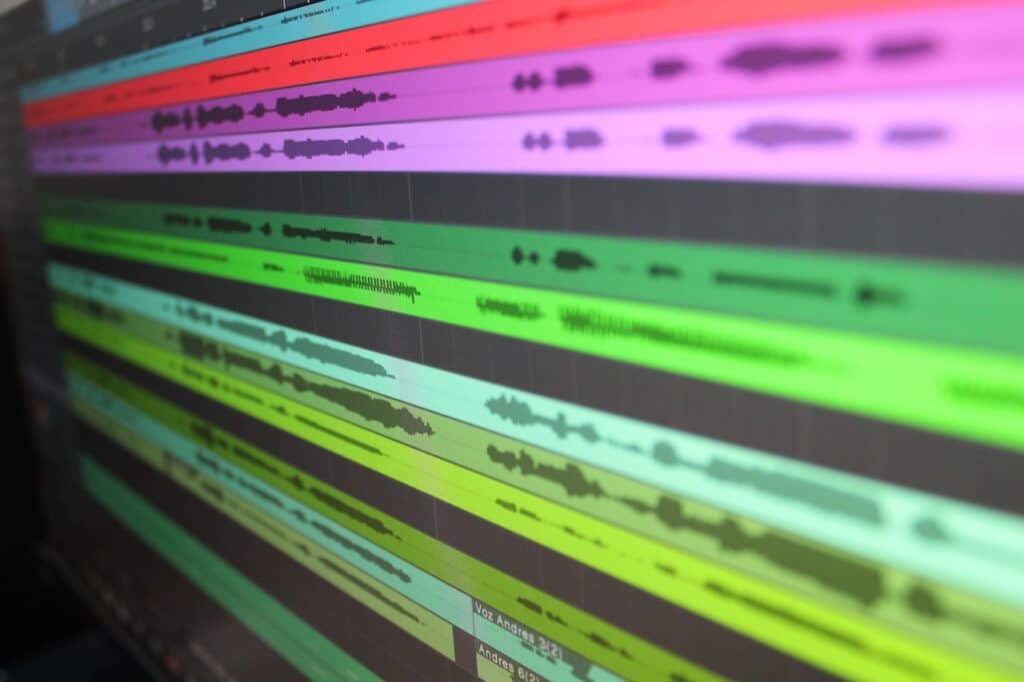
A Digital Audio Workstation (DAW) is software that allows you to record, edit, and mix your audio tracks. Some popular DAWs include Pro Tools, Logic Pro, Ableton Live, and FL Studio.
A sturdy microphone stand, and a pop filter are essential for capturing professional-quality vocals. The stand will hold your microphone in place, while the pop filter will help eliminate plosive sounds caused by fast-moving air hitting the microphone.
Now that you have the right room and equipment, it’s time to set up your recording space. Follow these tips for optimal configuration:
Place your microphone at a comfortable distance from the singer, typically about 6-12 inches away. Angle it slightly downward to minimize plosive sounds, and use a pop filter to further reduce unwanted noise.
Install bass traps in the corners of your room and acoustic panels and diffusers on the walls and ceiling. This will help control standing waves, flutter echoes, and other acoustic issues that can affect the quality of your recordings. Be sure to focus on areas where sound reflections are most prominent, such as behind the microphone and at the listening position.
A comfortable recording environment will help the vocalist deliver their best performance. Ensure the room is well-lit and free from distractions. Providing a music stand for lyrics or sheet music and a comfortable chair or stool for the singer can also be beneficial.
Understanding and implementing proper recording techniques is crucial for capturing professional-quality vocals. Here are some essential tips to help you achieve the best sound possible:
Proper gain staging ensures that your audio signal is at the optimal level throughout the recording process. Adjust the gain on your audio interface so that the input signal peaks around -12 to -6 dBFS. This will provide enough headroom for mixing and prevent clipping or distortion.
Recording multiple vocal performances takes can be useful for selecting the best version or creating a composite track with different parts of each take. Encourage the vocalist to experiment with different emotions, dynamics, and phrasing during these takes.
A click track is a metronome-like sound that helps the vocalist maintain consistent timing during their performance. It’s especially useful when recording to a pre-existing instrumental track or when layering multiple vocal parts.
Punching in and out allows you to seamlessly record over specific sections of a vocal performance. This technique is useful for correcting mistakes or improving individual phrases without re-recording the entire take.
Mixing is the process of blending multiple audio tracks to create a balanced, polished sound. Here are some essential mixing techniques to enhance your vocal recordings:
EQ is used to adjust the frequency balance of your audio tracks. For vocals, it’s common to apply a high-pass filter to remove low-frequency rumble and to make subtle adjustments to the mid and high frequencies to improve clarity and presence.
Compression is a dynamic processing technique that helps control the volume of your audio tracks. By applying compression to your vocal recordings, you can even out the volume levels and create a more consistent performance.
Reverb and delay are time-based effects that create a sense of space and depth in your mix. Use these effects sparingly on vocals to enhance the sense of space without overwhelming the performance.
Automation allows you to create dynamic changes in volume, pan, and effects settings throughout your mix. Use automation to create subtle changes in your vocal track, such as increasing the volume during the chorus or adjusting the reverb during different sections of the song.
Mastering is the final step in the audio production process, where the overall sound of your mix is polished and optimized for distribution. While professional mastering engineers have years of experience and specialized equipment, learning the basics can help you achieve a more polished sound:
The overall loudness of your track should be consistent with industry standards. Use a loudness meter plugin to measure your track’s integrated LUFS (Loudness Units Full Scale), aiming for a target level of around -14 LUFS for streaming platforms.
Apply subtle EQ adjustments to correct any remaining frequency imbalances and add gentle compression to glue your mix together.
Ensure your mix has a balanced stereo image by adjusting the panning and width of individual tracks. Be cautious not to overdo stereo widening, as it can cause phase issues and negatively impact your mix.
A limiter is the final processing step in mastering, which prevents your track from exceeding a specific output level. Set the limiter’s output ceiling to -1 dBFS to ensure no distortion occurs during playback on different devices and platforms.
Different microphone techniques can significantly impact the sound of your recordings. Experiment with various microphone placements, angles, and distances to find the sweet spot for capturing the best vocal performance. Some popular techniques include:
The proximity effect occurs when a directional microphone, such as a cardioid microphone, captures more bass frequencies as it gets closer to the sound source. Use this to your advantage by placing the microphone closer to the vocalist to enhance the warmth and richness of their voice.
Positioning the microphone slightly off-axis (not directly in front of the sound source) can help reduce sibilance and plosive sounds. This technique also imparts the recording a more natural, less harsh tone.
While many home studios rely on digital plugins for processing, integrating outboard gear, such as analog compressors, equalizers, and preamps, can provide a unique and warm character to your recordings. Some popular options include:
The LA-2A is a classic optical compressor known for its smooth and natural compression characteristics, making it ideal for vocals and other melodic instruments.
The Neve 1073 is a renowned preamp and equalizer combination that imparts a distinct warmth and character to audio recordings. This sought-after sound can elevate the quality of your vocal tracks.
In addition to basic acoustic treatments, consider implementing more advanced solutions to further enhance your room’s acoustics:
Use a room mode calculator to identify problematic frequencies in your studio. This information will help you target specific room modes and make more informed decisions about your acoustic treatment plan.
Experiment with variable acoustic solutions, such as gobos (moveable acoustic panels) and curtains, to adjust the acoustics of your room based on the specific needs of each recording session.
The quality of your vocal recordings is heavily influenced by your ability to recognize and correct issues during the mixing process. Continuously work on developing your critical listening skills and familiarize yourself with various mixing techniques:
Use professional reference tracks to compare your mixes to industry standards. This will help you identify areas where your mix may need improvement and guide your mixing decisions.
Invest in your education by taking online courses, watching tutorials, and participating in workshops to learn advanced mixing techniques from industry professionals.
Once you’ve completed the recording, mixing, and mastering process, it’s time to share your work with the world. Here are some ways to distribute and promote your music:
Upload your tracks to popular streaming platforms like Spotify, Apple Music, and Tidal using a digital music distribution service such as DistroKid, TuneCore, or CD Baby.
Promote your music on social media platforms like Instagram, Twitter, and Facebook. Share snippets of your tracks, behind-the-scenes footage, and engage with your audience to grow your fan base.
Create visually appealing music videos to accompany your tracks and upload them to platforms like YouTube and Vimeo. This will help you reach a broader audience and generate more interest in your music.
Collaborating with other musicians, producers, and songwriters can help you improve your skills, expand your network, and increase your music’s visibility. Attend local music events, join online forums, and engage with the music community to find potential collaborators.
Creating exceptional vocal recordings in your home studio is an ongoing journey that requires dedication, practice, and a willingness to learn. By continually refining your skills, experimenting with new techniques, and investing in your studio’s equipment and acoustic treatment, you will see a steady improvement in the quality of your productions. Embrace the challenges and triumphs that come with building and operating a home recording studio, and enjoy the creative freedom it offers as you continue to grow and evolve as an artist.