Last updated: May 11, 2026
Record players Trusted Source Phonograph - Wikipedia A phonograph, in its later forms also called a gramophone (as a trademark since 1887, as a generic name in the UK since 1910) or since the 1940s called a record player, is a device for the mechanical recording and reproduction of sound. The sound vibration waveforms are recorded as corresponding physical deviations of a spiral groove engraved, etched, incised, or impressed into the surface of a rotating cylinder or disc, called a “record”. To recreate the sound, the surface is similarly rotated while a playback stylus traces the groove and is therefore vibrated by it, very faintly reproducing the recorded sound. en.wikipedia.org used to be the biggest thing in music; however, with the creation of the MP3 player, iPods, and smartphones, record players have become antiques or vintage music equipment. While anyone can use a record player, not everyone knows how to use them correctly. That is why we have created this post. Here, we will consider how to use a record player. We will take a deep dive into the common features and parts of record players as well as other important information that can help you enjoy using a turntable.
If you are thinking of buying a record player or you already have one, probably a bequest from an uncle or your parent, then you will need this article. At the end of this article, you will learn, not only how to use the equipment, but the main parts and how these come together to play music. We will also consider how you can maintain your records and answer some questions people usually ask about record players.
 More people are interested in getting a record player, and if you are reading this, you are likely one of them. Before you learn how to use this machine, you need to know what you are getting. This involves knowing the different parts that make up the record player. Knowing this will not only make it easier to make a good purchase, but it will help you understand how to play the equipment correctly.
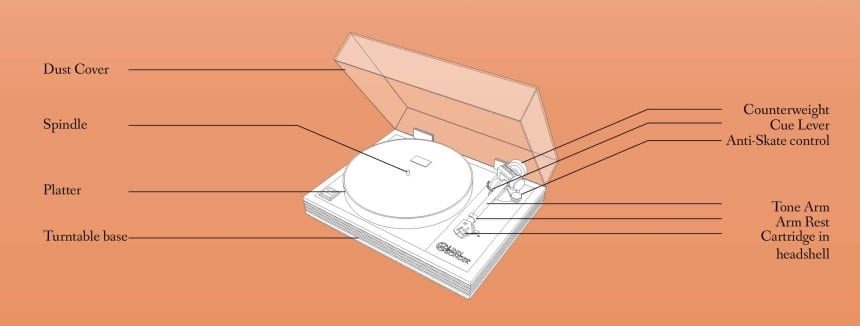
There are six major parts of every record player. Here are they:
In this section, we break down each of these parts and reveal how each one works. With a basic understanding of each part, you will know what we mean when teaching you how to play the turntable correctly.
 Many people interchange the turntable and the record player, with the assumption that they both mean the same thing. However, that is a mistake as both terms refer to different things.
In purely technical terms, the turntable is the part of the record player where you place the vinyl record. On the other hand, the record player refers to the entirety of the machine, including the turntable. With that difference in mind, let’s consider more about this part of the machine.
The turntable is made up of a plate, and this plate is made of either metal or plastic. It is also covered in felt or rubber to prevent any scratches on the vinyl record as it plays. Some models feature turntables with plates made of rubber. The center of the turntable has a metal rod for keeping the record in place while spinning.
There are different styles of turntables found on the market, however, most of the time, the material is a reflection of the cost. Many low-budget models have turntables with steel plates. These are affordable. The downside, though, is that it doesn’t have high inertia. What this implies is that a difference in the motor speed will affect the quality of playback.
That is why many prefer plates made of aluminum. These offer better stability and their weight is sufficient to dampen vibration and improve balance. The obvious downside is that they are more expensive than metal-platted models.
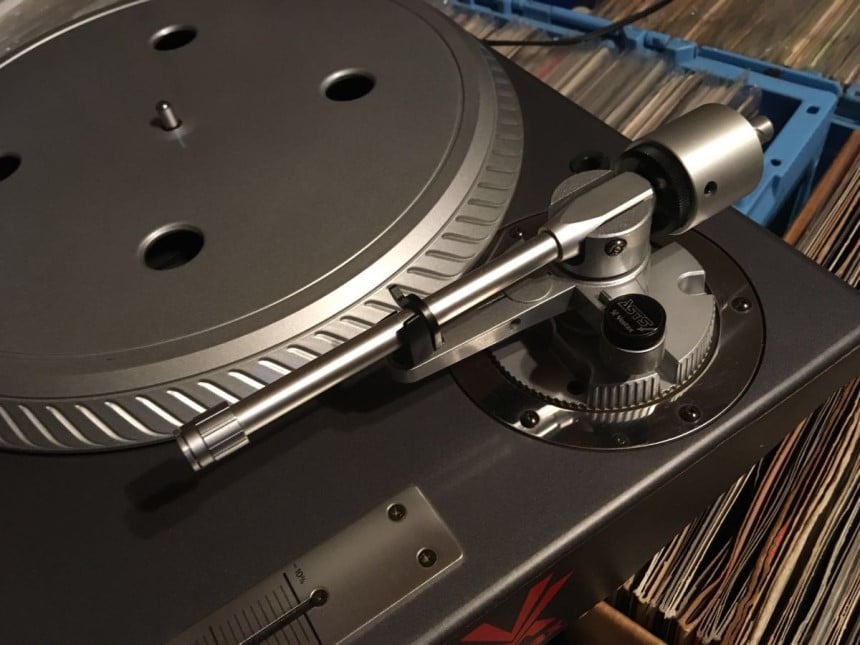
Turntables have a drive system which is what controls rotation. There are two main types of drive systems
An advantage of the belt drive system is that it provides you with a better quality of sound. It does this because it absorbs vibrations and interference.
On the other hand, the direct-drive system does not use a belt, which allows it to give you better motor and pitch control. This type of drive is preferred by DJs and is the more expensive type of drive.
The turntable is one of the more delicate parts of the record player and is often a culprit when playing issues arise.
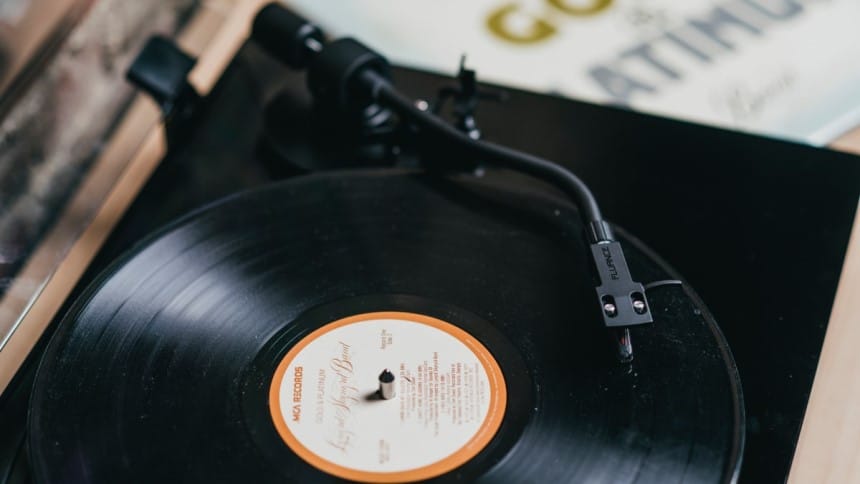
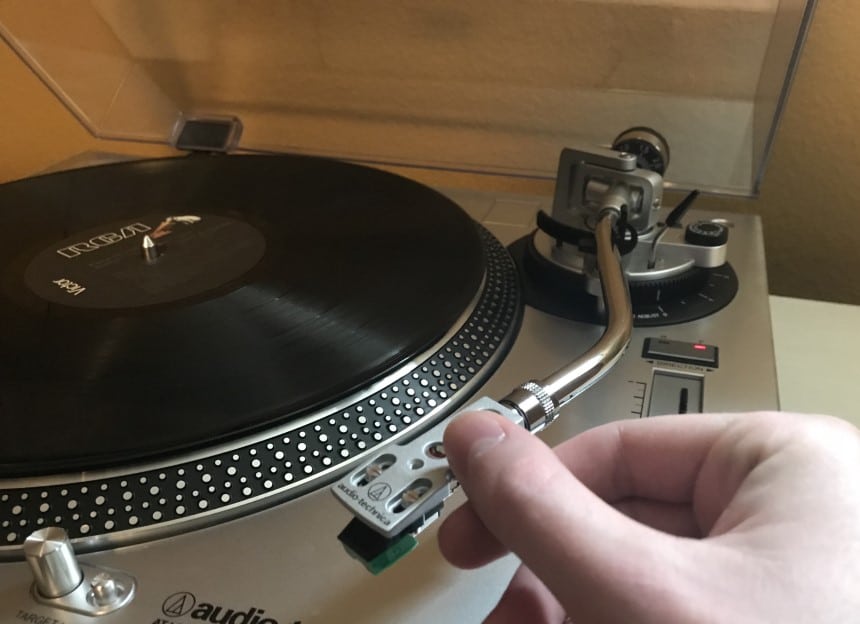
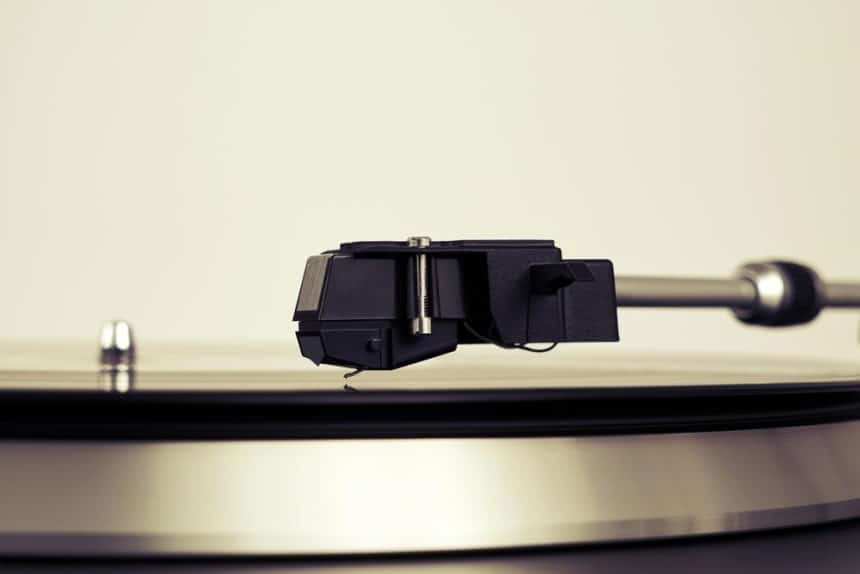 The next component is the stylus. It is easily identified as the needle that rests on the record. It is responsible for running in the grooves of the record.
Since it moves at such high speeds and does plenty of work, the stylus is made of high-quality material that is very durable. Most of the best record players on the market have their stylus made from a diamond as it is the hardest natural material known to man. There are other materials used, though, like sapphire.
Regardless of the material used, it will need to be replaced over time. You should get plenty of playtime from the stylus, though, as some will last for up to 1000 hours.
The stylus comes in one of two shapes. It is either elliptical or spherical. The elliptical stylus is excellent because the shape allows it to have more contact with the grooves of the record, which in turn makes the music sound crisp and pretty clear. On the other hand, a spherical stylus gives a higher level of sensitivity to make up for the lower sound quality.
The stylus and the tonearm work hand in hand, so to speak. The combination of the two allows the stylus to run through the grooves to produce music.
Although the tonearm and the stylus are connected, they are not as connected as the cartridge and the tonearm. These two parts are inseparable.
Now, the cartridge plays an important role as well. While the stylus moves through the grooves, it is the cartridge that translates the grooves of the record into the sounds that are played. The vibrations from the stylus move through the embedded wires of the tonearm and to the cartridge.
Then these vibrations are transferred to bombard the coils of a magnetic field, which in turn changes them into electric signals. These are then transmitted to amps and speakers to give sound.
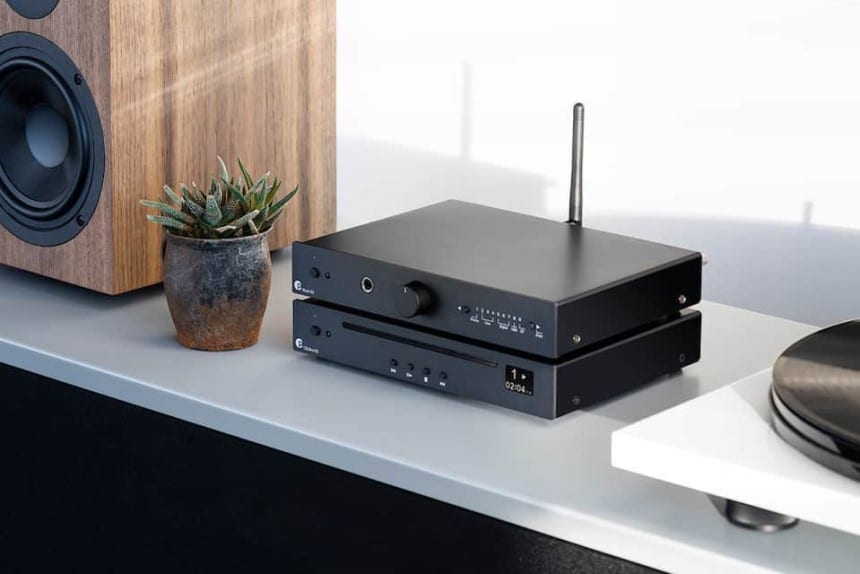
 Pre-Amps and Amplifiers
The next components that you should consider are the preamps and the amplifiers. These are essential because they are what will transfer the signals from your equipment to the speakers. These are vital parts of the equipment since they are what provide the treble, bass, and all the frequencies in between.
The speakers that collect the data are built into the machine, however, you will find some that are external and connected to the machine. Most of the time, the amp is the preamp. However, some speakers have their amps, so you can connect the speakers straight into the record player without needing a dedicated preamp.
Previously, an audio receiver needed a preamp to amplifier the audio signals from the player so that it could sound like regular audio, but the receivers produced today don’t have the preamp. If your receiver doesn’t have the preamp, then you will have to buy an external preamp to get the best sound quality from your equipment.
Although record players are relics of old technology, there are new models that incorporate the latest technologies and can give you sound of comparable quality to CD and MP3 players.
 How to operate a record player
We have considered the key components of every record player and now we will move on to considering how to operate a record player. We will take it step by step, showing you all you need to know about each section.
You might have bought the best record player and speakers on the planet, but if the surface and placement are wrong, you will not get the best sound performance from the system. Before you do anything else, you have to position the speakers and equipment correctly. In this section, we will show you tips and instructions on how to find the best surface and placement for your record player.
First of all, we start with the major component of your record player – the turntable. You have to get the placement of the turntable right if you have any hopes of getting the best sound from the player. Here is some important advice on placement:
First, you must get the right surface. The right surface is a stable, heavy, and flat surface. It is important that the surface has these qualities for different reasons. For one, it is important because it will help to prevent tracking issues that are common with record players, especially when these are spinning your records. Also, you need this type of surface to prevent friction on the tonearm. With this in place, the record player will last for longer and give better sound.
Another reason why you should choose a stable and heavy surface is that it will absorb any vibrations and impacts that can affect the quality of sound. There will be reduced chances of the components picking up undesirable vibrations.
Apart from external impacts and vibrations, it is vital that the record player doesn’t cause any vibrations that can also affect the sound. The weight of the player helps to keep the player grounded and limits movements and vibrations.
Your speakers also need to have the correct surface if you want the best sound. Speaker placement is vital. Here are some of the tips that can help you with ensuring good placement.
When choosing the surface for the speaker, it is best if your speaker and player are not on the same surface. This will prevent shared vibrations from affecting the quality of sounds. Thus, we advise that the speakers are placed on a separate surface from the record player.
There are also floor-standing models that are designed to be placed on the ground. However, if you are placing it on that surface, you have to consider the vibrations from the floor.
Another important thing to consider when you want the best sound from your speakers is the positioning. It is recommended that speakers are placed at ear height from where you are listening. If you are seated, the speakers should also be at your ear height.
The room that you choose to play the record player in will also affect the quality of sound that you receive.
In the section above, you have seen how to place your player correctly. In this section, we focus on the basics of handling the turntable and the vinyl records. So, read on to find out the best way to prepare the turntable and the records you want to play.
 So, lift this off the platter and place it somewhere safe. To ensure safekeeping, you can place the duct cover you removed in the jacket of the vinyl record. This will ensure that it remains free of dust and other impurities.
The spindles should go through the hole in the record and you should lower it until it is flush on the turntable. When pulling out the vinyl, only touch the part where there are no grooves. Oil from your fingers can contaminate the vinyl and affect the sound.
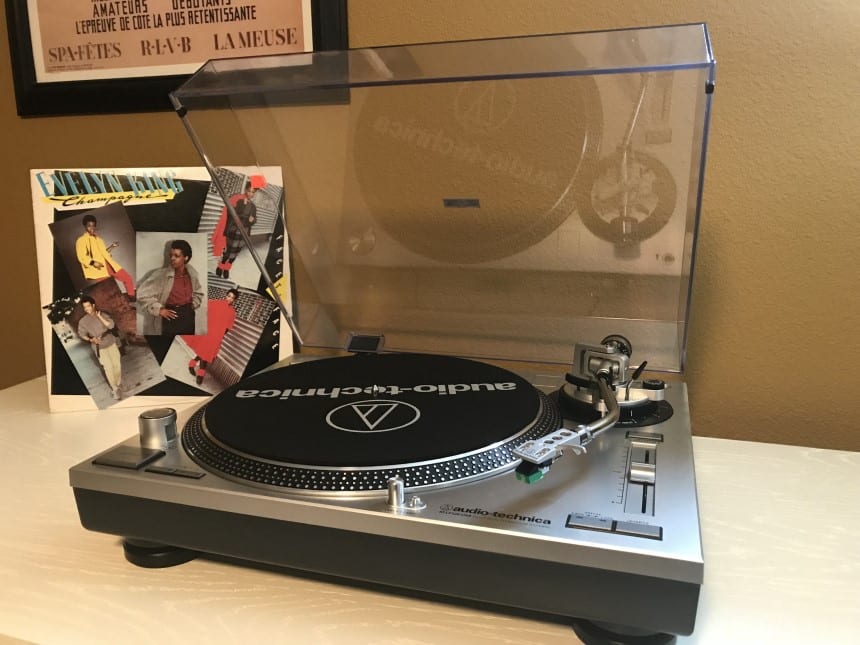
 So, you have managed to place the vinyl record on the platter. What next should you do? It is now time for you to operate the equipment. How can you do this correctly? That is the focus of this section.
Sometimes, the switch determines the speed of the turntable. You might have to choose the speed the vinyl will play at. If your record is a 12″ option, then it should be played at 33 RPM.
If there is no switch for that, you can physically move the tonearm from the rest position and place it on the record. When carrying this out, ensure that the switch is up. This prevents the tonearm from falling on the record.
After using the record player, remember to use the two dust covers over it.
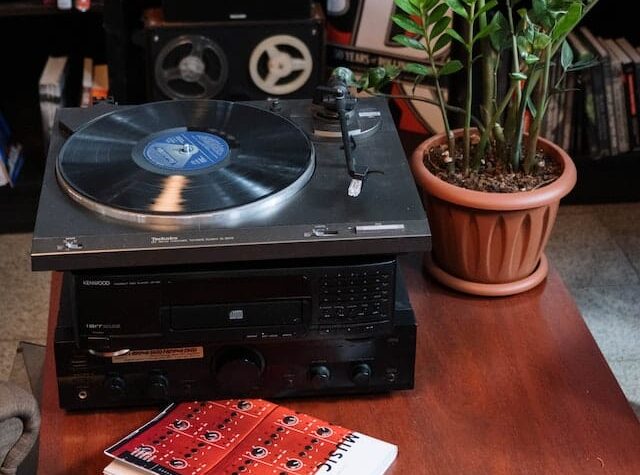
Sometimes, it isn’t enough listening to the record player alone. If you want to boost the sound quality, you might want to hook up stereo equipment. Here is how to hook up this stereo equipment.
For many record players, you need to use a receiver to pair it with stereo equipment. The receiver is what will connect the player to the speakers. Some record players will need an external preamplifier to hook up the equipment.
This is the next step after getting the receiver, and it is fairly easy. It is similar to hooking up other types of devices to your equipment. Most of the time, the cables and their connecting points are color-coded. Therefore, you won’t have a hard time knowing which cable goes where.
If you are confused, the instruction manual is a great help. It will guide you on how to achieve the setup for the particular equipment.
After hooking up the record player to the stereo equipment, the next thing is to switch the input. Look for the Phono switch and turn it on. It is this setting that will enhance the sound.
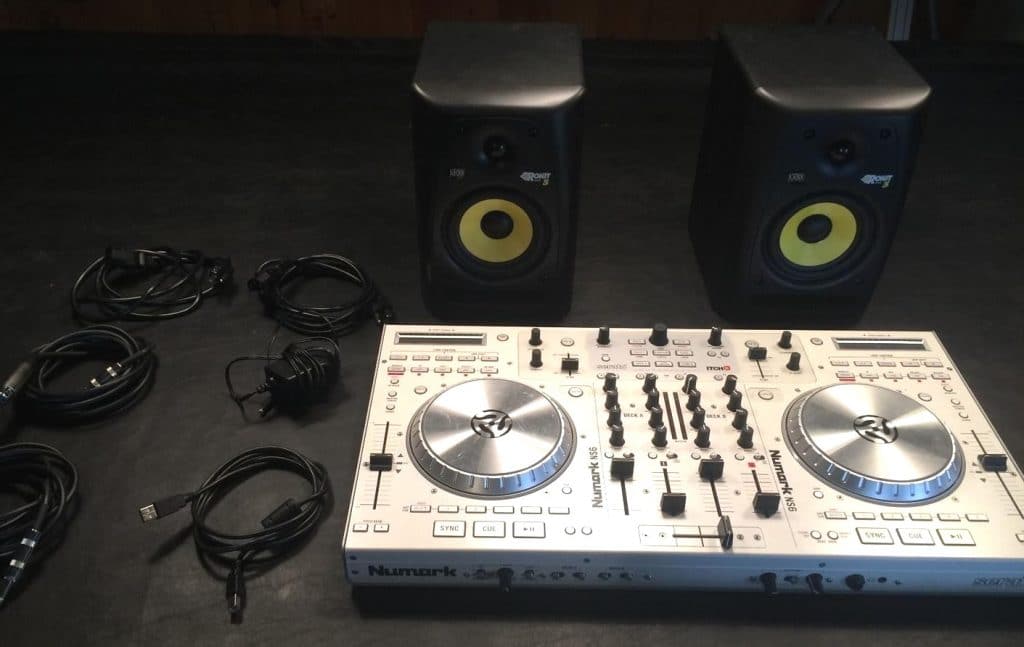
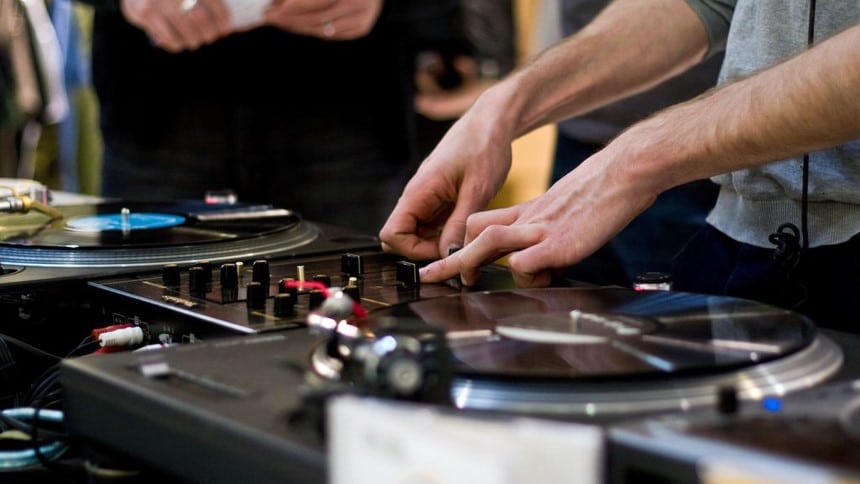 A DJ turntable is not like the regular record players. These are CD players with a slip pad disc like a turntable. The DJ uses it to create electronically simulated effects and sounds.
Using a DJ turntable requires practice in mixing and scratching. You also need to get a pair of active monitor speakers that have preamps in them. You will also need headphones in addition to the turntable and the mixer. The Pioneer DJ turntable is considered by many users as one of the best options on the market.
Record players seemed consigned to the annals of history, but these devices have made a comeback. One especially popular option is the Crosley Cruiser Turntable due to its beautiful design and excellent features. While it might take a while to get the hang of it, you will learn how to use it if you have the right information and patience. It is actually easier to use than you might suppose. We hope that this article will help you to know how to use a record player and enjoy wondrous music.