Last updated: May 06, 2026
Phantom power is an indispensable component of professional audio recording, often working behind the scenes to ensure that condenser microphones perform at their best. While it may not be a topic that garners much attention, understanding phantom power is crucial for anyone involved in audio production. In this comprehensive guide, we will delve into the nuances of phantom power, exploring its history, operation, and significance in the world of recording.
The history of phantom power dates back to the 1960s when the German microphone manufacturer Neumann developed the KM 84, a small-diaphragm condenser microphone. This innovative device was designed to operate on 48 volts of phantom power, setting the stage for its widespread adoption in the audio industry. Over time, the 48-volt standard, known as P48, became the norm, providing a reliable and consistent power source for a wide range of condenser microphones.
Phantom power is a DC voltage that supplies the necessary electrical charge for condenser microphones to function effectively. Unlike dynamic microphones, which generate an electrical signal through the motion of a coil within a magnetic field, condenser microphones depend on a charged diaphragm and backplate to produce sound. This electrical charge is supplied by phantom power, with typical voltage levels being 12, 24, or 48 volts.
The term “phantom” power originates from the voltage being transmitted “invisibly” along the same microphone cable that carries the audio signal. This design eliminates the need for extra cables or power sources, streamlining the setup process and reducing clutter in recording studios.
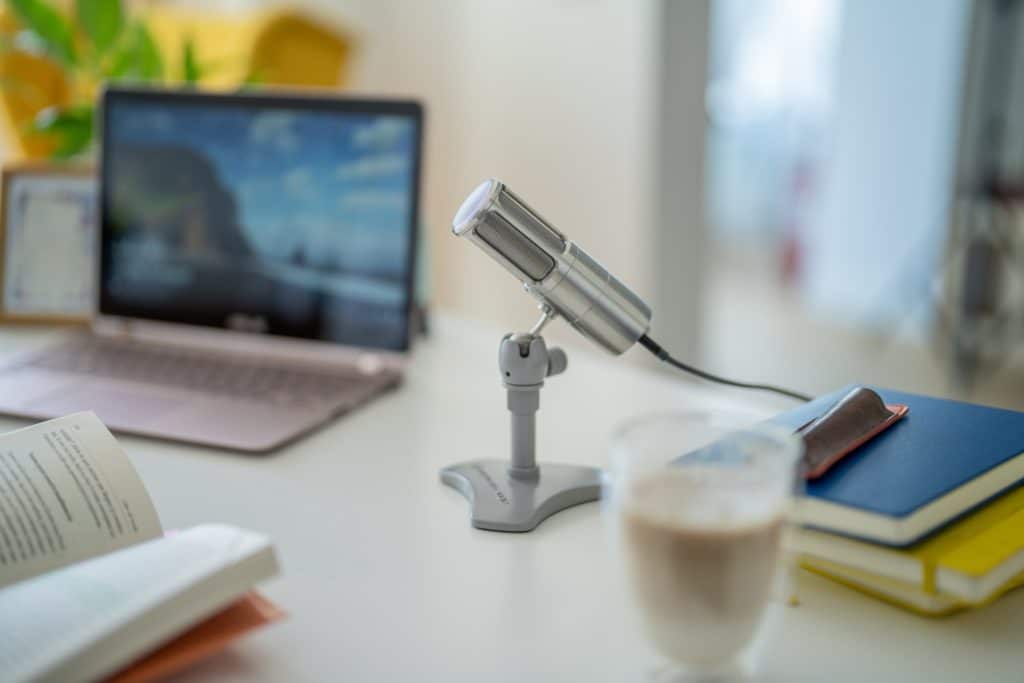
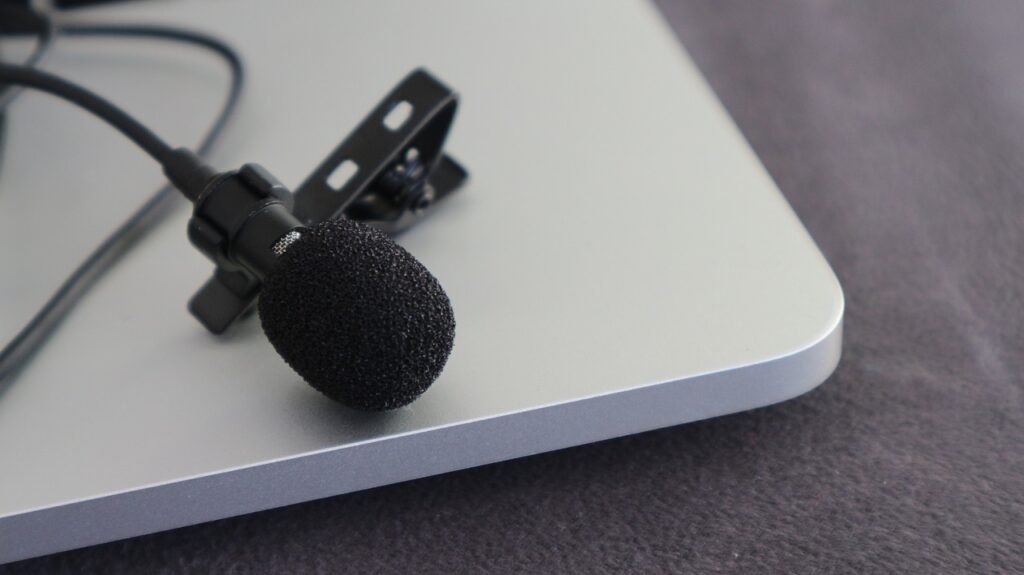
Condenser microphones are renowned for their sensitivity, clarity, and precision, making them the go-to choice for capturing vocals, instruments, and other sound sources with high fidelity. These attributes stem from the condenser microphone’s distinctive design, which uses a thin diaphragm and a fixed backplate to create a capacitor.
As sound waves strike the diaphragm, it vibrates, altering the distance between the diaphragm and backplate. These changes produce an electrical signal that mirrors the captured sound. However, the diaphragm and backplate must maintain an electrical charge for this mechanism to function efficiently. Phantom power supplies this charge, enabling condenser microphones to deliver their exceptional audio performance.
Many contemporary audio interfaces and mixing consoles are equipped with built-in phantom power capabilities. Activating phantom power typically involves locating a dedicated switch or button, often labeled “+48V” or “Phantom,” and turning it on. To ensure the safety of your equipment and optimize your recording setup, adhere to the following guidelines:
Properly implemented phantom power is vital for condenser microphones to perform at their peak. By supplying the required voltage, phantom power enables these microphones to capture sound with exceptional detail, nuance, and accuracy. Furthermore, using phantom power correctly can help minimize noise, interference, and other factors that could compromise the quality of your recordings.
It’s essential to note that phantom power does not impact the audio quality of dynamic microphones, as they operate based on a different principle. However, some active ribbon microphones and other specialized microphones may require phantom power. Always consult the specifications of your microphone to determine its power requirements and compatibility with phantom power.
From time to time, you may encounter issues related to phantom power when configuring your recording setup. Here are some typical problems and their solutions:
While most audio interfaces and mixers provide built-in phantom power, alternative solutions are available for situations where these options are impractical. Standalone phantom power supplies can be a valuable addition to your recording setup, enabling you to power multiple microphones independently of your interface or mixer.
Battery-powered condenser microphones offer another option for those seeking a portable and adaptable recording solution. These microphones can operate without an external power source, making them ideal for on-location recordings and other scenarios where access to phantom power may be limited.
As technology continues to evolve, the audio industry is likely to see new developments and improvements in phantom power. Innovations such as Power over Ethernet (PoE) are already making inroads in powering network-connected devices, and similar advancements could potentially impact the world of audio recording. Additionally, more energy-efficient solutions and advances in battery technology may further enhance the flexibility and performance of phantom-powered microphones.
In order to fully leverage the benefits of phantom power, it’s crucial to invest in high-quality equipment that meets your specific needs. Here are some factors to consider when selecting the right gear for your recording studio:
Following proper maintenance and care practices is essential to ensure the longevity and performance of your phantom-powered microphones. Here are some tips to help you keep your equipment in top condition:
Phantom power plays an integral role in the performance and functionality of condenser microphones. By understanding its purpose, history, best practices, and safety precautions, you’ll be better equipped to capture professional-quality audio recordings. Always be mindful of compatibility, use the appropriate equipment, and adhere to safety guidelines to ensure your recording experience is both productive and enjoyable.
As you expand your knowledge of phantom power and its applications, you will be well-positioned to make informed decisions about your recording setup and achieve optimal audio quality. As the audio industry continues to advance, staying informed about new developments and technologies will enable you to stay at the forefront of audio production and capture exceptional recordings that stand the test of time.