Along your musical journey, there is bound to be a bunch of equipment you buy. Typically, it starts with your first instrument, followed by a mic to record yourself on your computer. However, after that, you’ll hear from others that an audio interface should be on your priority list. Of course, if you’re relatively new to music recording, you’ll ask yourself, as so many others have done before you, “what is an audio interface and how can it benefit me musically?”We discuss how it does this and why it is highly recommended to musicians in the sections below.
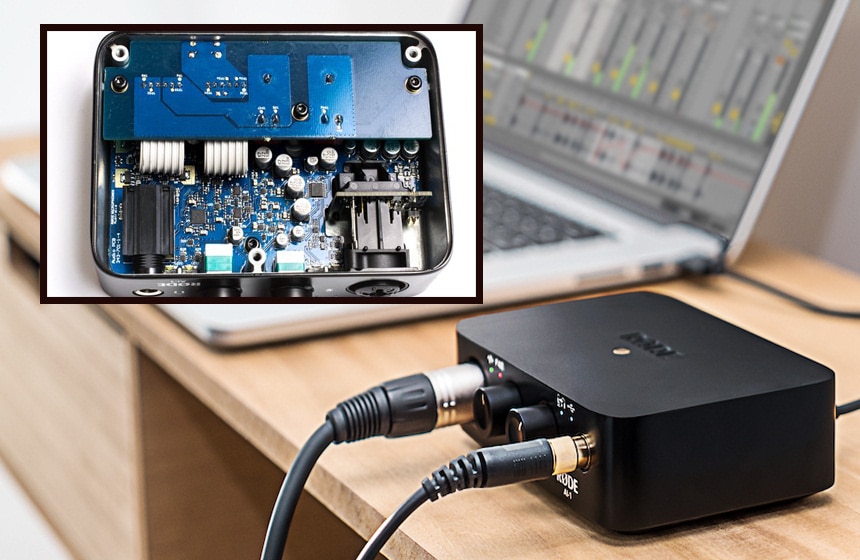
At its basic definition, an audio interface is a device used to improve your PC’s audio recording and playback capabilities. Another descriptor for an audio interface is a soundcard on steroids. So how does it work? First, it serves as a connector between your instruments/microphones and your computer. This is made possible by the multiple ports included in the device.
The number of connectors and ports will vary from one machine to the other. Cheaper models will typically have fewer ports, while the pricier options can be connected to more instruments, microphones, and audio processors at the same time. Additionally, most prospects will have outputs that allow the users to listen to and monitor the audio.
Worth mentioning is that the sound signal from the musical instruments and microphones is incompatible with the computer and may not register. The interface works by converting the analog audio signal from the microphones, guitars, violins, and more into a digital signal that your PC can understand and process.
The soundcard built into your computer typically works the same way. However, there will likely only be one input/output on your computer, and the soundcard’s capabilities are fairly limited compared to the audio interface. As such, they don’t work nearly as well when recording production quality audio.
You can also answer the question of what an audio interface is used for by looking at the inputs and outputs of the device. As we mentioned before, the number of in/out ports varies from one interface to another. What’s more, their functions are different, as you’ll learn from the section below.
These are where you attach your microphones. They also plug into the preamp of the device, which is tasked with boosting the microphone level signal to a line-level signal. Users recommend the Focusrite Scarlett 2i2 audio interface for those recording with two mics since there are two built-in preamps. Since it uses a USB-C connection, it’s fairly easy to plug in and use with your computer.
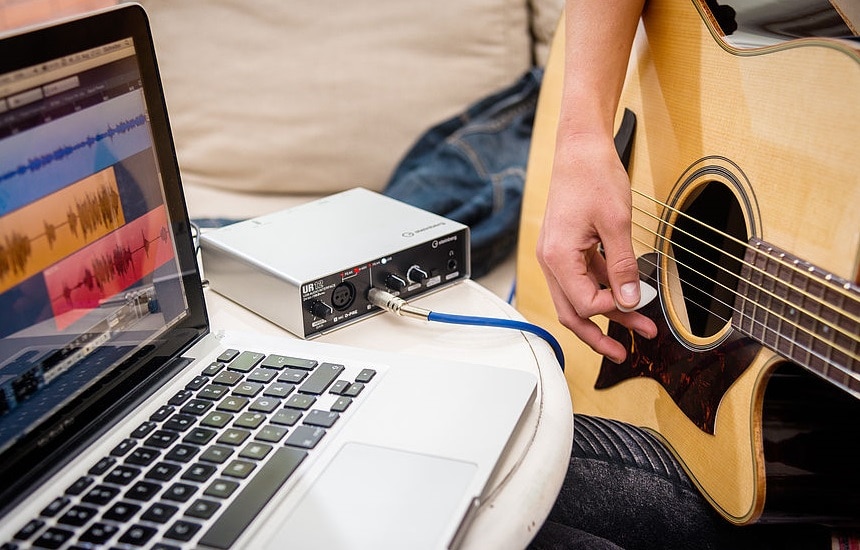
These inputs are where you connect your guitar. They are effective at picking up the instrument-level signal from your guitar’s pickups. Also, they are driven by low power outputs. Notably, this is one of the most effective ways to record your guitar. If you use any of the other ports listed here, the quality of sound recorded won’t be as good.
The ¼” inputs and outputs only work with line-level signals. Since the signals from your instruments and microphones are lower level, you cannot connect them directly to the ¼” ports. For the microphone, the connection should go through a preamp to boost the signal. As for the instruments, e.g., guitars, you boost the signal using a DI box before you plug it into the ¼” input.
Most of the modern interfaces come with at least two ¼” inputs. That said, the number of ports can increase depending on your needs and budget. Of course, if you have more equipment to connect to the interface, you’ll want more ports as well.
Worth mentioning is that studio speakers work best with a line-level input signal. As such, the ¼” outputs are perfect for them. Depending on how many speakers you want connected to your recording setup, you can pick the number of outputs you want. However, just like the inputs, basic audio interfaces only feature two outputs.
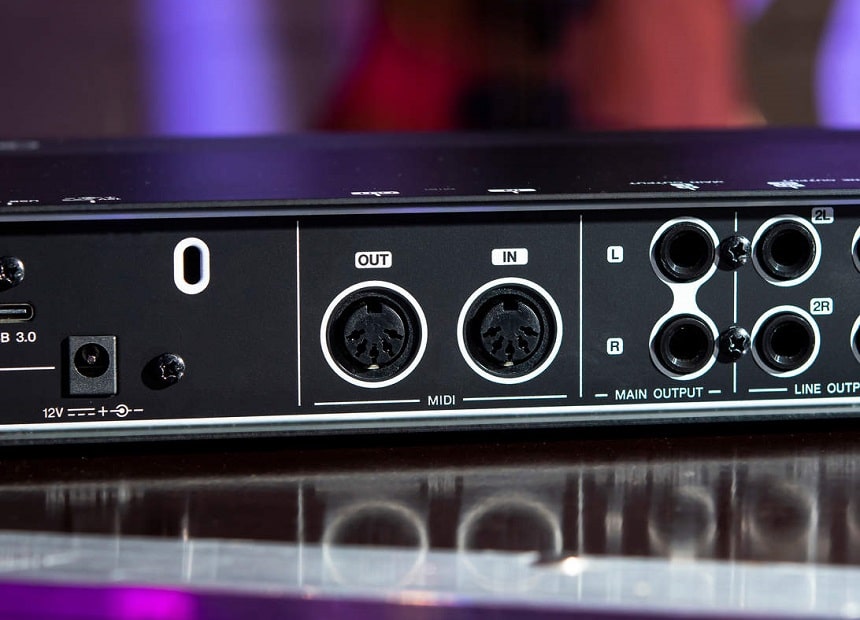
MIDI inputs and outputs are also included in some audio interface devices. Modern musical instrument digital interface (MIDI) devices send MIDI data in and out of your computer via USB cables. For context, MIDI data is a recording of all the inputs on a MIDI instrument. This includes pressing buttons and keys, turning knobs, changing the positions of the sliders, and more.
However, older MIDI devices don’t support USB connections since they were built before the invention of the USB. As such, you can connect the MIDI device to the audio interface that is then connected to a PC. This allows you to transfer MIDI data alongside other musical data from microphones, preamps, and instruments.
While the option to connect MIDI to an audio interface then to a computer is there, a MIDI to USB converter is also available and can eliminate the need for the middle man.
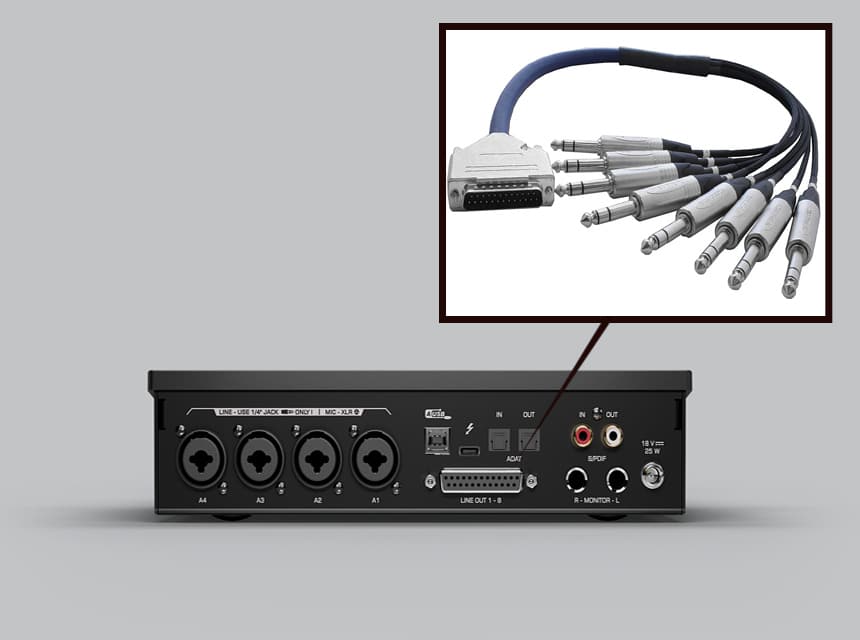
DB-25’s are the ports you use if you’re routing patch bays into your audio interface. Patch bays, in general, are devices that feature multiple similar jacks for connecting and routing circuits. In music, the patch bay can connect all the gear in your studio. This includes the outboard gear as well. As such, a DB-25 input should allow you to connect up to eight TRS or XLR outputs to one audio interface port.
On the other hand, a DB-25 output also allows you to transmit up to eight audio channels to the connected patch bay using TRS or XLR cables.
S/PDIF or the Sony/Philips digital interface is excellent for carrying compressed digital audio. The compressed audio is meant for surround sound or home theatre amplifying receivers. S/PDIF works with either fiber-optic cables fitted with Toslink connectors or coaxial cables with RCA connectors. Also, S/PDIF can be used to transmit two channels of uncompressed audio to amplifying receivers.
Like S/PDIF, Alesis digital audio tape (ADAT) uses fiber optic cables with Toslink connectors as the mode of musical data transference. That said, ADAT can transfer up to eight channels of uncompressed 48 kHz, 24-bit audio.
ADAT can also be boosted using sample multiplexing (S/MUX), whereby if you use fewer channels, you get to transmit audio at a higher sample rate. For example, if you use four channels, it’s possible to transmit 96 kHz audio. For two channels, you can even transmit 192 kHz.
Notably, audio interfaces labeled as “ADAT S/MUX” are capable of sample multiplexing, while those only labeled “ADAT” aren’t.
One thing that’s present in all audio interfaces is a world clock whose primary function is to direct the interface on how frequently it should process audio. Some process audio 44,100 times or 96,000 times per second, depending on the sample rate you pick.
If you were to connect multiple audio interfaces or use some of the digital outboard effects, you might notice something called “drift.” This is brought about by the world clocks in the various devices not being in sync. As such, one device will process and therefore play back faster than the other. This is how you end up with audio files of varying lengths.
To curb this issue, you can use a master clock to control all the other clocks in the other interfaces. One interface can act as the master clock while the rest are slave clocks so long as it has a world clock input and output. External world clocks can also be added to your setup.
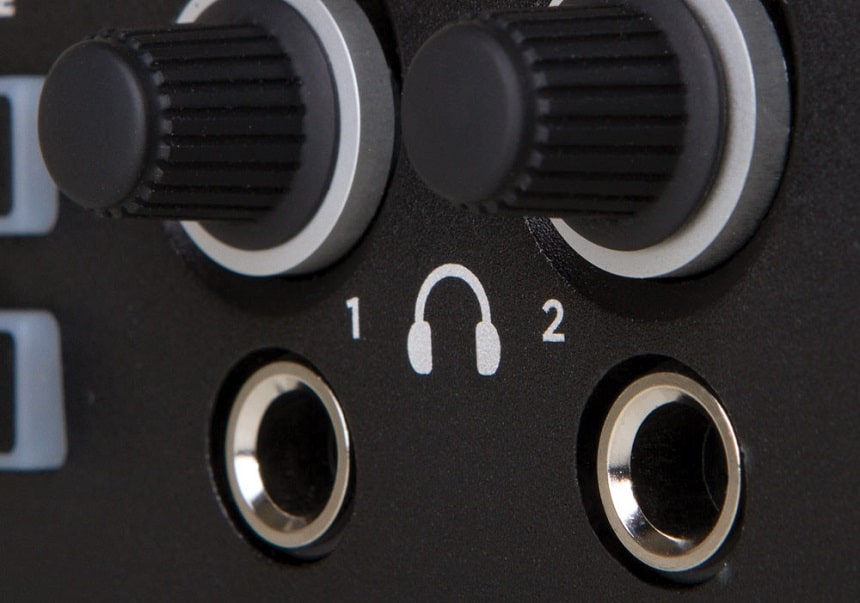
Monitoring while recording ensures you catch onto mistakes earlier and correct the issues in time. If you use your monitor speakers for the job, there’s a huge chance that the microphones will pick up their output. As such, muting or disconnecting the speakers then using your headphones to monitor the audio is a better idea.
This is why headphone outputs are included. They’re also great when you don’t want your recording sessions to be loud. Notably, some of the interfaces available have more than one headphone output. Some even have the capacity to send different mixes to different headphone outputs.
Audio interfaces vary in terms of cost, benefits, capabilities, and more. Consequently, picking one without putting much thought into your selection process is a bad idea. To avoid wasting your time and resources during the purchase, here is what to consider when choosing an audio interface.
The most significant consideration when picking out an audio interface is, of course, your needs. To figure out your needs, you need to determine why you’re buying the audio interface in the first place. What would you like to do with it? Are you recording yourself sing while playing the guitar, or are you recording a full band?
If you’re only recording yourself, then a budget/beginner audio interface should work just fine. However, if you’re recording a lot of instruments and multiple people, then you’ll need to account for that in your purchase. Also, if the plan is to add equipment to your studio setup, you can buy an audio interface to cater to your future needs rather than upgrading every few months.
The connection to your computer will vary depending on the audio interface you pick. Some use USB, which is fairly common, while others use FireWire or Thunderbolt connections. These connections will also determine what other equipment you can connect with your interface. For instance, FireWire allows you to daisy chain a total of 63 devices.
Contrastingly if you choose Thunderbolt audio interfaces, you can only chain six devices. For most people, six is enough. However, if your studio is packed with equipment, you might want the FireWire option. Thunderbolt takes the cake for transmission speed with a capacity of 10 Gbps while FireWire maxes out at 3.2 Gbps.
According to reviewers, the Universal Audio Apollo Twin audio interface is one of the best options featuring a thunderbolt connection. It even adds extra benefits in the form of unison-enabled preamps that allow users to track audio with near-zero latency.
Also, budget PCs may not support FireWire connections leaving you with no choice but to pick either USB or Thunderbolt. Thunderbolt connects to a mini display port or USB-C. That said, you can probably add a FireWire port to your PC at a minimal cost.
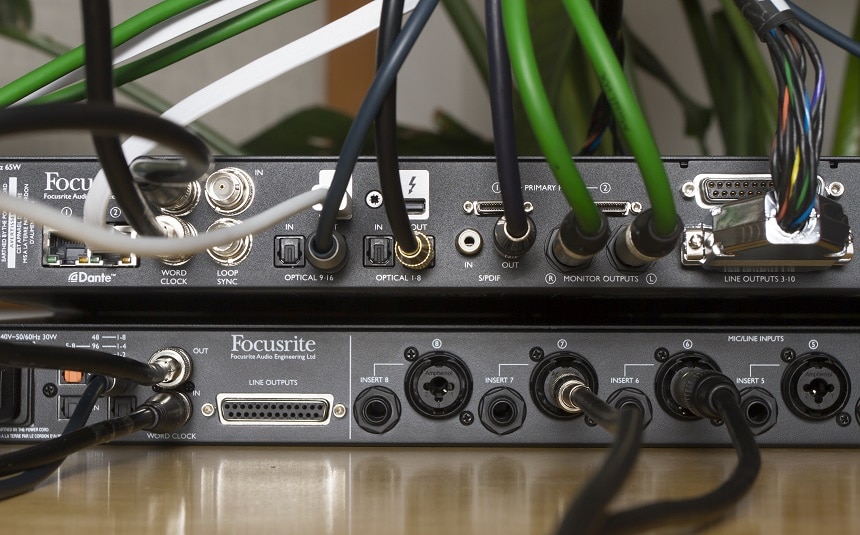
We’ve already discussed the potential inputs and outputs you might see on your audio interface. However, they aren’t included in all machines. As such, you should determine the types of connections you need first before going ahead to look at your options.
If you plan on connecting multiple audio interface devices, for instance, then you might need world clock inputs and outputs. Also, if you need sample multiplexing in your setup, ADAT S/MUX ports become a necessity. Be sure to make a list of all your needs as well as the connections you deem unnecessary so you can look for them in potential audio interface purchases.
Another optional inclusion in your audio interface is the onboard DSP. While unnecessary for most applications, if you want to run plug-ins on the interface, it might become a requirement.
Often the price is one of the things that matter most when purchasing the audio interface. Most beginners will pick interfaces that are under $100 or under $200 since they don’t have a lot of money to spend. On the other hand, music professionals need more functionality from their equipment and therefore opt to buy devices worth thousands of dollars.
Worth noting is that most modern audio interfaces offer excellent sound quality regardless of the price. As such, you’re almost guaranteed tol find a relatively high-quality interface that matches your budget.
For those wondering about whether getting an audio interface is worth it, here are some of the pros and cons.
Most of the downsides associated with these devices are unique to particular models. However, here are some common ones:
What is an audio interface? If you’ve read this far, this is a question you can easily answer. You should also be able to decide if you need one or not. That said, if you’re interested in improving your audio recording sessions, you’ll likely have to purchase an audio interface sooner or later.