Last updated: May 18, 2026
Any passionate violinist ought to know all the recommended methods of maintaining violins to entertain audiences and show their abilities. Beginners must also have the basic knowledge of keeping their violins functional. The best violins ultimately benefit those using them. Notably, rosining violin bows is one of the safest practices that ensure violins operate normally.
Fortunately, learning how to rosin a violin bow is not as challenging as practicing how to play it. You must understand how to use rosin on a violin bow and do it whenever you feel the need.
New bow hairs need extra effort while rosining. This is because the hairs are rosin-free when new. Thus, it is equally important to understand how to rosin a new violin bow.
This article will guide you on the fundamentals of rosining bows to have them fully functional.
 Bow hairs are slippery when purchased for the first time and you might find difficulty in playing under this condition.
You will know that they lack rosining from the sound produced. Violins should give sound in the right volume and pitch. Those that lack rosining produce hollow sounds as the bow glides on them. Rosining will add texture and resistance to bow hairs, allowing them to produce proper sound.
It is essential to note that applying new rosin to a new bow is not recommended. New rosin will make the existing rosin dull, contrary to the results you would be expecting.
However, there is a way around this challenge. You should scratch the surface of the rosin with a sharp object before applying it.
There are several types of rosins available. According to most reviews, the best rosin remains violin rosin from D’Addario. As the name suggests, it has low dust, which reduces the chances of harming the body. Furthermore, it has strong adhesion, excellent formula, and is universal. The rosin offers outstanding results on violins.
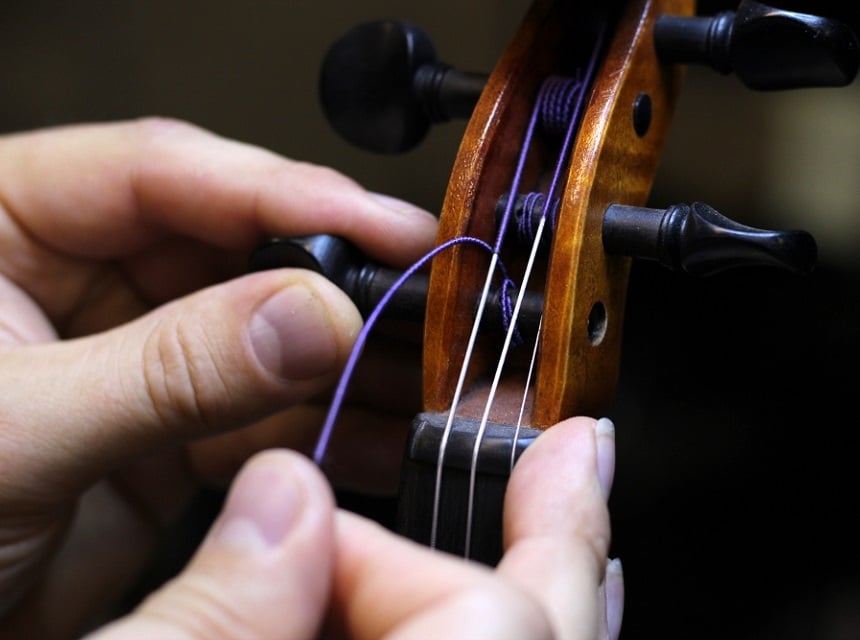
Bows that are not pre-rosined should be rosined for the ultimate experience. Thus, it would be best if you inquire whether your newly acquired bow is pre-rosined or not. Notably, most new bows are not pre-rosined, so, they do not play normally. You will notice the bow easily gliding on the strings should it not have rosin. However, before you inspect the bows, make a point of asking the store if they are pre-rosined first.
You will have to put in a little work when rosining bows for the first time. Notably, it would help if you understood how to properly rosin a violin bow to avoid errors that will ultimately result in low-quality sounds when you play the violin. Hence, learning how to apply rosin to a violin bow will ensure you never go wrong in the process.
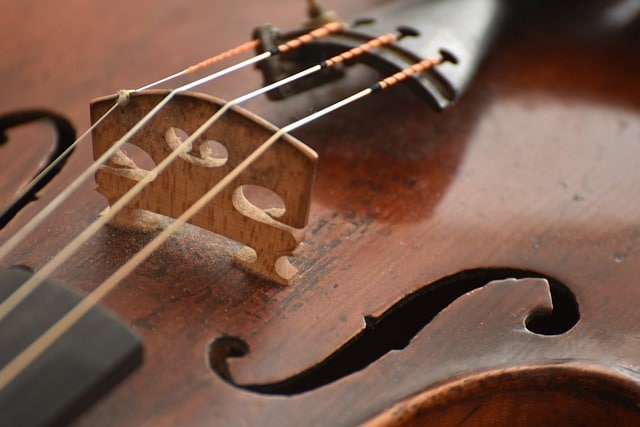
Bow hairs are primarily responsible for the sounds that violins produce. Hence, ensure that the hairs are in perfect condition when you purchase. Fortunately, you can replace the hairs when they become worn out, especially in older violins.
Experts recommend the MI&VI Mongolian horse hair as the best for violins. The hair is high quality and comes with a wooden wedge and a plug. It is also unbleached, which contributes to its quality.
 The amount of rosin to apply depends on your experimenting skills. You should try using rosin in different quantities to find out the best that works for you. Bows that lack rosin produce weird sounds. Thus, you need to press harder for them to produce sounds that come close to pleasant.
The answer to ‘How often do you need to apply rosin to a violin bow?’ depends on how much rosin bows are lacking. Apply them every time you realize that the sound produced is not what you expect.
A good amount is usually approximately five strokes of rosin. Once you apply this amount, your violin will be set for any occasion. You can also notice if you have used too much rosin from the sound produced- a cloud of rosin will develop on the bow hairs.
Additionally, the bow will feel somehow sticky and need more effort while playing. Sounds produced may also be scratchy and unpleasant. Consider practicing how to apply rosin, and you will find your way through the process. The right amount of rosin is vital to having a fully functional violin.
You ought to scrape rosin before using it on bows.
New rosin has a unique look- it appears shiny on the outer surface. It is also smooth, which may limit its effectiveness when applied to bows. It also takes longer for the rosin to work in your bow when you apply it as it is for the first time. You should understand the fundamentals of how to scrape rosin for violin bow to ensure you do not go wrong in the process.
Scraping rosin is not hard. It would be best if you scratch the surface gently when you open the rosin container. Scratch it repeatedly while moving back and forth until you notice the surface changing.
A dulled surface means you are on the right track. You should not poke the rosin using a sharp object or the one you might be using for scratching. Rosin that appears glossy after scratching is the best for bows.
Experts say you should be able to reach this destination if you continue scratching gently. Scraping rosin before applying allows bows to glide through the hairs perfectly, producing sounds that you and your audience enjoy
Rosining violin bows is a straightforward process. Following the necessary steps below will improve your skills and enhance your familiarity with how to put rosin on a violin bow.
Rosining violin bows is the thing violin owners ought to stick to. Some violins come pre-rosined. This does not mean that they will not require rosining at some point.
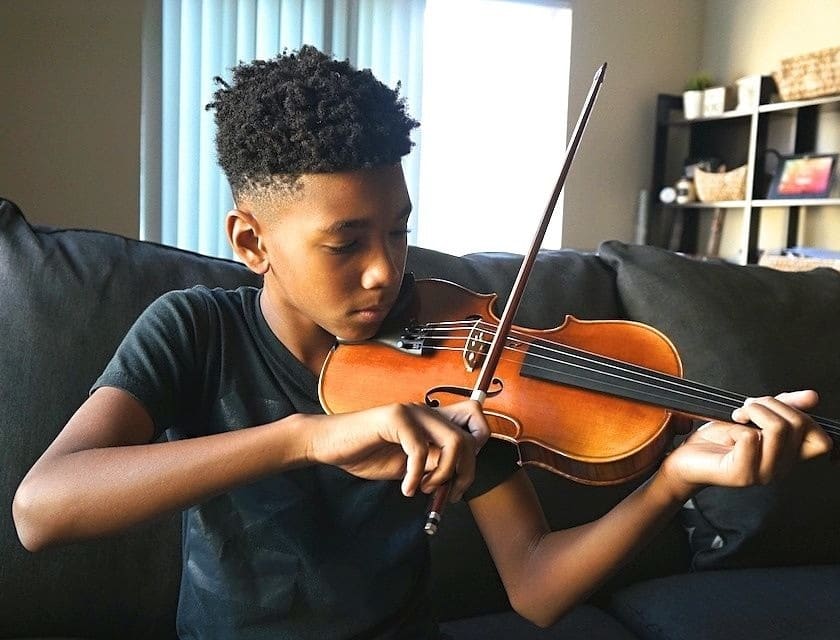
You should learn how to rosin violin bow since the process requires a bit of knowledge. Rosined bows produce the best sounds and allow beginners to enhance their skills.
Furthermore, professional violinists rosin their bows as soon as they discover that rosining is needed. The practice will ensure the quality of hairs is maintained since it limits the possibilities of wearing them out when you apply pressure while playing.