Last updated: April 23, 2026
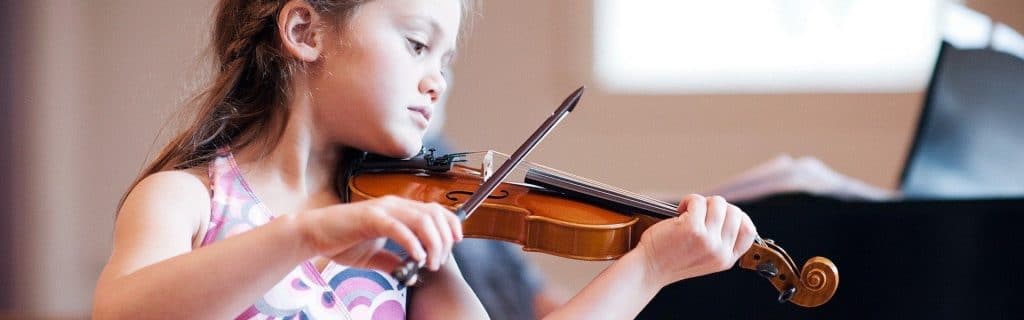
Violinists who learn to handle and play the instrument have one thing in common- they know how to hold a violin bow. Holding the bow the right way can make all the difference when it comes to playing your violin well.
A violinist without a correct grip and posture is not only limited to poor performance but also greatly affects the quality of sound that he or she creates. This is why it’s important for violin beginners to get proper training on how to hold a violin bow. Read on for all you need to know about the basics of violin bows and how to hold one.
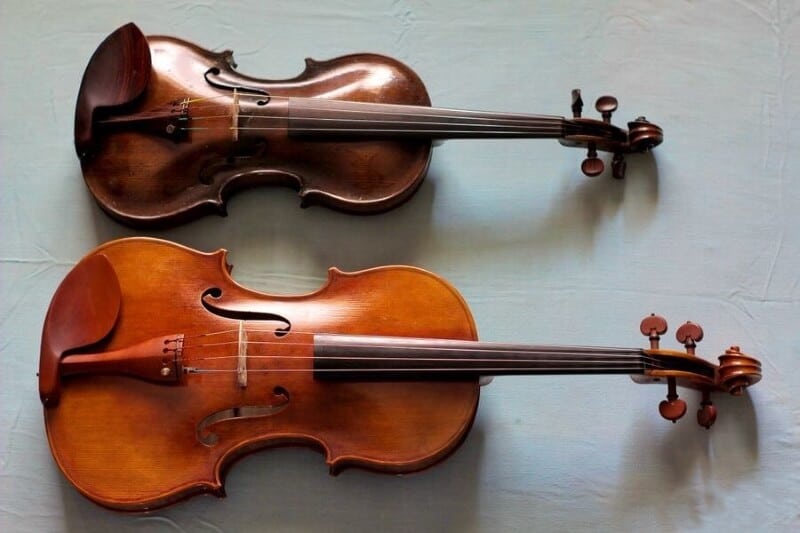
 A violin is the smallest string instrument, and it produces a high pitch sound, especially when it’s played right. However, to play it right, you have to know your violin intimately.
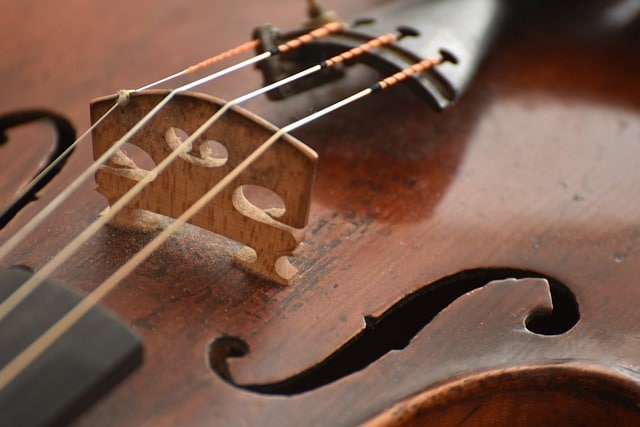
The middle C- shape of the violin is important. Aside from the exquisite looks it gives, it also provides space for the violin bow and ultimately determines the violin’s sound. This is why when shopping for the best violin to buy, and you have to pay attention to the looks, the bow sticks, and the functionality.
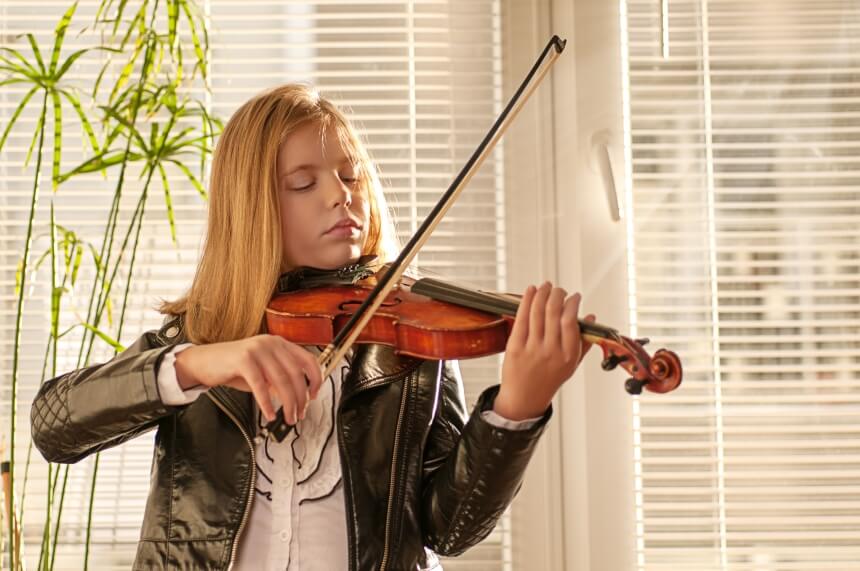
The violin bow is arguably the most important part of the violin. This is because, without the bow, you can’t play the violin. The bow is usually about 30 inches long. The violin sound is made when the bow is slightly drawn against the strings causing a vibration due to the friction between the strings.
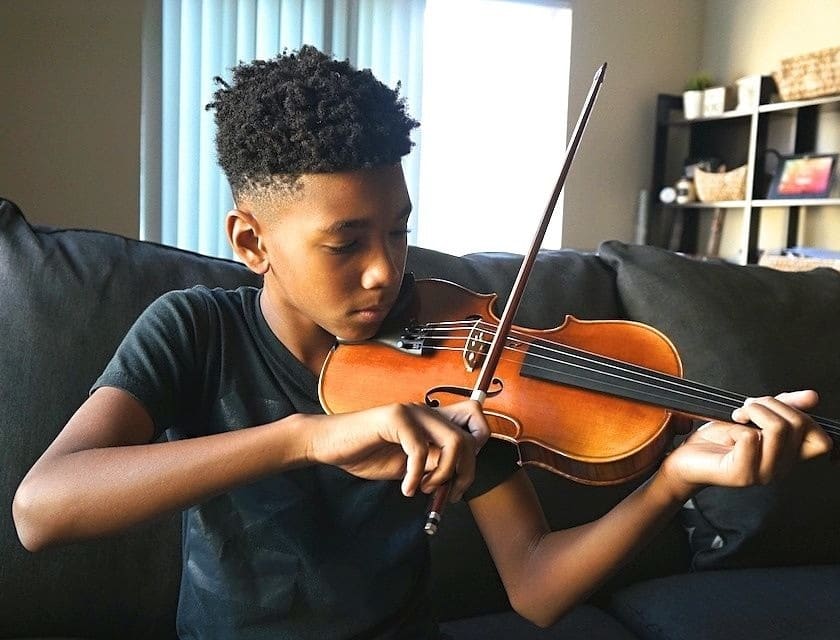
However, to produce that high-pitched sweet sound peculiar to violins, you need to learn both the skill and the technique, literarily, the art and the act. It is pretty easy to sustain pains after a violin playing section if you don’t know how to hold your violin bow correctly, either as a beginner or even an expert.
The following sections will address the correct thumb position, how to position your fingers correctly, and other things you need to know about holding the violin bow properly.
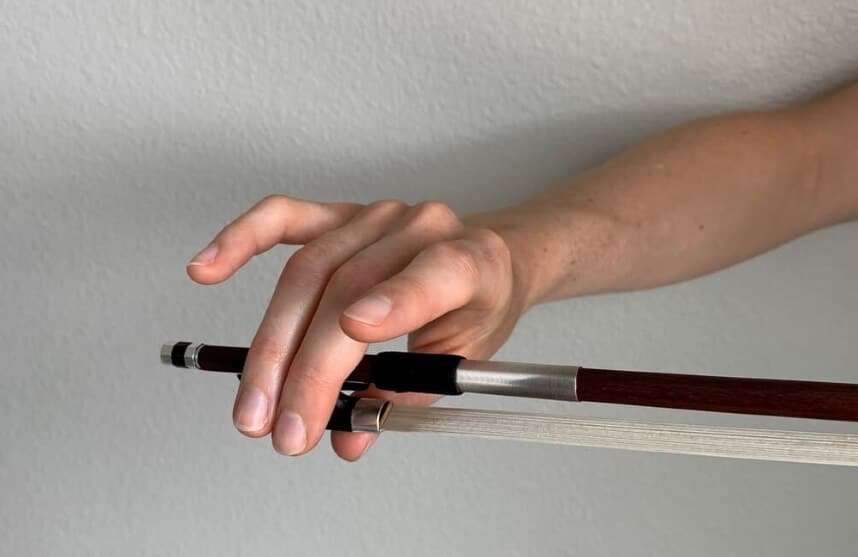 To start with, try to relax your arms, hands, and fingers. You can even go ahead and shake and turn them around a few times to calm your palms and finger nerves and improve their flexibility.
In fact, the fingertips should touch themselves only slightly. This will give enough space for the frog to pass through the gap created by your thumb and two middle fingers. You have the correct thumb position when you can feel the metal side of the violin gently holding the hair in position.
 Now that you have correctly placed your thumb in the right position, you will discover that your whole hand has successfully created a sort of a bunny face. If you started training as a kid, you probably must have been taught the bunny face technique.
The next phase is how to place the rest of your fingers correctly. The middle finger is already curved with your ring finger over the bow and gently placed on the frog.
Since your thumb, middle, and ring fingers are already engaged, you have your pointer finger and pinky finger left. The next finger you have to place is the pinky finger. Make sure it is slightly curved so that the tip of the finger is pointing to and gently lightly touching the bow stick.
Once you’ve done that, you’ll be left with the pointer finger. And even though it is the last finger you’ve to place, it is equally as important as the other fingers.
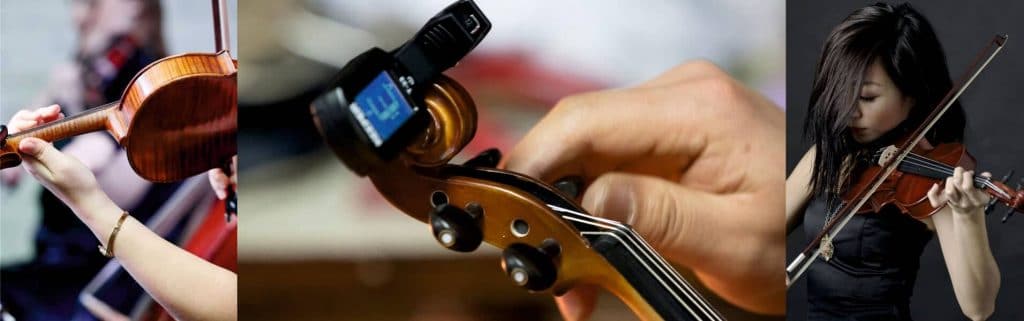
Besides, correctly positioning Trusted Source Violin technique - Wikipedia Playing the violin entails holding the instrument between the jaw and the collar bone. The strings are sounded either by drawing the bow across them (arco), or by plucking them (pizzicato). The left hand regulates the sounding length of the strings by stopping them against the fingerboard with the fingers, producing different pitches. en.m.wikipedia.org your fingers will also give you a lot of control over your bow. You enjoy a better grip and produce a more melodic sound.
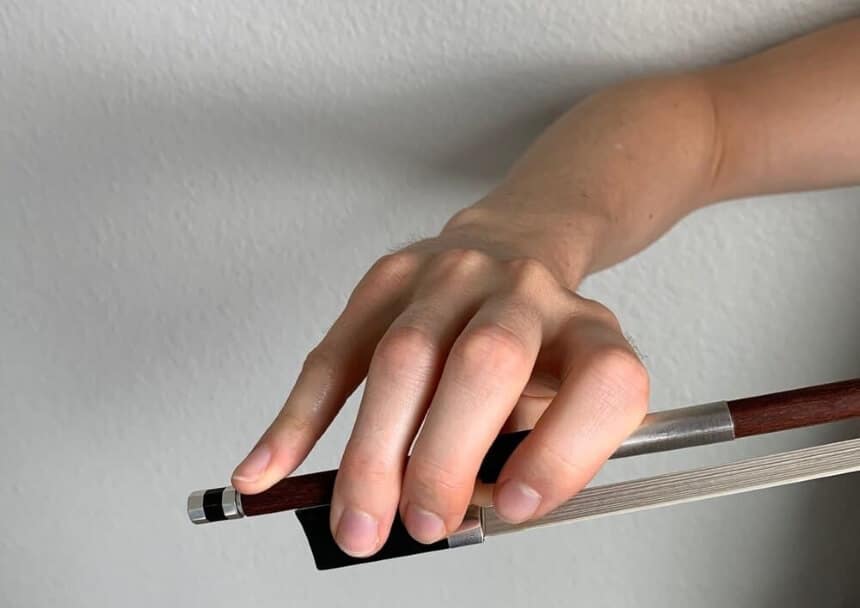
The grip on your bow will determine how high, low, smooth, or rough the sound you produce. So, how tightly should you hold your bow?
The grip on the bow should be firm but not tight. This will help you have more bow control. According to most reviews, one of the perfect models to achieve the ideal grip is the black Stunning Fiddle Bow Carbon Fiber from Kmise.
This model syncs perfectly with your finger movement as it transfers vibrations from the string to your fingers even as you hold it lightly. However, to ensure you achieve this firm but not a tight hold, you have to be relaxed.
Also, ensure your fingers are well relaxed, place them on the bow, and try not to be tensed. If you correctly place your fingers, you would discover that your fingers are equally spaced. Although you may also notice a slightly wider space between your index and middle finger, you don’t have to worry about this, as it doesn’t affect the hold.
The contact point is the sounding point. It describes how close your bow is to the bridge. There are different contact points on the violin, and each of these produces a different melody. The first contact point on the string has more flexibility than others and creates a softer sound.
For you to produce a beautiful sound on this contact point, you should bow at high speed yet with little pressure on the bow. However, if you are looking for a more balanced mix, then bows like Carbon Fiber Violin Bow may be your best bet because of their ability to perform in just any genre.
The second contact point is usually the default bow placement. If you are interested in getting a neutral, not too loud, or soft tone, this is the contact you play. You can easily change the tone to suit your needs by adding or reducing the bow pressure and speed. The third contact point is where you can play higher, stiffer, louder, and edgier sounds.
Producing the perfect violin sound is highly dependent on how you hold your bow. Place the thumb right, ensure the other fingers are well placed, and finally pay attention to the grip, it should not be too tight, yet it should be firm. Don’t forget, the flexibility of your arms, hands, and fingers is all-important when learning how to hold a bow.
Holding a violin bow properly may be technical and even difficult for a beginner. However, if you start training early and use the best equipment, you can learn the best techniques, and before you know it, it will become second nature.