Why it’s worth investing in some great drum heads for your kit
 Some of the items listed above may seem on the expensive side, but don’t get put off by price tags. Purchasing great drum heads comes with many benefits, so it’s worth the money in the long run.
For starters, you get a quick fix solution for improving the sound your drum kit can produce. You also ensure that your heads won’t split or break during a performance, because high end products will endure even some hard hitting.
The quality drum heads on the market will also last you a long time, so in essence you’re saving money since you won’t have to replace them soon.
Now, how do you identify which are the great ones around? Keep reading.
Features to consider when choosing a drum head
Drum heads are simple components, but many different factors determine the value you’ll get from them. You need a quality set that will give you the type of sound that suits your preferred music genre.
We listed the most important features you should vet when comparing different products. When you understand each one’s importance and the effect they have on your playing & audio quality you can easily pick the ideal one for you.
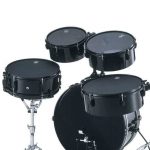
Diameter
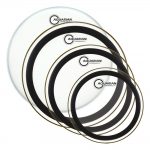
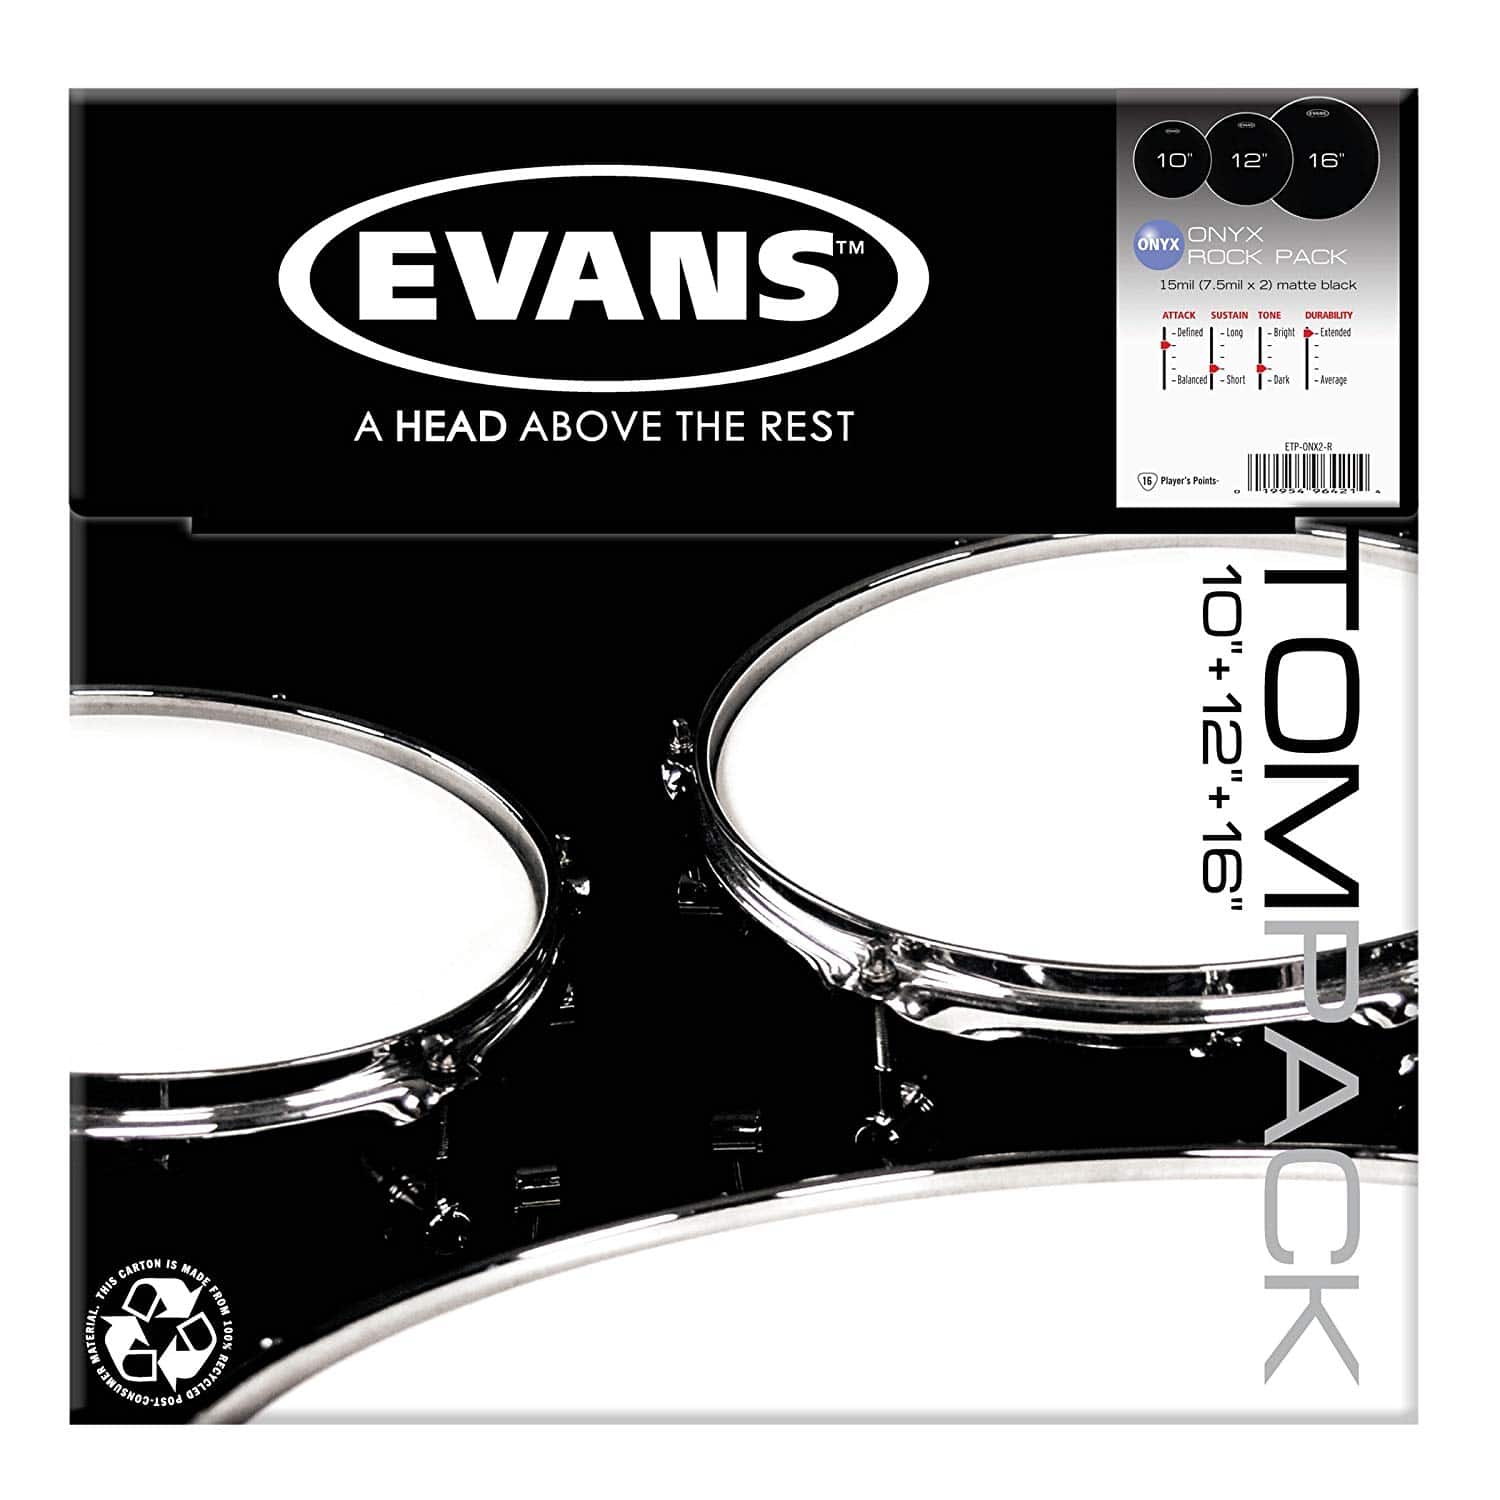
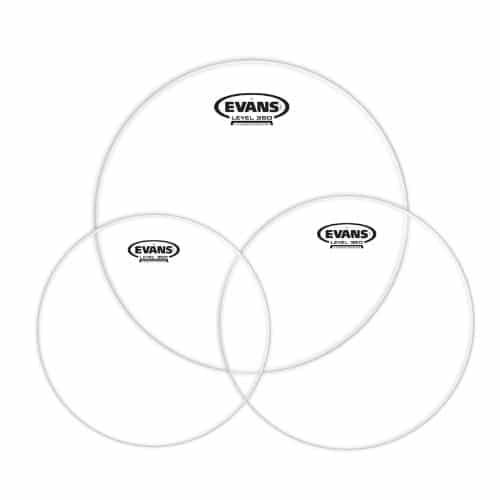
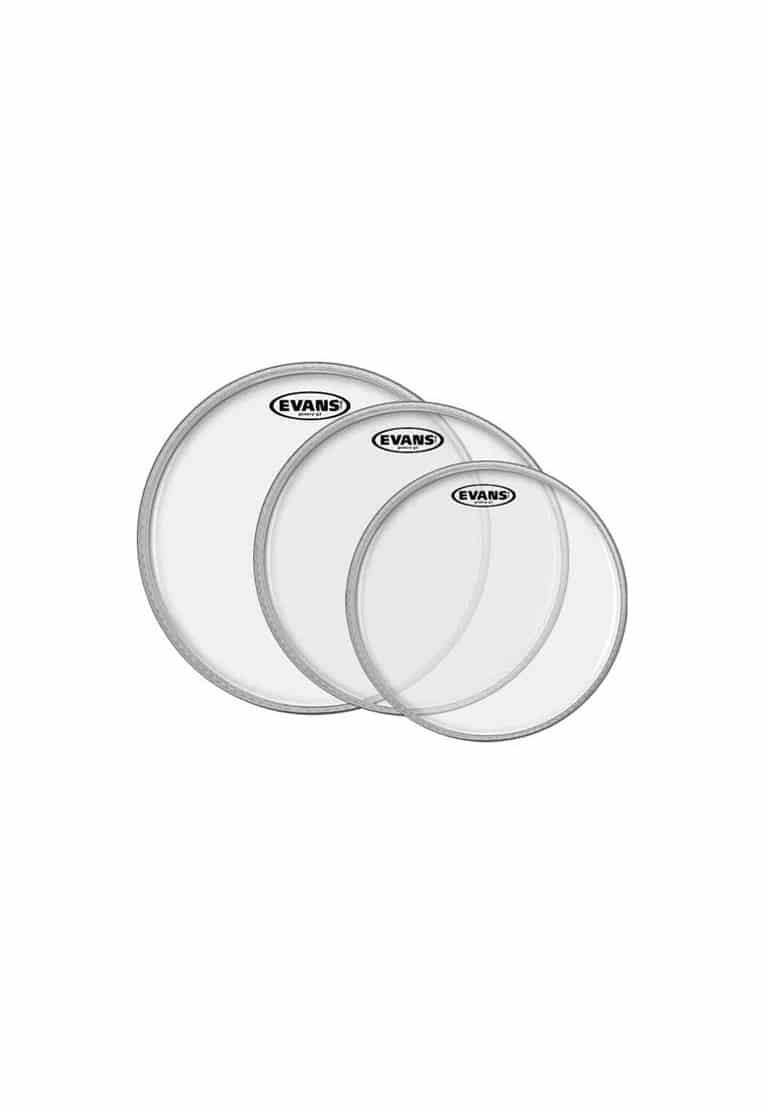
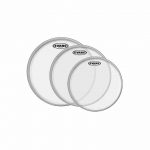
You can’t simply pick any drum head with a good reputation—you need one that fits the drum you want to upgrade. With some purchases such as the Evans G1 Tompack you get multiple units together. They will fit your set’s various sized toms.
While such a package can save you some money compared to purchasing them separately, not everyone needs this.
If you’re only thinking of upgrading one of your drums a whole set of heads may be a waste of money.
The others may end up in the cupboard, never to be used if they don’t give you the sound you need for your other sized drums. Rather opt for purchasing units separately. Some models are available in multiple sizes so you must simply pick the appropriate diameter.
Drums range in diameter from as little as 6” for some toms to as much as 28” on a bass drum. Measure yours before you start buying.
Thickness
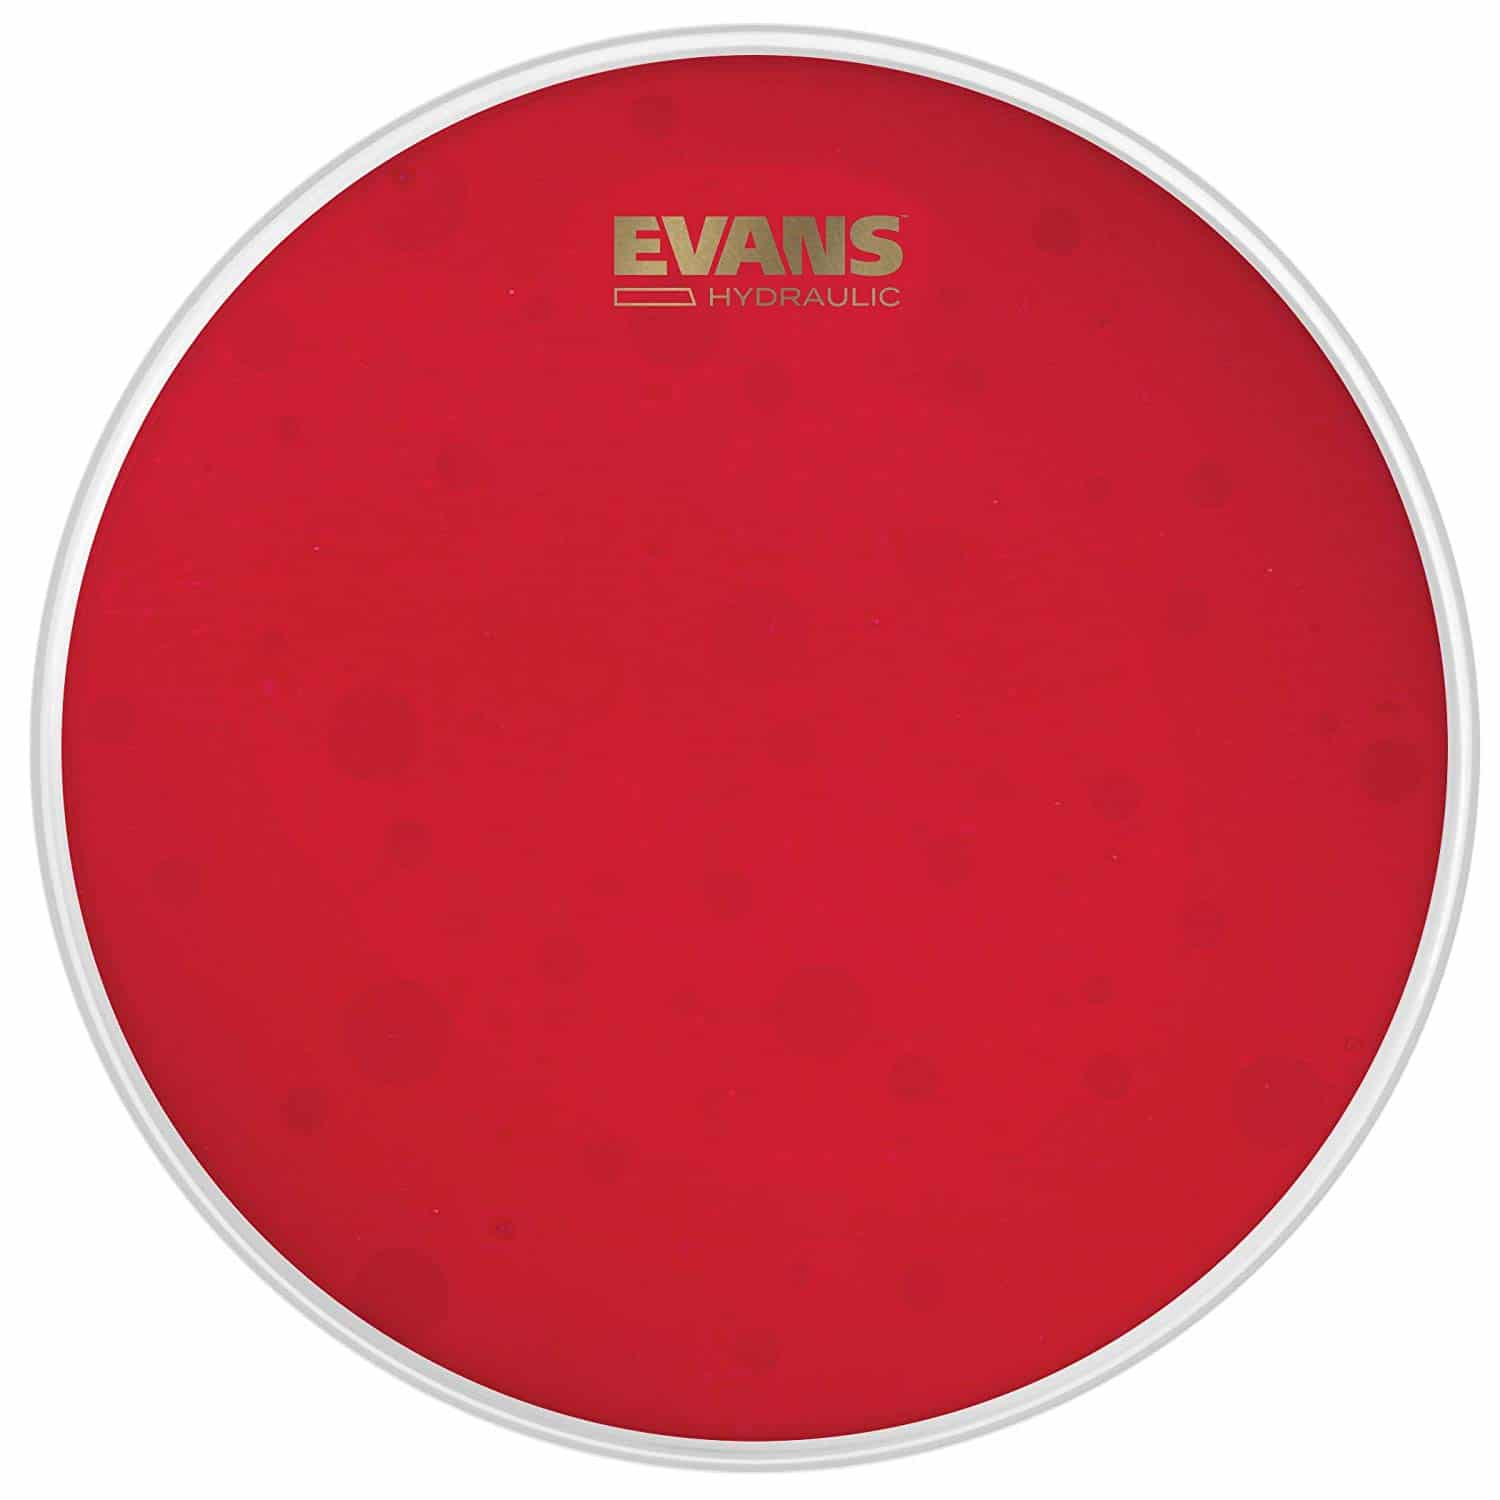
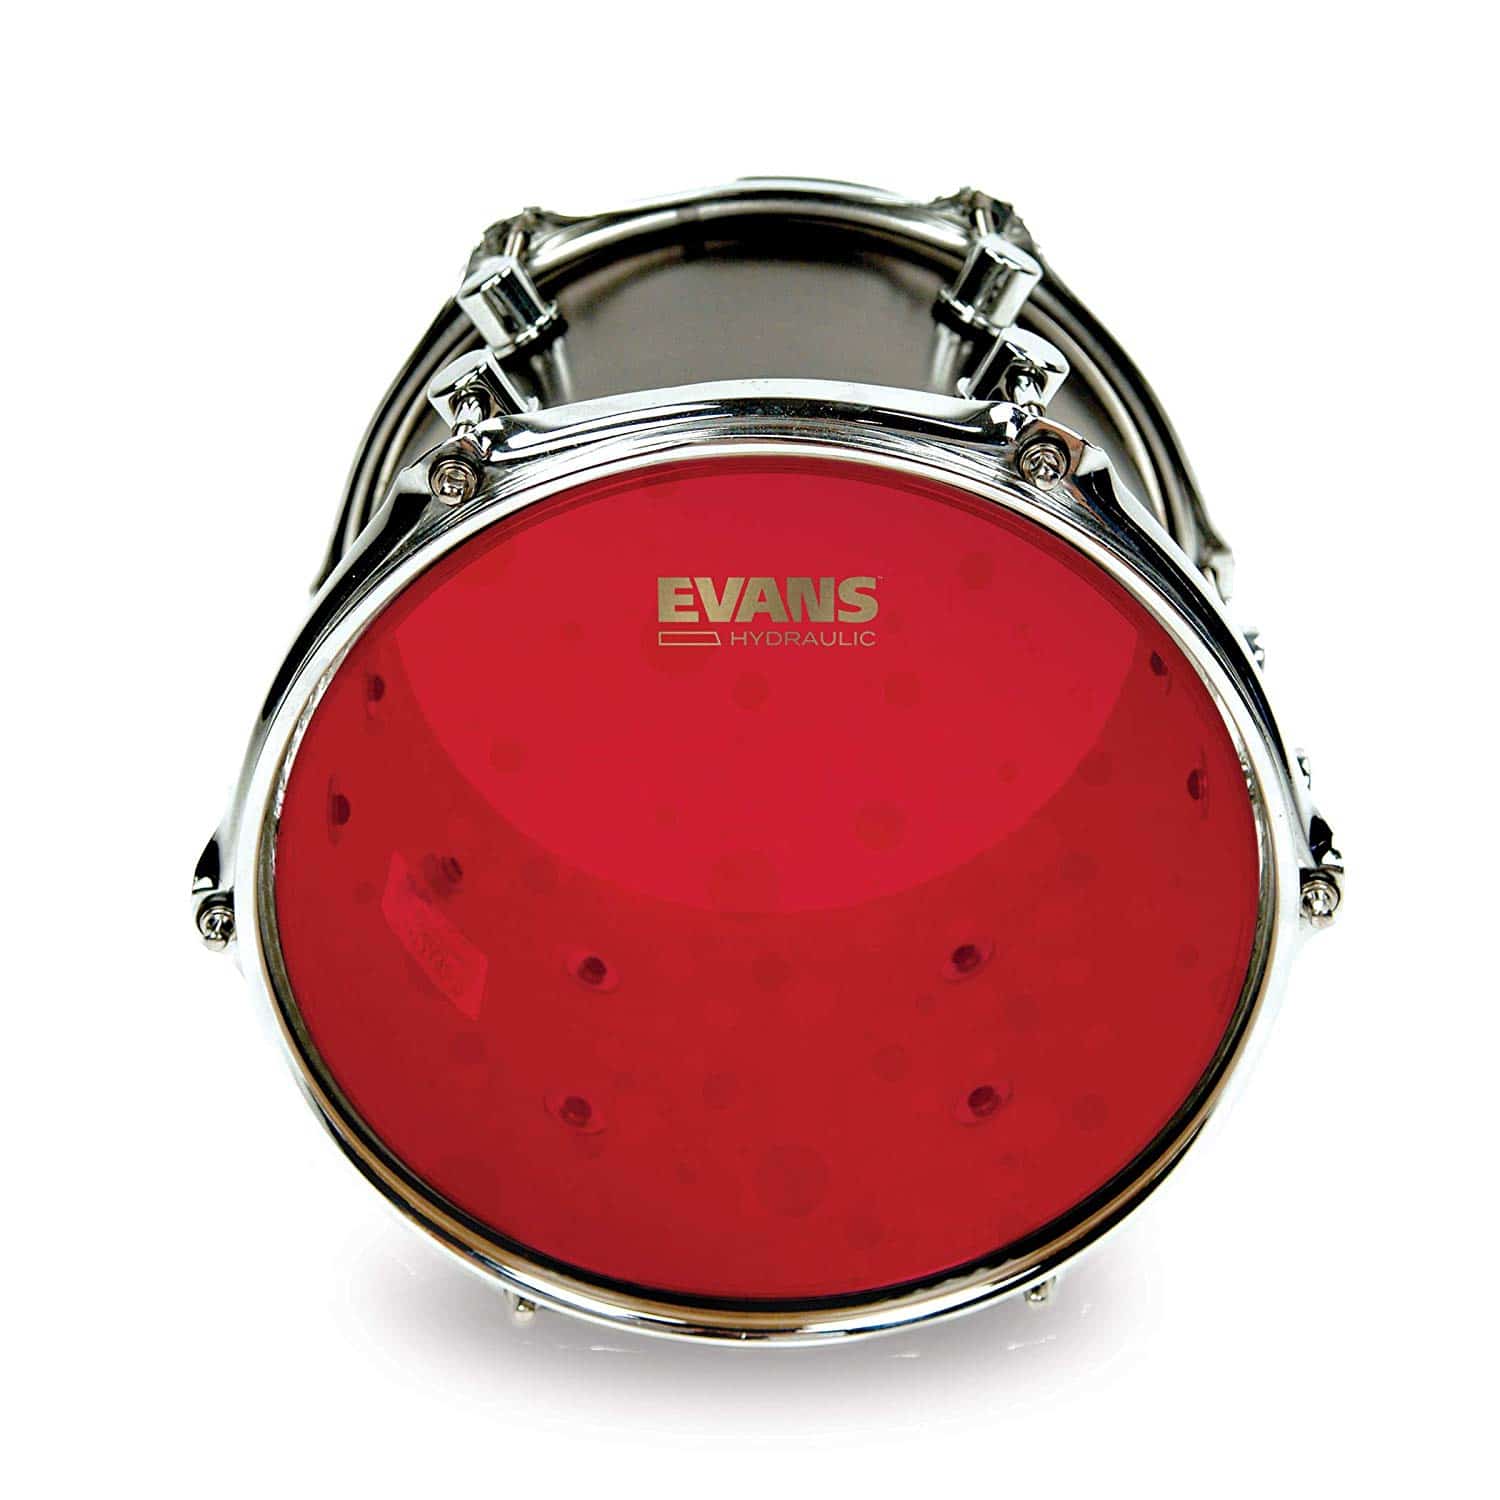
Thickness is extremely important as it determines the audio your set produces but also the longevity of the heads.
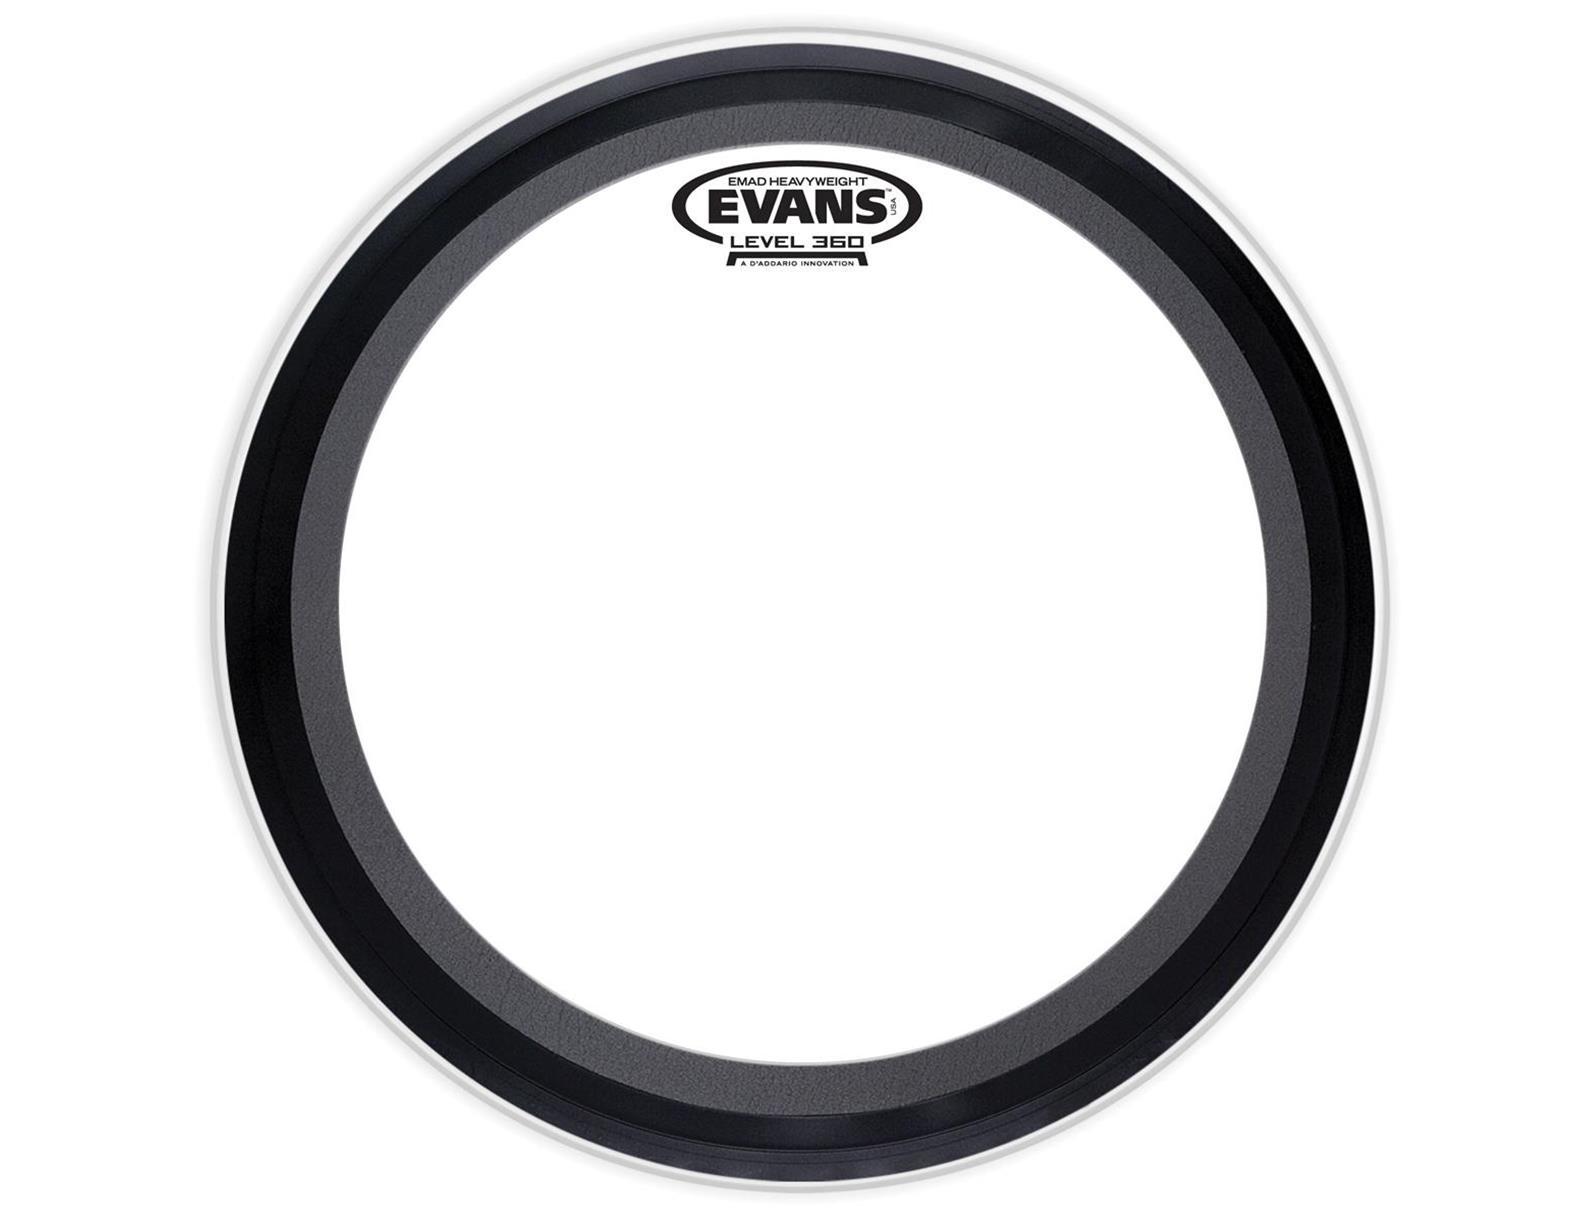
The first decision is whether you need a single ply or a double ply design. The latter simply means that there are two layers of the material the head is made of. This makes the head much more durable, which is an automatic benefit, but it also influences the tone.
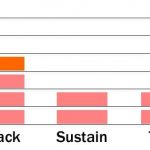
Thicker heads can produce louder sounds than thinner ones and they’re the best sounding drum heads if you want to enjoy more attack. But be prepared for less sensitivity compared to playing on a thinner head and a thicker unit has less sustain. One other benefit of a thick drum head is that they often have a higher tuning range.
Heads can be very thin (3-5 mm) or up to 10mm. A double ply unit can be much thicker as it can contain two 7mm layers.
Materials
 Drum heads can be made from various materials. While they were made from raw hide years ago, you also find polymers these days.
Part of the reason that raw hide isn’t the only option is that it easily detunes, especially if the weather changes. Modern innovation produced more practical solutions that are worth investing in. Popular options include plastics. Polyester versions such as polyethylene terephthalate are often used because they’ll perform well even if exposed to heat or moisture.
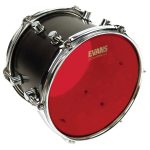
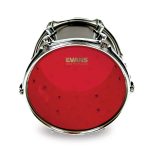
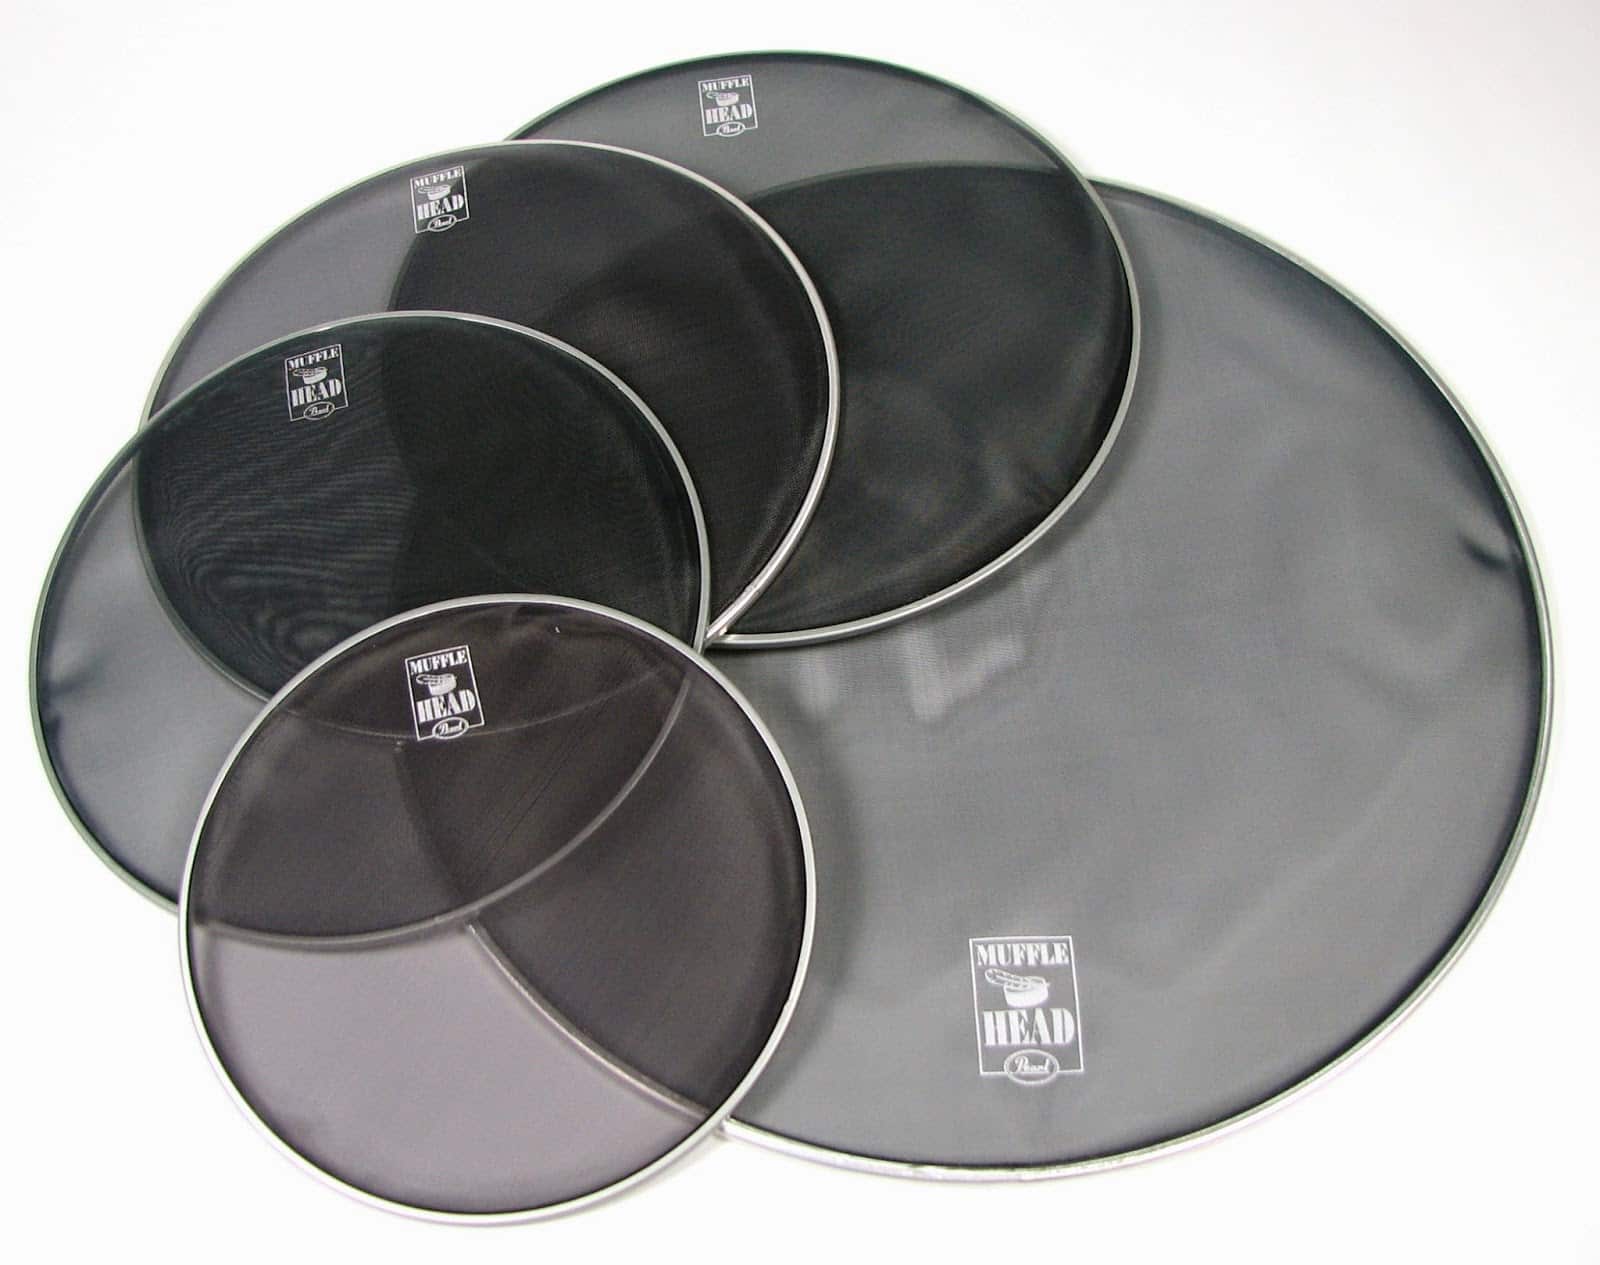
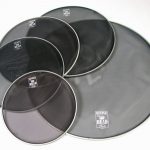
Finish: coated vs. uncoated
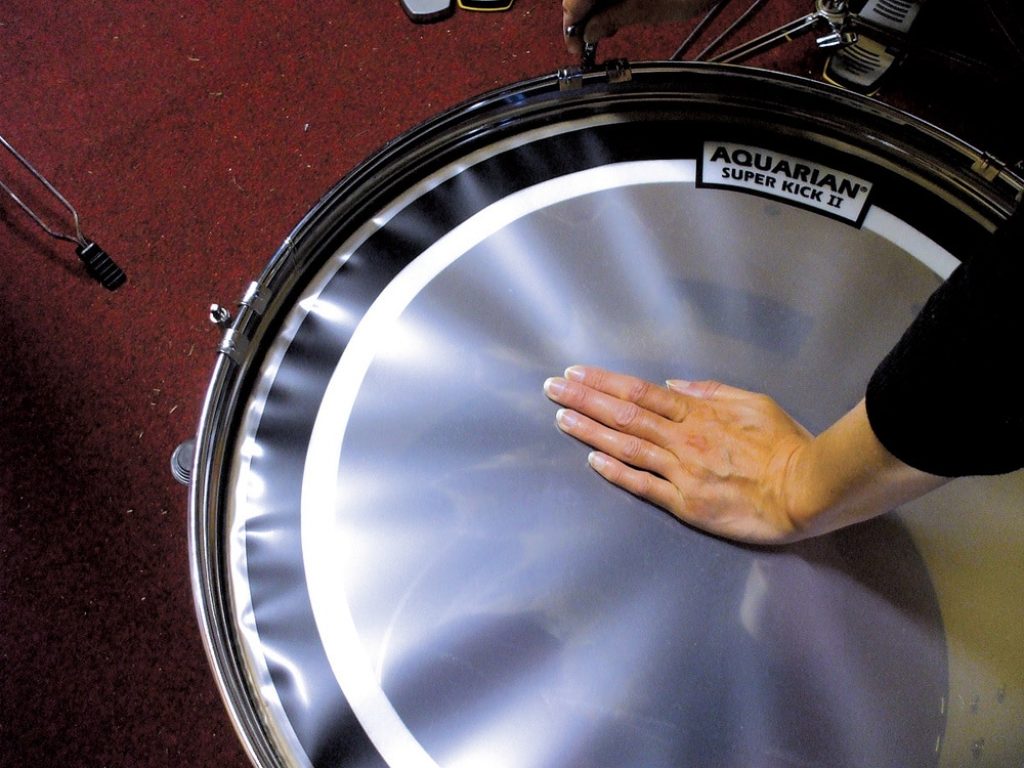
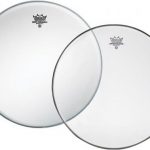
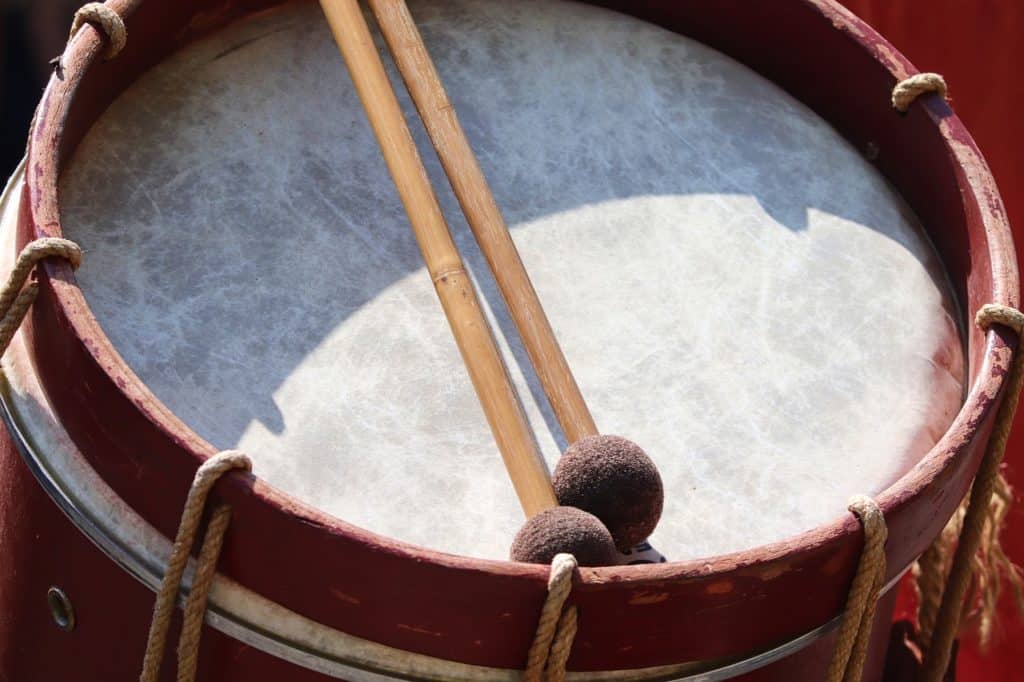
Walking down the aisle in a music shop you’ll notice drum heads look different from each other. They are either clear or coated. It’s important to know this isn’t simply for aesthetic reasons.
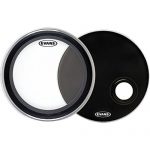
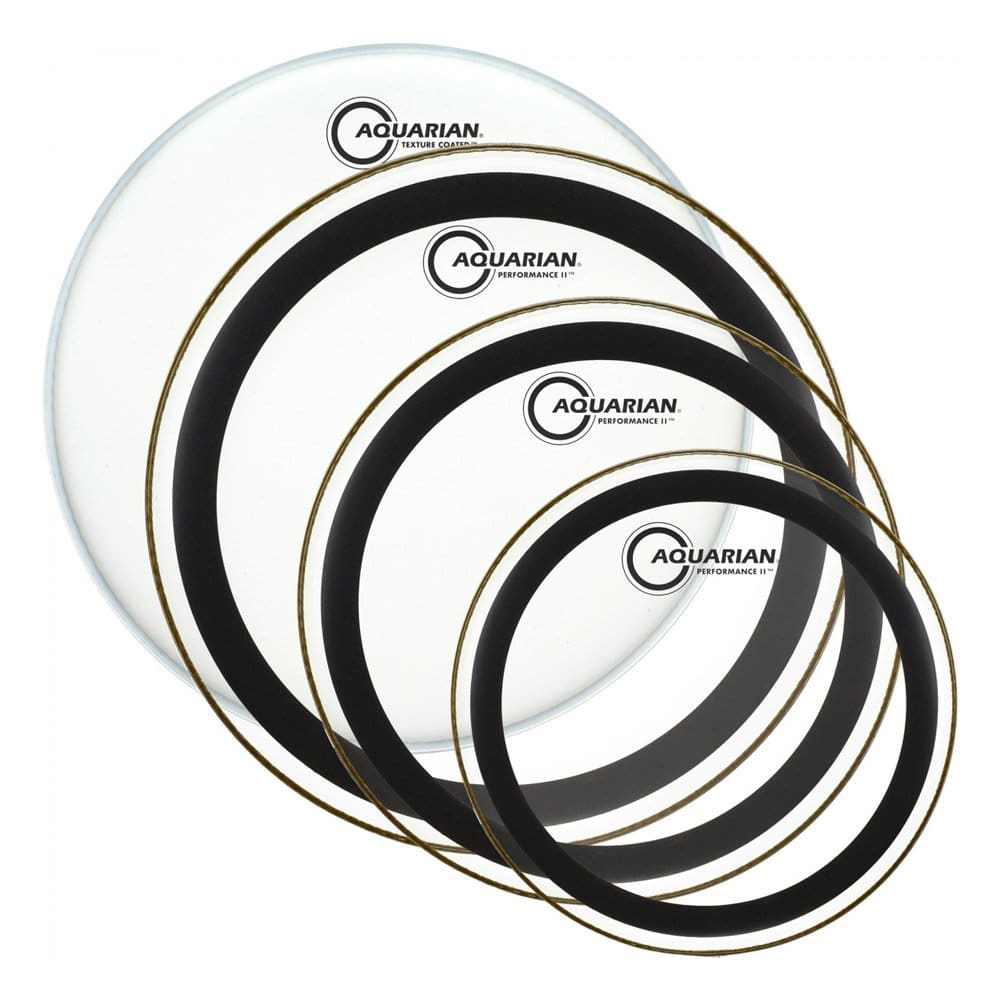
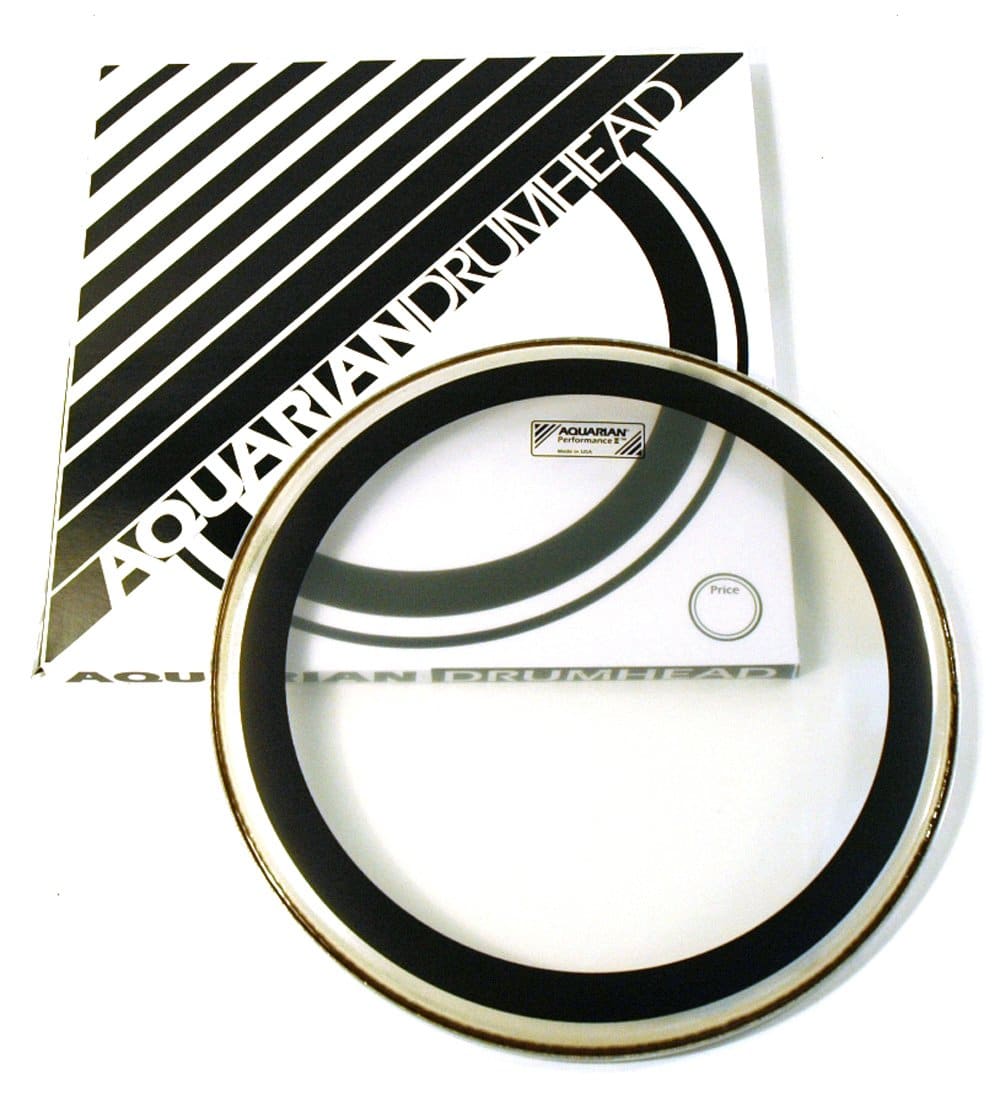
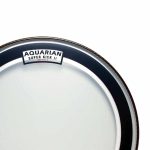
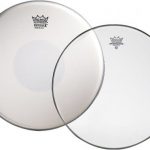
Firstly, clear heads such as the Aquarian Drumheads PF-A Performance II Tom Pack that are transparent are favorite options for drummers who are after bright sounds paired with a lot of sustain. The tone will also be loud compared to the coated types we’ll discuss next.
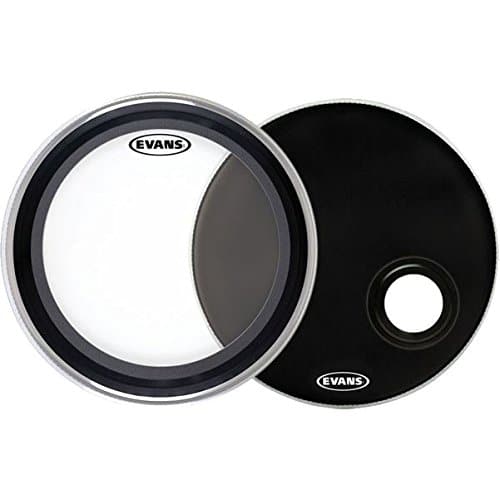
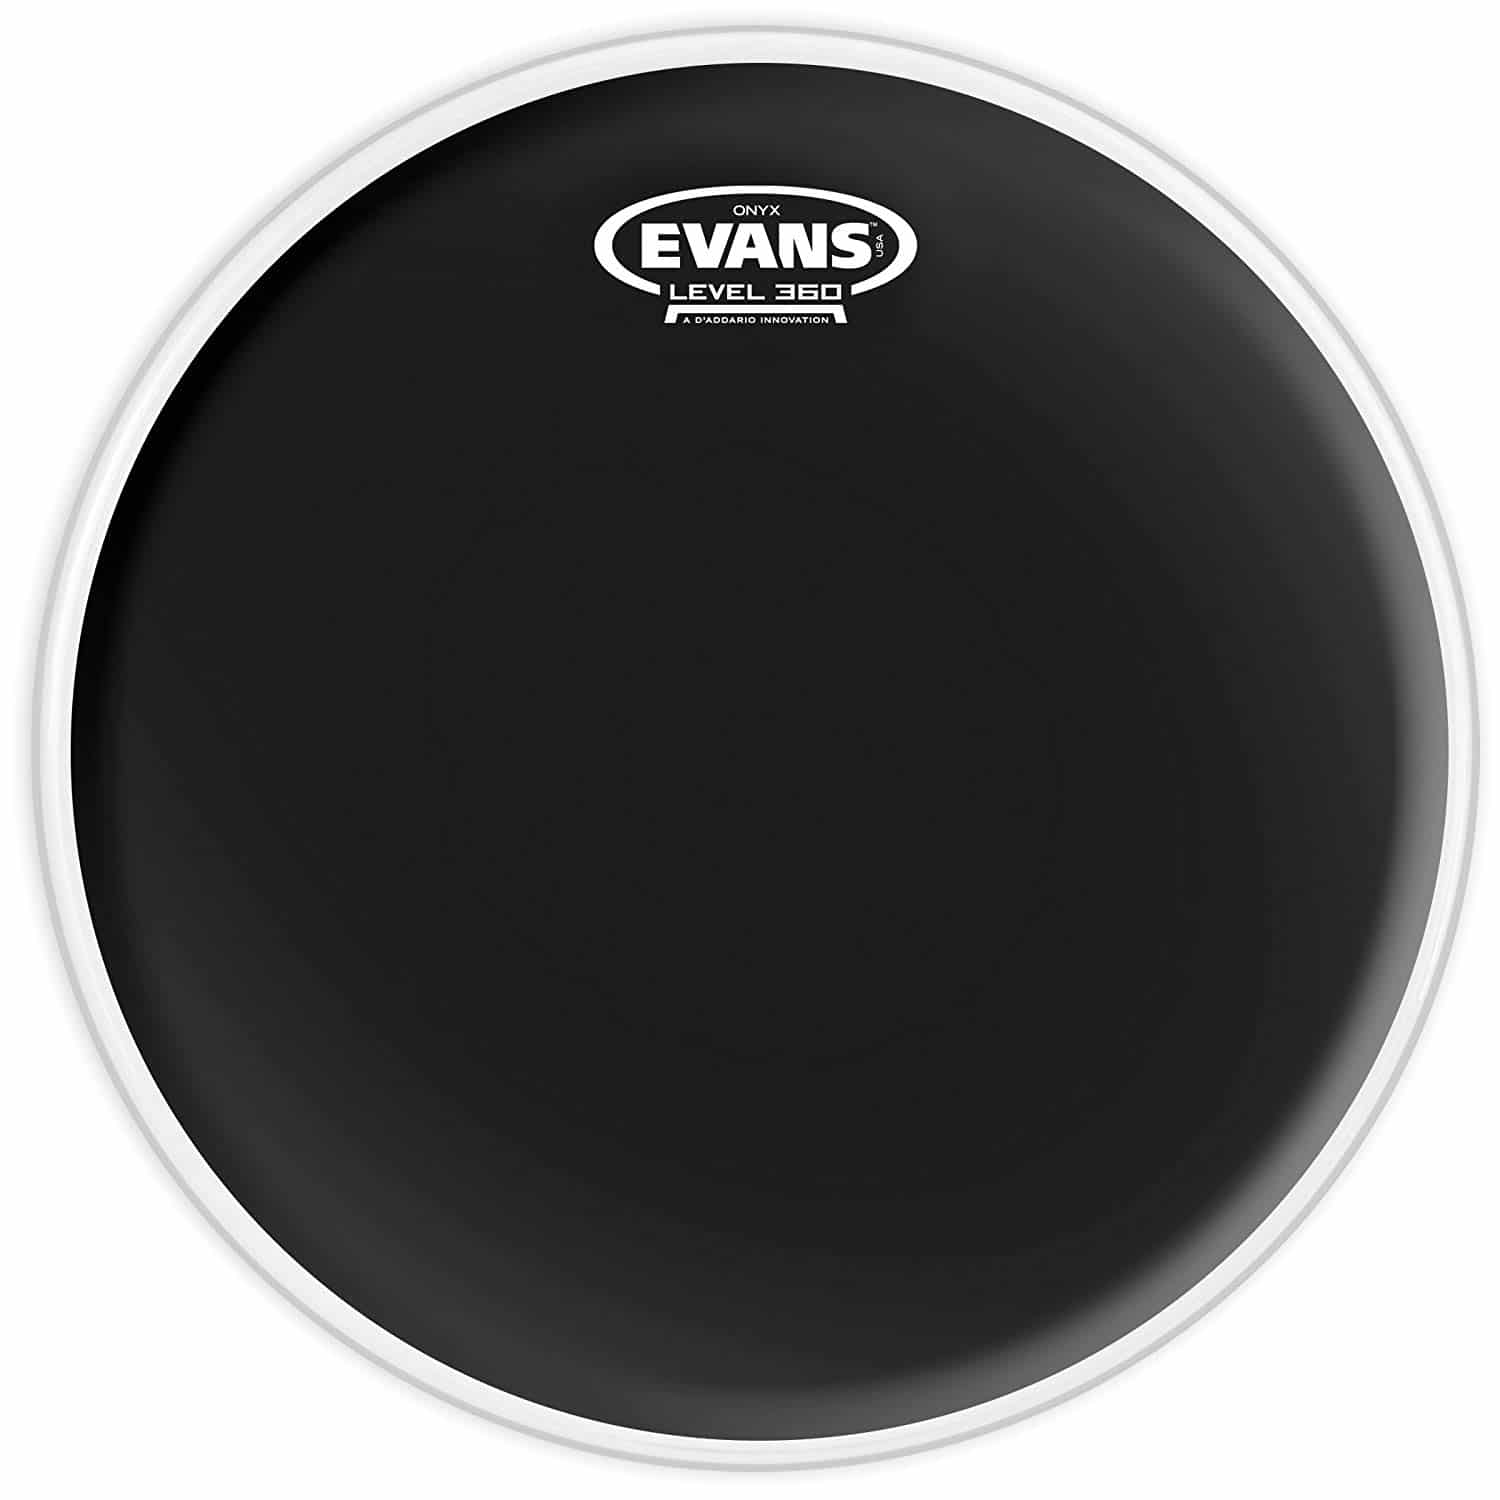
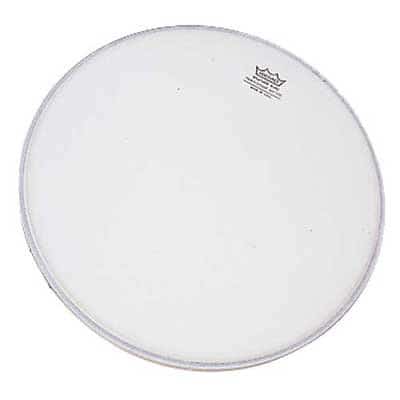
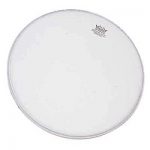
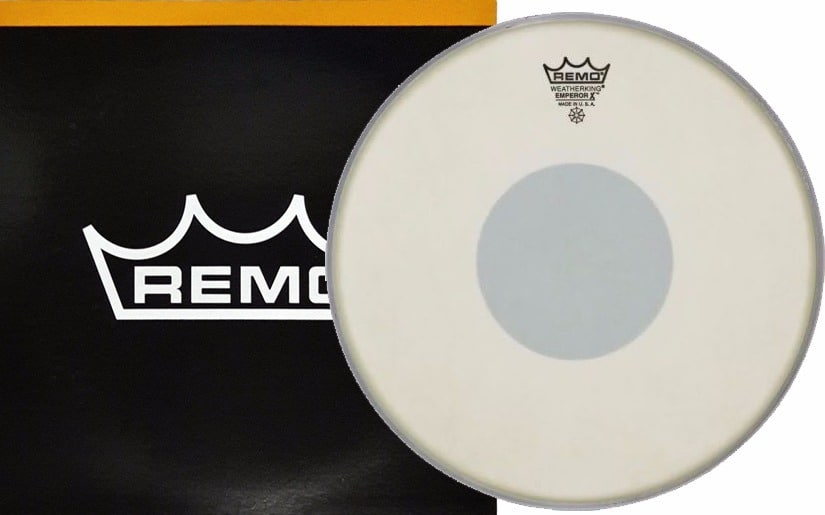
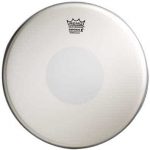
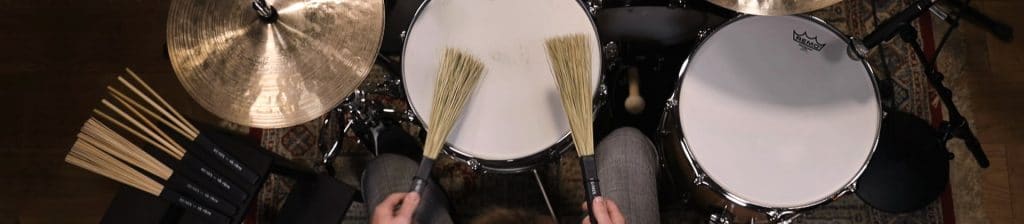
Coated units like the Remo Ambassador Coated Drum Head are valuable for drummers who want warm sounds and enjoy bounce during their play. They’re also the best drum heads for jazz since they produce a unique audio when you swap out your sticks for brushes.
This also explains why it’s worth it for certain brands to manufacture both coated and uncoated versions of the same drum heads, as can be seen in the Evans G1 Tompack.
Which drums are you looking to upgrade?
As mentioned above, drum heads aren’t one size fits all. Start your shopping by making sure which of your drum heads need to be replaced. Then look for heads that come in the appropriate size and type for either tom, bass or snare drum.
If you need replacements for all of them, luckily the market caters for you too: brands sell sets of drum heads so one purchase covers all the units you need. Before you opt for this, make sure the characteristics of that design will help you get out of each drum what you’re after. If not, purchasing individual units with unique characteristics will give you a customized setup.
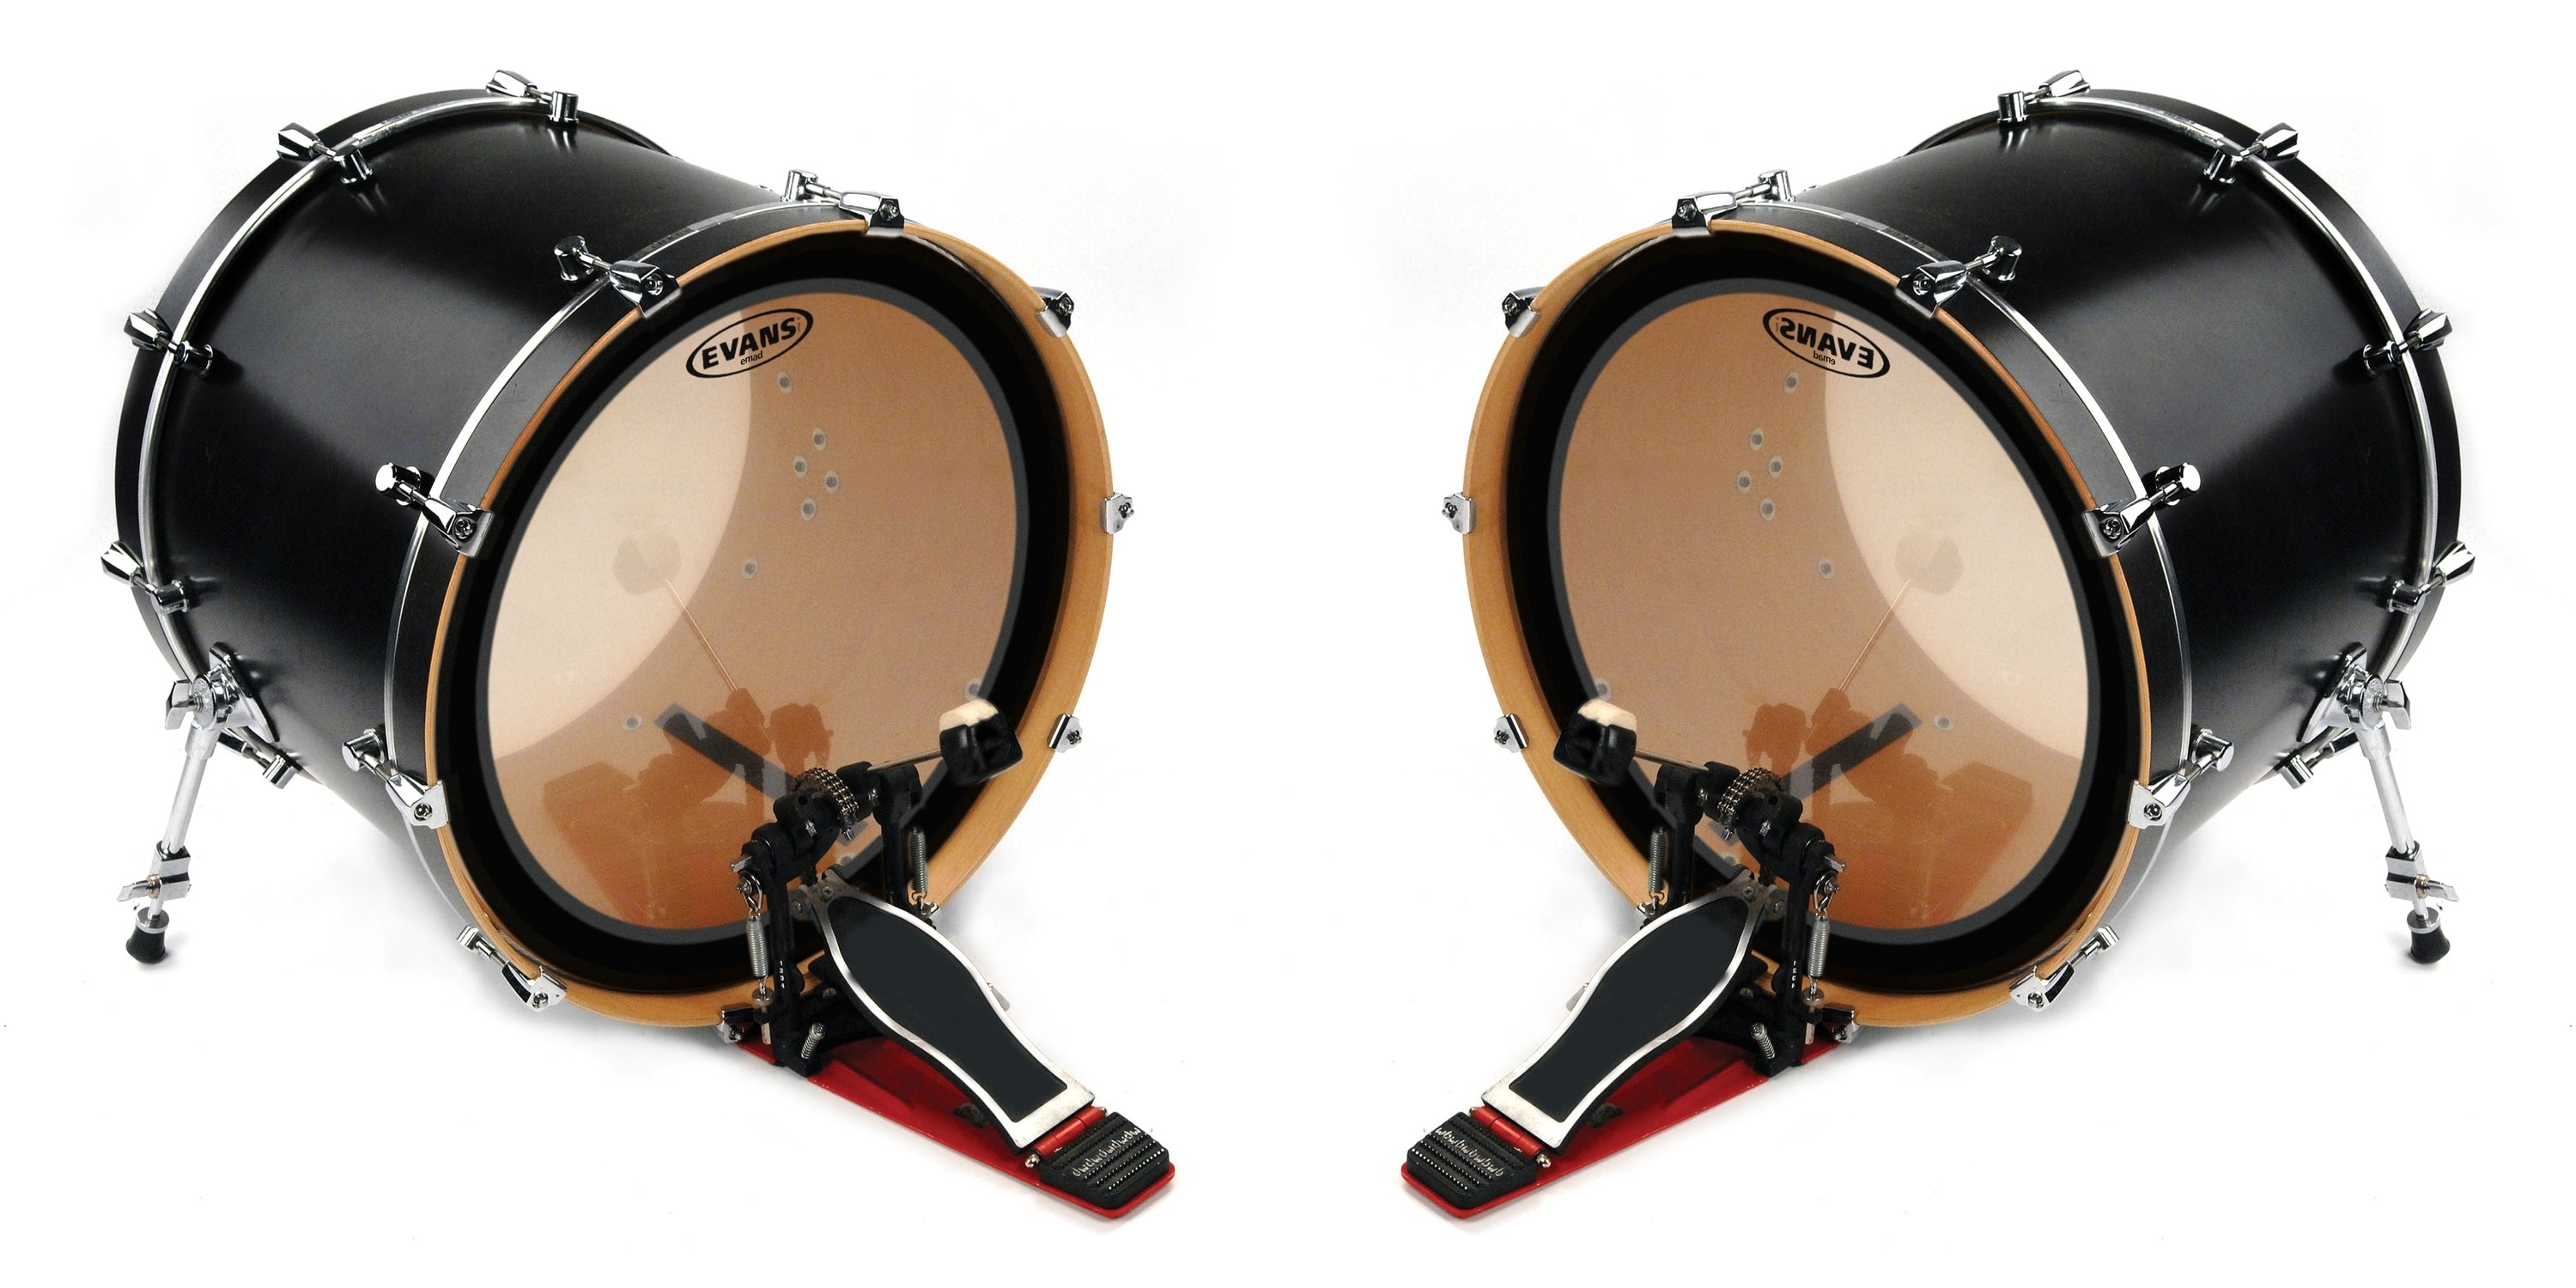
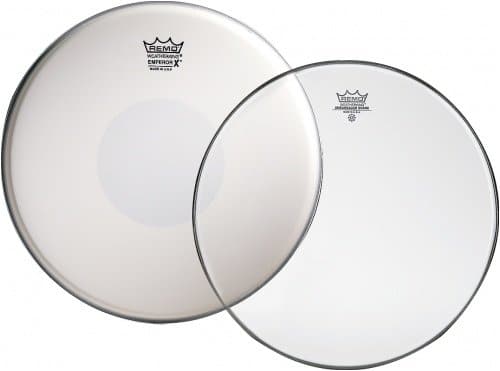
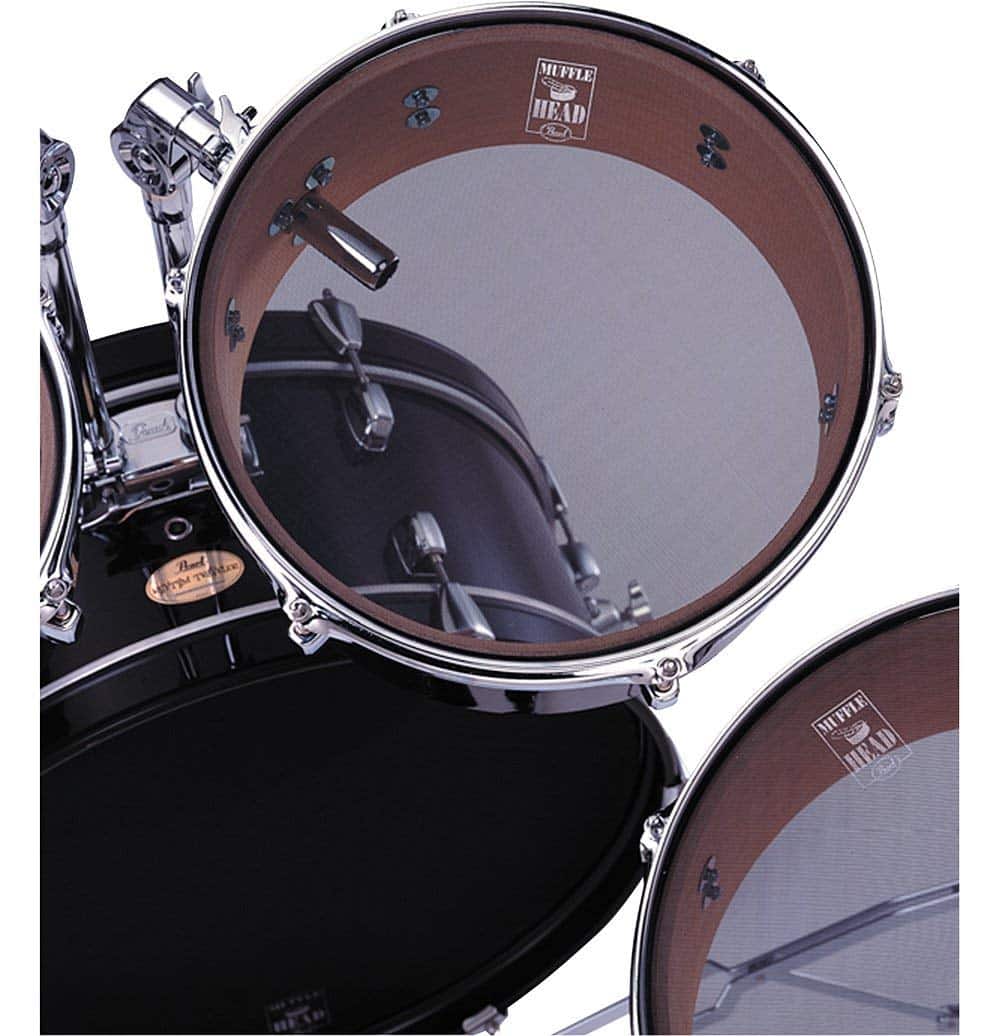
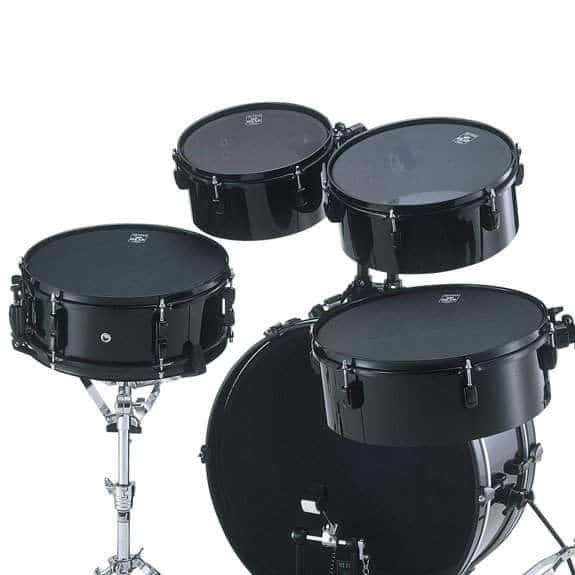
Batter vs. resonant heads
Both the top and bottom of each of your drums require heads. And important to note: they’re not the same types, so you need to know what you’re shopping for.
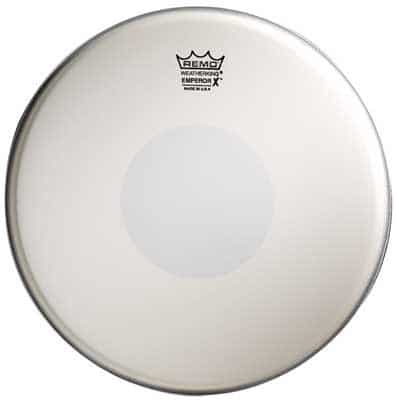
Batter heads are the top units you’ll shop for—these are the heads you’ll hit while you play. On new sets these heads usually have logos, making it easy to identify which side should face up. But on replacement heads, chances are that all heads will have logos on them, especially if you purchase high end products. The batter head is also called the batter skin.
On the bottom of your drum you’ll have a resonant head. Of course this unit won’t wear out as quickly as the batter head, as you’ll never hit this side with your sticks. Its name comes from the fact that when the batter head is hit, this head will resonate and bring forth sound. It’s important to have a quality resonant head as it determines tone and reverb. How the head is tuned also plays a huge role though.
How to install your new drum heads
 Installing drum heads correctly is as important as the purchase itself. If you don’t get the tuning right for instance, you won’t get the sound you want. For the best end result, follow these steps:
- Remove the old head
- Prepare the new head and your drum set by wiping down all surfaces so there are no dust or wood shavings that can affect installation or sound.
- Place your new drum head on the shell.
- Turn it in place and ensure it can move freely.
- Add the hoop.
- Place the tension rods in the drum’s lugs.
- Turn the lugs until they’re tight.
- Tune the drum. Use two drum keys at a time, using them at opposite sides of the drum while you make adjustments. First you tighten to remove drum head wrinkles and then you start tuning for the right pitch.


very helpful blog for drummer
Thank you so much for your kind words! We’re thrilled to hear that you find our blog helpful for drummers. Our goal is to provide valuable content and resources to support drummers of all skill levels. If you have any specific topics or questions you’d like us to cover in future blog posts, please feel free to let us know. Keep rocking those drums!