Last updated: May 01, 2026
Drums are like any other musical instrument. They will catch dust and dirt that will negatively affect their performance. It’s even worse if your drums start to rust and lose the chrome’s gleam.
That’s why it’s crucial to maintain your drums, and there are lots of benefits of doing so. For instance, you’ll enjoy increased sound quality and seeing your drum set shining all over, whether it’s in your home or on stage. Experts also add that drums are costly, so you should care for yours to avoid frequent repairs and replacements.
Cleaning a drum set can be confusing if you’ve never done it before since they have several components Trusted Source Drum kit - Wikipedia A drum set is a collection of drums, cymbals and other percussion instruments, which are set up on stands to be played by a single player, with drumsticks held in both hands and the feet operating pedals that control the hi-hat cymbal and the beater for the bass drum. en.wikipedia.org like cymbals and tom-toms that need different care.
You’ll not only use a damp cloth to wipe off the dirt but invest in better cleaning accessories to clean your equipment well.
In this guide, we will cover how you can clean your drums and everything you’ll need for the entire process.
To care for your drums, it’s essential to know how often you should clean it.
Experts say it will depend on the amount of time you spend playing your drum set. If you use it daily, spot clean it immediately after use. You can also do periodic cleaning every 5 to 6 months depending on use. This ensures that your drum set is in shape, so it doesn’t inconvenience you when it’s time to play.
If you have lessons, we recommend dusting your drums weekly and checking for loose stuff and dings.
You can cover your drum with a sheet to prevent dust from entering to reduce the cleaning burden.
Overall, depending on your schedule, you can do deep cleaning once or twice a year. And spend time on lighter tasks like dusting your equipment once or twice a quarter.
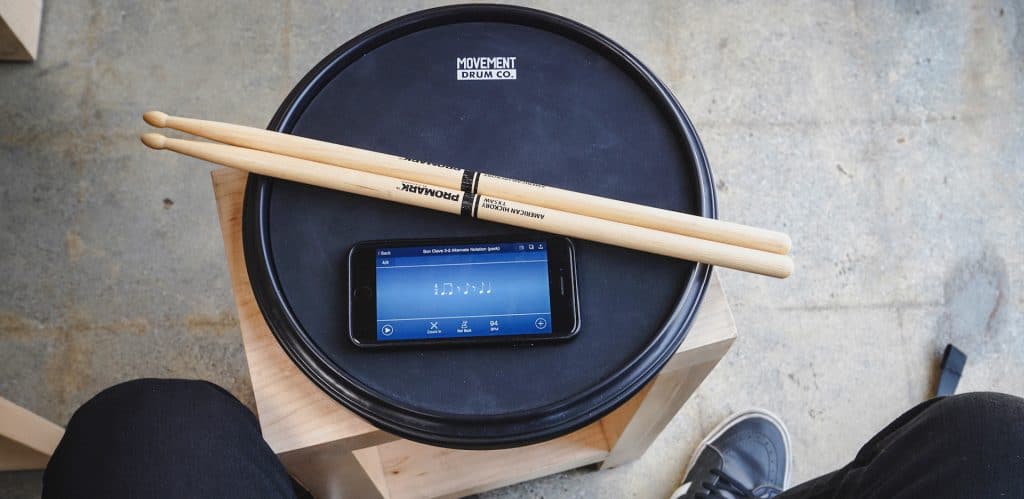
 Drums sets have lots of parts, meaning you may need some specific tools to streamline the cleaning process and, in this section, we’ll discuss all of them.
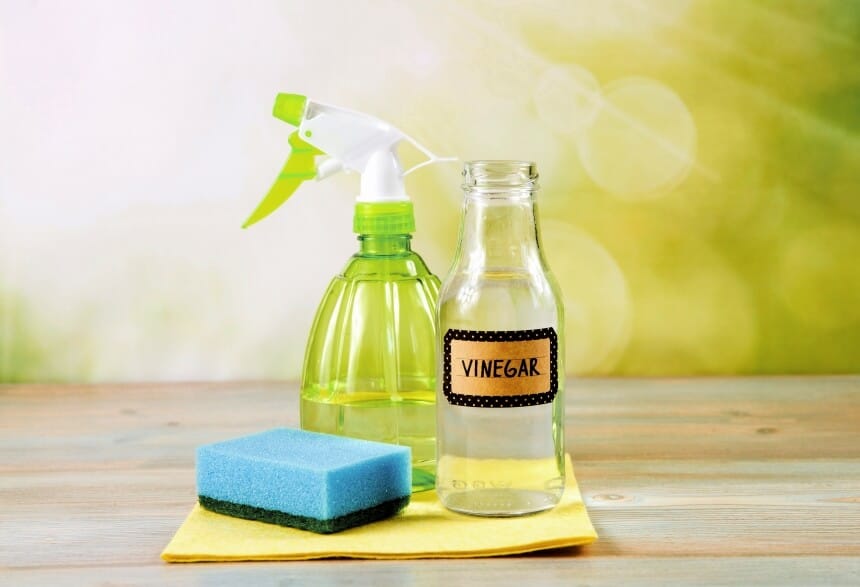
First, look for a non-abrasive cleaner like Windex, and 409 which are all ammonia-based. We don’t recommend using cleaners like Comet, Ajax that can damage your drum set’s parts.
If you prefer to use a homemade cleaner, go for a 50-50 water and vinegar solution. White spirit also works well.
The other tools you’ll need include a finishing wax, masking tape, and metal polish.
We also don’t advocate for using any degreasing agents. You can use cloth, preferably an old T-shirt, for cleaning.
Zero wire wool works well for cleaning the lug cases. It’s even better if you can afford a chrome cleaner though we noted it’s prone to deposit residue.
For the metal loops, pick a chrome cleaner and metal polish like the one from Autosol to scrap off the residues. You should wipe it off with an old t-shirt after it dries.
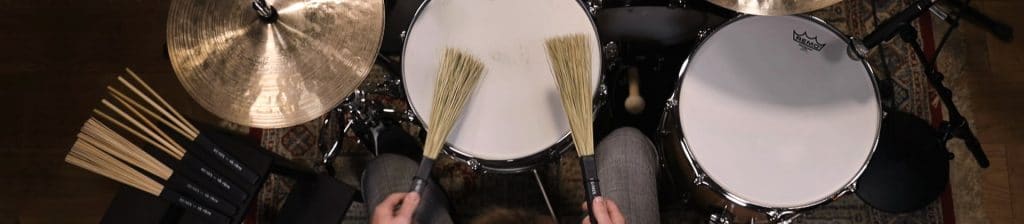
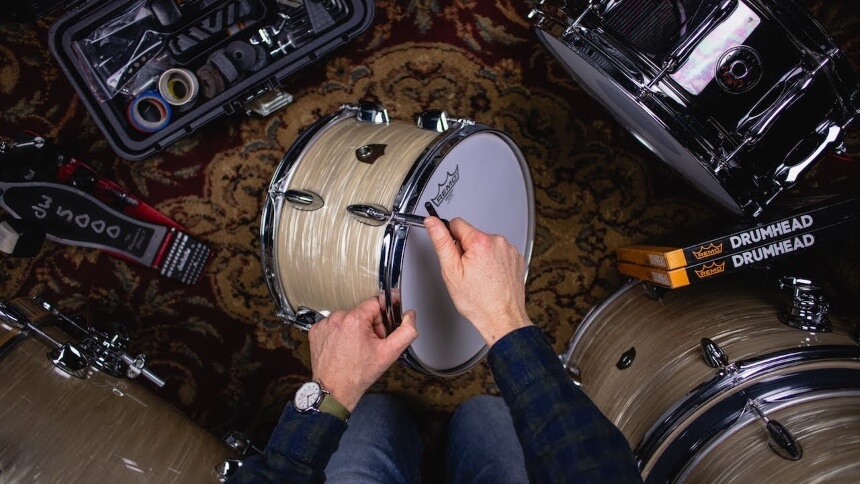
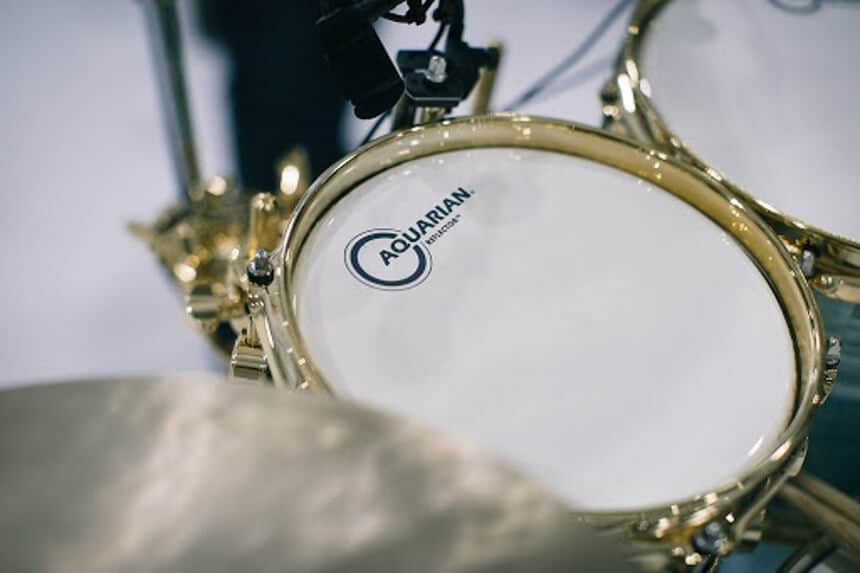 There are two types of drum heads: clear plastic and coated head drum head.
But what we love most about them is, they’re all easy to clean, but the differences come in what you’ll use for cleaning.
But if you own a coated head, a damp piece of cloth works well. As you do the cleaning, remember that it’s normal for some coating to flake off.
Experts warn against pouring water on the drum heads as that can negatively affect their overall quality. Some oils are risky as they tend to soften or damage the drum. Remember, if your drum is in poor condition after cleaning, get a replacement or repair from your nearest store.
Overall, you should clean your drum heads in the gentlest way possible, whether you have a plastic or coated one. And if you’re having trouble removing some residue, it’s okay to get an extra hand.
Drum shells are prone to come into contact with dust and particles chewed up from the drumstick.
And cleaning it is super-easy with the following steps.
The next step is to return the hoops and tighten your rod.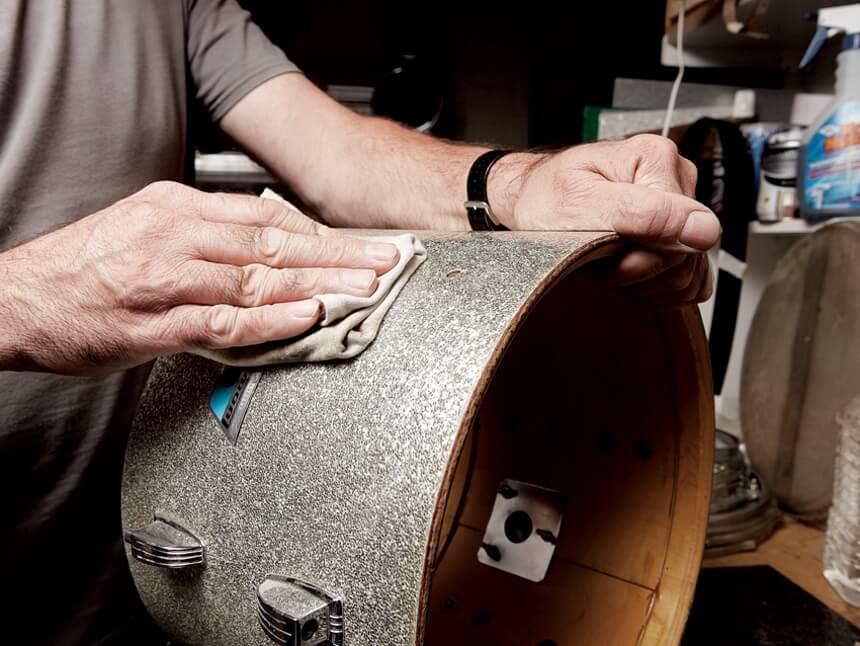
Like all other parts of your drum set, the bearing edges also collect dust and dirt.
And however small it attracts; you’ll notice a significant impact on the overall sound quality.
The good news is the bearing edge is also easy to clean.
You’ll notice a great improvement in your tuning and head
setting up your drum kit
Trusted Source
How to Set Up a Drum Kit (with Pictures) - wikiHow
When it comes to drum kits, the perfect setup is whichever one that makes playing as easy and natural as possible for you. This being said, the majority of kits are set up in a standard, balanced configuration that most drummers find easy to work with.
www.wikihow.com
.
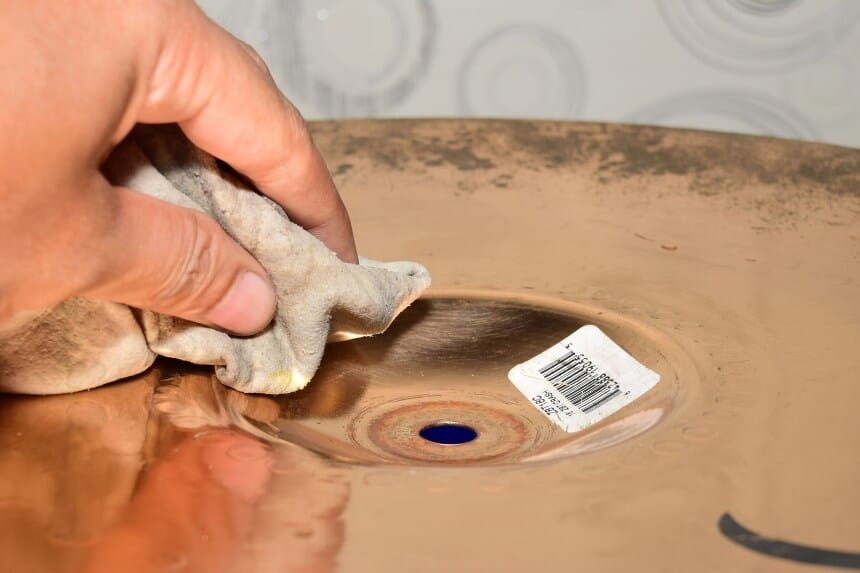 Though cymbals are not prone to contact dust or dirt, they will if you leave them unused for long.
And to get them back into shape, you’ll have to clean them thoroughly. However, with continued use, your cymbal’s coating wears off, so it loses its protection against dirt and dust.
And that results in weird sounds when playing. This shows you the importance of cleaning this equipment using both basic and advanced methods available.
Experts say that you shouldn’t confuse cleaning with polishing when it comes to cleaning cymbals.
With cleaning, you’ll remove all the dirt, dust, and fingerprints on the equipment.
Regarding, you’ll need special cleaning agents and cleaners like elbow grease, among others.
Here’s the process:
 As much as you focus on cleaning the cymbals and shells, it’s essential to care for and maintain your equipment’s hardware the right way.
The tools you need for this task include a screwdriver, cordless drill, metal polish, and a good polishing cloth.
You can invest in optional accessories, including a good brush, drum key lubrication agent, and fine steel wool.
So, follow this process:
Electronic drums are easy to clean, but you’ll need the right equipment for the task, like a damp cloth, a brush, masking tape, and non-abrasive chrome polish.
Here are the steps:
It’s good to clean your drum kit whether you use it multiple times or not. If you care for it well, you’ll enjoy a consistent sound quality during your playing sessions. But if you don’t, you’ll hear a lighter to heavier sound, which is embarrassing. The good thing is, we’ve walked you through all the ways you can clean your drum fast. You can also cover your drum with a sheet or blanket to prevent dust build-up every time you’re not using it. All the processes we’ve mentioned are super-easy if you have the tools above.
Remember, if you notice a great drop in your sound quality even after thoroughly cleaning your equipment, it’s best to get a repair or replacement.